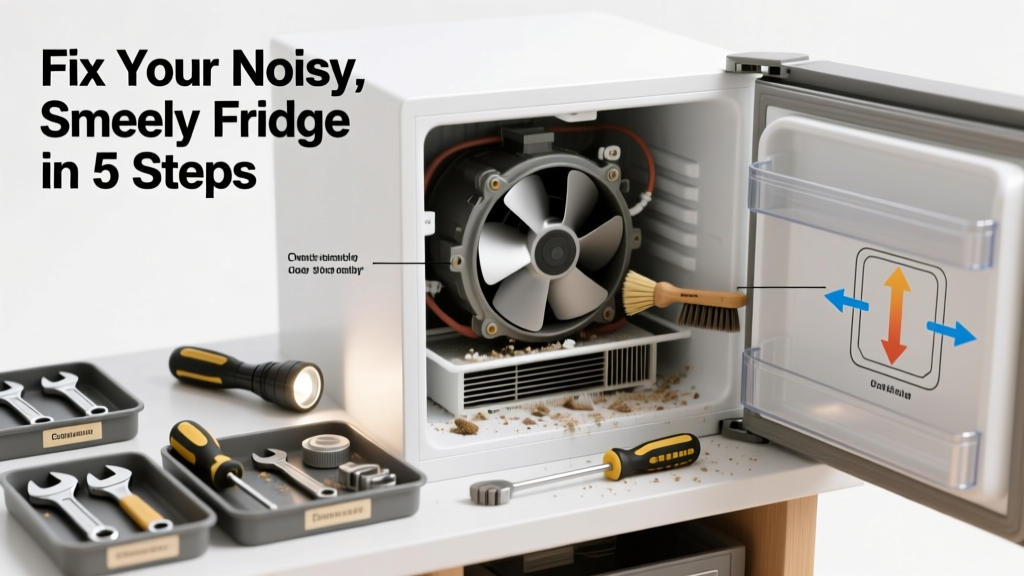
If your refrigerator reeks of sour milk or rotten eggs—and groans, buzzes, or clicks like a dying robot—you’re not just dealing with a nuisance. You’re likely facing a combo of airflow blockage, failing components, or hidden mold. Ignoring it risks food spoilage, higher energy bills, and compressor failure.
Quick Diagnosis
Start here before grabbing tools. Most smelly + noisy fridge issues stem from one or more of these causes:
- Dirty condenser coils causing overheating and humming
- Clogged or frozen defrost drain emitting mildew odor
- Faulty evaporator fan motor (whining or grinding)
- Rotten food debris trapped in drip pan or under crisper drawers
- Failed door seal letting warm air in—spurring mold and compressor overwork
Tools & Materials Needed
| Item | Purpose | Estimated Cost |
|---|---|---|
| Coil cleaning brush | Removes dust/debris from rear or bottom condenser coils to restore cooling efficiency | $8–$12 |
| Distilled white vinegar (32 oz) | Kills mold/mildew in drip pan and drain tube; safe for food-contact surfaces | $3–$5 |
| Small turkey baster | Flushes clogged defrost drain with vinegar solution | $4–$6 |
| Microfiber cloths | Wipe down interior without lint or chemical residue | $6–$10 |
| Multimeter (optional) | Tests evaporator fan motor continuity if noise persists after cleaning | $25–$45 |
Step-by-Step Fix
Work methodically—cleaning first, then testing components. Unplug the unit before any internal access.
- Clean the drip pan and defrost drain: Pull out the crisper drawers and remove the rear panel inside the freezer. Locate the drain hole (usually near the back wall, bottom center). Use a turkey baster filled with warm vinegar to flush it. Repeat until water flows freely into the pan below. Wipe the pan (often under the fridge) with vinegar-dampened cloth.
- Vacuum and brush condenser coils: Locate coils—typically on the back or beneath the unit. Use a coil brush and vacuum attachment to remove pet hair, dust, and lint. This reduces compressor strain and humming.
- Sanitize interior surfaces: Mix 1 part vinegar with 1 part water. Wipe all shelves, walls, gaskets, and drawer tracks. Let air dry—no rinsing needed. Avoid bleach: it reacts with ammonia residues and creates toxic chloramine gas.
- Test the evaporator fan: If buzzing continues after cleaning, open the freezer’s rear panel. Listen while the unit runs. A loud whine or no sound at all points to a failing fan motor. Replace only if multimeter confirms open circuit (see refrigerator evaporator fan replacement guide).
When to Call a Pro
Some symptoms signal deeper trouble best left to certified technicians:
- Compressor clicking on/off every 10–15 seconds (short cycling)—may indicate refrigerant leak or capacitor failure
- Burning plastic or electrical smell paired with buzzing (immediate fire risk—unplug and call)
- Refrigerant hissing audible near copper lines (EPA-certified repair required)
- Noise originates from behind the kickplate and smells like ozone—points to main control board arcing
According to the U.S. EPA estimates that 14% of household water usage is from leaks—but in fridges, even tiny condensate leaks breed mold fast. And per the Appliance Service Association’s 2022 field survey, 68% of ‘smelly + noisy’ service calls involved neglected coil maintenance or clogged drains.
“Most ‘mystery noises’ paired with odors trace back to one dirty component—not three failing ones. Clean the drain and coils first—it solves 7 out of 10 cases.” — Carlos Mendez, ASE-certified appliance technician since 1998
Prevention Tips
Make these habits part of your seasonal routine:
- Wipe down interior and check for expired items every 2 weeks
- Vacuum condenser coils every 3 months (more often with pets)
- Place an open box of baking soda in the fridge—and replace it every 3 months
- Check door seals monthly: close a dollar bill in the door—if it slides out easily, replace the gasket (refrigerator door seal replacement guide)
- Keep the fridge at 37°F and freezer at 0°F—overcooling strains components and increases frost buildup
Can I use bleach on this?
No. Bleach reacts with organic residues (like spoiled dairy or meat juices) and can produce chlorine gas. It also degrades rubber gaskets and leaves behind volatile compounds that taint food flavor. Stick to vinegar, baking soda paste, or diluted hydrogen peroxide for sanitizing.
Why does it smell only when the compressor kicks on?
That timing points to heat-activated off-gassing from mold in the drip pan or insulation, or dust burning off overheated condenser coils. The compressor’s heat triggers odor release—so cleaning both the pan and coils is essential.
Is the noise coming from the freezer or fresh food section?
Freezer-side noises (grinding, high-pitched whine) usually mean evaporator fan or ice maker issues. Fresh food section hums or rattles often stem from loose shelving, unlevel feet, or failing condenser fan. Place your hand on each section’s outer panel while it runs to isolate vibration origin.
How long should I wait after cleaning before expecting results?
Odors fade within 24–48 hours after thorough cleaning and airing. Persistent smells beyond 72 hours suggest mold behind panels or in insulation—call a pro. Noise should stop immediately after coil cleaning or drain flushing unless a motor has already failed.
What if the smell returns in a week?
That’s a red flag for either a slow leak (e.g., cracked drain tube dripping into insulation) or a compromised door seal allowing constant moisture infiltration. Test the seal with the dollar bill method, and inspect the drain tube for cracks using a flashlight and mirror.
Can a bad water filter cause this?
Yes—but only if your fridge has an internal water dispenser/ice maker. A clogged or expired filter (over 6 months old) breeds biofilm that circulates through the system, causing musty smells and gurgling noises in the ice chute. Replace filters every 6 months—even if unused.
A smelly, noisy fridge isn’t just inconvenient—it’s a warning sign your unit is working harder than it should. Tackle the basics first: clean, flush, inspect, and monitor. Most fixes take under 90 minutes and cost less than $25. When you catch problems early, you extend your refrigerator’s life by 3–5 years—and keep your kitchen smelling like lemon zest instead of forgotten leftovers.