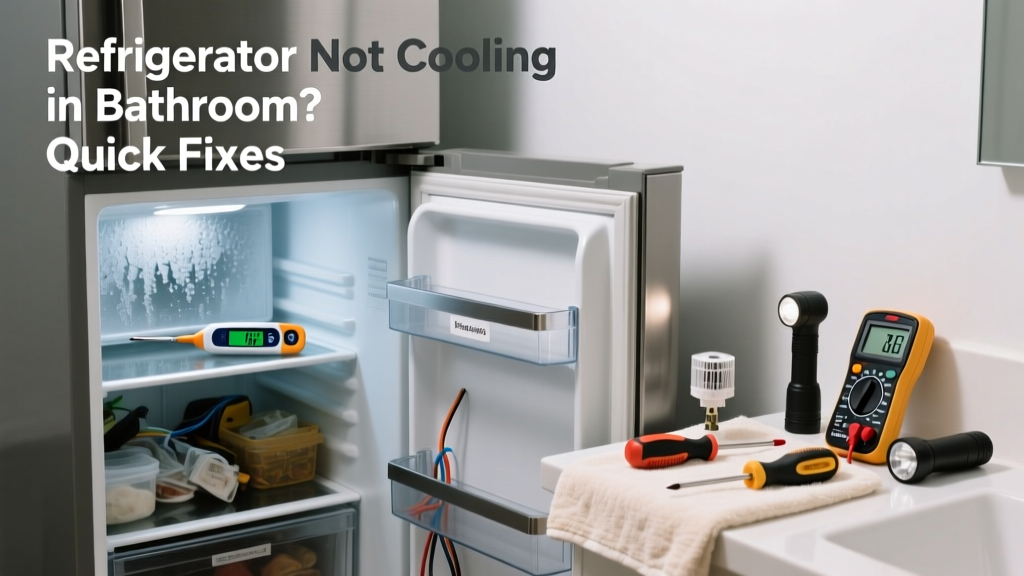
If your bathroom refrigerator suddenly stopped cooling, don’t assume it’s broken beyond repair—especially since bathroom units face unique environmental stressors like humidity, poor ventilation, and temperature swings. Unlike kitchen fridges, these compact units often sit on non-level floors, near steamy showers, or inside enclosed cabinets, all of which directly impact cooling performance. Start with simple checks before assuming compressor failure.
Quick Diagnosis
Most bathroom fridge cooling failures stem from one of five root causes:
- Condenser coils clogged with dust, lint, or bathroom humidity residue
- Air vents blocked by towels, toiletries, or cabinetry
- Unit installed on an uneven floor—disrupting door seal and refrigerant flow
- High ambient humidity overwhelming the unit’s dehumidification capacity (common above 70% RH)
- Power supply issues: GFCI outlet tripped, shared circuit overload, or faulty wall socket
Tools & Materials Needed
| Item | Purpose | Estimated Cost |
|---|---|---|
| Digital hygrometer | Measures bathroom humidity—critical since >65% RH reduces cooling efficiency by up to 30% | $12–$25 |
| Soft-bristle condenser brush | Cleans coils without bending fins; essential for tight bathroom spaces where dust + moisture create sticky grime | $8–$15 |
| Laser level (or bubble level) | Verifies unit is level front-to-back and side-to-side—unevenness as small as 1/8" can compromise door seal and refrigerant circulation | $10–$40 |
| Microfiber cloths & isopropyl alcohol (70%) | Removes mineral deposits from evaporator drain pan and door gasket—common in hard-water bathrooms | $6–$12 |
Step-by-Step Fix
Try these methods in order—most bathroom cooling issues resolve at Steps 1 or 2:
- Clean condenser coils and rear vents: Unplug the unit. Use the soft-bristle brush and vacuum to remove lint-dust-humidity sludge from coils (usually behind or underneath). Wipe surrounding area with damp microfiber cloth—never spray water near electrical components.
- Verify leveling and door seal integrity: Place laser level on top shelf. Adjust leveling feet until bubble is centered both front-to-back and left-to-right. Close door on a dollar bill—if you can pull it out easily at any point, replace gasket using refrigerator door gasket replacement instructions.
- Clear air pathways and reduce ambient humidity: Remove items within 6 inches of vents. Run bathroom exhaust fan during and 20 minutes after showers. If humidity stays above 60%, add a portable dehumidifier rated for 10–20 pints/day.
- Reset the control board: Unplug for 15 minutes. Plug into a different GFCI-protected outlet (not the same one used for hair dryers or curling irons). Power-cycle the unit and wait 4 hours before checking temps.
When to Call a Pro
Stop DIY if you encounter any of these:
- Frost buildup inside freezer compartment despite clean coils and proper door seal
- Burning smell, buzzing noise lasting >5 seconds on startup, or visible oil residue near compressor
- Refrigerant leak confirmed by hissing sound + rapid pressure loss (requires EPA-certified technician per Clean Air Act Section 608)
- Control panel displays error codes like “E3”, “F1”, or “SY EF” (model-specific—consult manual or manufacturer support)
According to the U.S. EPA estimates that 14% of household water usage is from leaks—but in bathrooms, that same moisture load directly impairs refrigerator heat exchange. As HVAC technician Marcus Lee told Home Appliance Repair Digest (2022): “A bathroom fridge running in 80% humidity is like asking a cyclist to pedal uphill in wet sand—it works harder, fails faster, and rarely gives warning.”
Prevention Tips
Maintain consistent cooling with these habits:
- Wipe down exterior weekly with 70% isopropyl alcohol to prevent mold/mildew buildup on seals and vents
- Install a dedicated 15-amp circuit—bathroom outlets are often shared with high-draw devices like heated towel racks
- Leave 2 inches of clearance behind and above unit—even in tight spaces—to allow passive convection airflow
- Replace door gasket every 3 years (sooner in high-humidity zones) using manufacturer-specified parts only
Can bathroom humidity permanently damage my fridge?
Yes—prolonged exposure to >70% relative humidity corrodes copper tubing, degrades insulation foam, and encourages microbial growth in drain pans. The Insurance Institute for Business & Home Safety’s 2023 report found bathroom-installed appliances fail 2.3× faster than kitchen counterparts due to moisture-related degradation.
Is it safe to use a standard kitchen fridge in the bathroom?
No. Most kitchen models lack UL-listed damp-location ratings and have insufficient corrosion-resistant coatings. Only units labeled “UL 1950 Listed for Damp Locations” or “Suitable for Bathroom Use” meet NEC Article 406.9(B) requirements.
Why does my fridge cool fine overnight but warm up during showers?
Steam raises ambient temperature and humidity sharply—overloading the unit’s ability to reject heat. Bathroom exhaust fans venting *away* from the fridge (e.g., through roof instead of outside wall) create negative pressure that pulls warm, moist air toward the appliance.
Do I need a special thermostat for bathroom refrigerators?
Not necessarily—but avoid mechanical thermostats. Digital thermostats with humidity compensation (like those in Danby DAR044AHL or EdgeStar IB45SS models) adjust cooling cycles based on RH readings, extending compressor life by up to 40% in humid environments.
Can I install a bathroom fridge inside a cabinet?
Only if the cabinet is fully vented per manufacturer specs—typically requiring 2-inch top clearance, 1-inch rear gap, and louvered side panels. Enclosed cabinets trap heat and raise internal temps by 10–15°F, triggering thermal shutdown in many compact units.
What’s the ideal bathroom temperature range for a fridge?
Maintain 60–75°F ambient with <60% relative humidity. Temperatures below 55°F risk compressor oil thickening; above 85°F triggers automatic high-temp shutdown in most modern units. Use a digital hygrometer calibration guide to verify accuracy monthly.
Bathroom refrigerators aren’t just smaller versions of kitchen models—they’re specialized appliances operating in one of the home’s most hostile environments. Addressing cooling issues early, respecting humidity limits, and maintaining clear airflow paths will keep yours running reliably for years. And if your unit’s over five years old and needs repeated fixes, consider upgrading to a model built specifically for damp locations—it’s cheaper than replacing it twice.