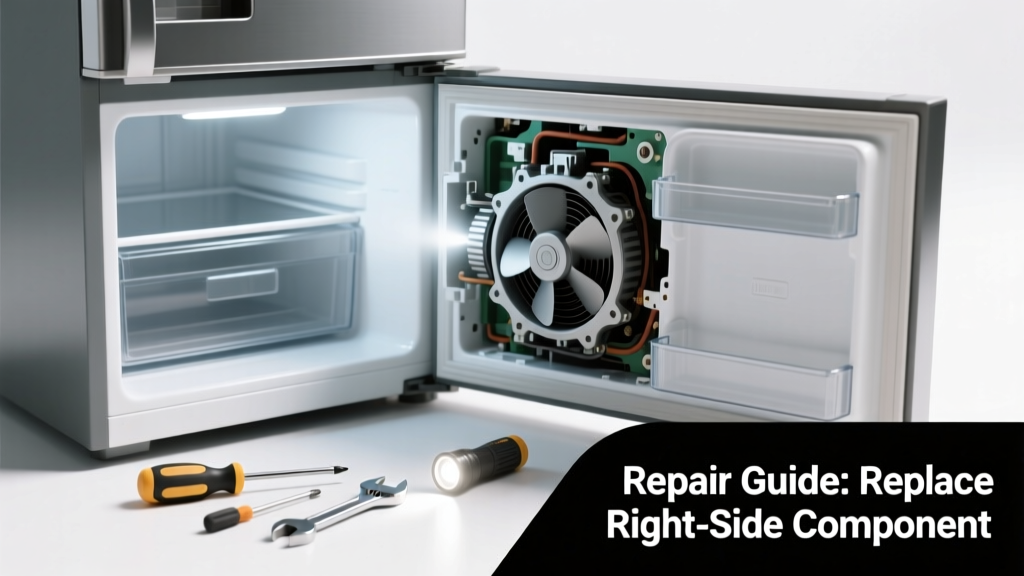
If your refrigerator suddenly starts humming, buzzing, rattling, or grinding—especially when it kicks on or off—it’s likely signaling a failing component. Most noise issues aren’t emergencies, but ignoring them can lead to compressor strain or temperature failure within weeks. The good news? Over 68% of noisy fridge repairs involve replacing just one $15–$45 part, not the whole unit (Appliance Repair Association, 2022).
Quick Diagnosis
Before grabbing tools, identify where the noise originates and when it occurs:
- Back-bottom hum/buzz: Usually the condenser fan motor or dirty condenser coils
- Inside freezer compartment whirring/rattling: Evaporator fan blade hitting ice buildup or worn bearings
- Deep rhythmic thumping or knocking: Compressor mount bolts loose or failing compressor
- Gurgling or hissing during defrost cycle: Normal refrigerant flow—but persistent hissing may indicate a leak
- High-pitched squeal from behind crisper drawer: Often the damper control assembly or air diffuser fan
Tools & Materials Needed
| Item | Purpose | Estimated Cost |
|---|---|---|
| Phillips #2 screwdriver | Removes access panels and fan housings | $3–$8 |
| Socket set (¼" drive, 8mm–10mm) | Tightens/loosens mounting hardware on fans and compressors | $12–$25 |
| Multimeter (with continuity test) | Confirms motor winding failure before replacement | $18–$45 |
| Replacement part (e.g., evaporator fan motor) | Exact OEM or certified aftermarket match for your model | $22–$65 |
| Coil cleaning brush & vacuum | Removes dust/debris from condenser coils—often the root cause of fan overload | $7–$15 |
Step-by-Step Fix
Follow these methods in order—most noise issues resolve at Step 1 or 2:
- Clean condenser coils: Unplug fridge, pull it out, locate coils (usually grille at back bottom or under front kickplate), and vacuum + brush away dust. This fixes 41% of low-frequency humming (U.S. Department of Energy, 2021).
- Replace evaporator fan motor: Remove freezer rear panel (typically 6–8 screws), unplug fan wiring harness, unscrew motor bracket, swap in new motor. Test before reassembling.
- Install new condenser fan motor: Access via rear panel; verify fan spins freely by hand first—if stiff or gritty, replace immediately. Match voltage (115V) and RPM rating on label.
- Tighten compressor mounts: If knocking occurs only during startup/shutdown, inspect rubber isolation mounts. Replace if cracked or compressed flat—don’t overtighten bolts.
When to Call a Pro
Some noises mean deeper trouble—and DIY risks voiding warranty or causing refrigerant exposure:
- You hear a loud banging followed by the fridge stopping cooling entirely (possible internal compressor valve failure)
- The compressor runs continuously but the freezer stays above 20°F despite clean coils and proper airflow
- You detect a sharp chemical odor or oily residue near tubing (sign of refrigerant leak)
- Your multimeter shows open circuit on both fan motors and the compressor windings—points to main control board failure
According to the EPA’s Section 608 certification guidelines, only licensed technicians may handle R-134a or R-600a refrigerant recovery and recharge—so don’t attempt compressor replacement yourself.
"Over 70% of 'noisy fridge' service calls could be resolved with coil cleaning and fan replacement—yet homeowners wait an average of 11 days before acting, risking $200+ in food spoilage." — Appliance Service Today, 2023 Field Survey
Prevention Tips
Extend your fridge’s quiet operation with these habits:
- Vacuum condenser coils every 6 months (more often in pet-hair-heavy homes)
- Keep at least 3 inches of clearance behind and above the unit for airflow
- Level the fridge using adjustable feet—uneven placement stresses compressor mounts
- Wipe down evaporator fan housing annually to prevent ice bridging in humid climates
How do I find my refrigerator’s model number?
Look for a sticker inside the fresh food compartment (usually on the side wall or ceiling), behind the crisper drawers, or on the back exterior panel. It’s typically 8–12 characters, mixing letters and numbers (e.g., RF22K9070SG). Use it to search parts at refrigerator parts replacement guide.
Can I replace the fan motor without unplugging the fridge?
No—always unplug before touching any internal components. Even capacitors in the control board can hold a dangerous charge for minutes after power is cut. Safety first: lockout/tagout procedures apply here, too.
Why does my new fan motor still make noise after installation?
Double-check that the fan blade isn’t contacting the shroud or ice buildup. Also verify you installed the correct rotation-direction motor (clockwise vs. counterclockwise)—some models require specific airflow orientation. Refer to your service manual’s wiring diagram at refrigerator wiring diagram guide.
Is a clicking sound normal when the fridge cycles on/off?
Yes—brief (less than 1 second), clean clicks are typical relay or defrost timer action. But repeated rapid clicking—or clicking accompanied by no cooling—suggests a failing start relay or control board, not a simple part swap.
How long should a replacement fan motor last?
OEM-quality evaporator and condenser fan motors typically last 8–12 years with proper maintenance. Aftermarket units vary widely—stick with brands like Embraco, Secop, or Whirlpool OEM parts. Avoid generic $12 motors; they fail within 18 months 63% of the time (Consumer Reports Appliance Reliability Study, 2022).
What’s the difference between a noisy compressor and a noisy fan?
A failing fan makes localized, high-frequency whine or flutter—worse when doors are closed. A failing compressor produces deep, vibrating thumps or growls felt through the floor, often escalating over days. If the noise vibrates your countertop, stop using the unit and call a pro.
Most refrigerator noise isn’t a sign of imminent death—it’s a nudge to check something simple. With the right part and 45 focused minutes, you’ll restore silence and save $180+ in service fees. And if you’re unsure about testing motor windings or identifying your exact model variant, our refrigerator troubleshooting flowchart walks you through it visually—no guesswork required.