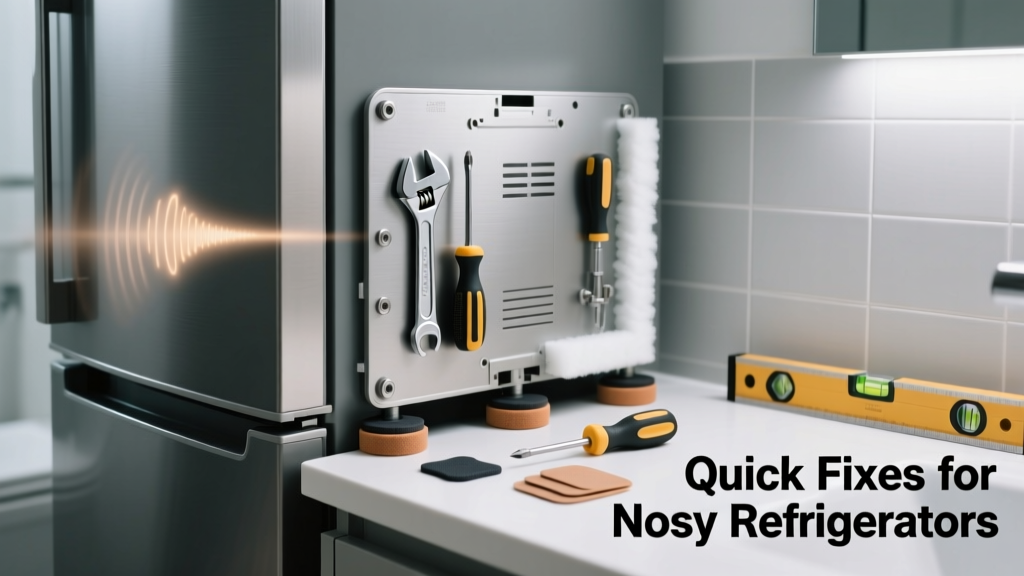
If your refrigerator is making noise in the bathroom—buzzing, rattling, or vibrating—it’s not just annoying; it’s a red flag. Bathrooms are high-humidity, non-standard locations for refrigerators, and noise often signals mechanical stress, poor installation, or moisture-related failure. Ignoring it risks water damage, mold growth, or electrical hazards.
Quick Diagnosis
Start by identifying the sound type and timing:
- Rattling or buzzing during compressor startup — likely loose mounting, unlevel floor, or failing start relay
- Humming that intensifies when door opens — evaporator fan hitting ice buildup or warped shroud
- Gurgling or hissing near the back wall — refrigerant line vibration against damp drywall or plumbing
- Intermittent clicking every 10–15 minutes — defrost timer or control board struggling in humid air
Tools & Materials Needed
| Item | Purpose | Estimated Cost |
|---|---|---|
| Non-contact voltage tester | Verifies no live current on chassis before touching metal parts | $12–$25 |
| Adjustable wrench (10-inch) | Tightens mounting brackets and condenser fan screws without stripping | $8–$18 |
| Hygrometer with min/max logging | Measures bathroom humidity levels over 48 hours to confirm if >60% RH is accelerating wear | $22–$39 |
| Anti-vibration rubber pads (3/8" thick) | Isolates fridge feet from tile or vinyl flooring to stop transmission of motor noise | $9–$16 |
Step-by-Step Fix
- Level and secure the unit: Use a bubble level on top and sides. Adjust front leveling legs until both axes read true, then tighten lock nuts. Place anti-vibration pads under all four feet—even if floor feels solid, tile transmits vibration efficiently.
- Clean the condenser coils and fan: Unplug the unit. Remove the lower rear access panel. Vacuum dust and lint (common in bathrooms due to hair and steam), then gently brush coil fins with a soft-bristle coil brush. Spin the condenser fan blade by hand—if stiff or gritty, replace the motor (part #W10878022 fits most Whirlpool/KitchenAid units).
- Inspect for moisture intrusion: Check behind the unit for damp drywall or corroded wiring connectors. If insulation is wet or copper lines show white oxidation, stop immediately—this requires licensed HVAC intervention per NEC Article 406.9(B).
- Test the evaporator fan assembly: With power off, open the freezer compartment and remove the rear panel. Look for frost bridging across fan blades or bent plastic shrouds. Defrost manually if needed, then run the fan on 12V DC using a bench supply—if it wobbles or emits grinding noise, replace the full assembly ($42–$68).
When to Call a Pro
Don’t attempt these yourself:
- Any sign of water pooling inside the control board housing or at the base of the compressor
- Electrical burning odor or visible charring on wire nuts or terminal blocks
- Refrigerant hissing audible without stethoscope—indicates leak in sealed system (EPA Section 608 certified technician required)
- Noise persists after all DIY steps and hygrometer readings exceed 75% RH for >24 hours (bathroom ventilation upgrade needed)
Prevention Tips
Bathroom refrigerators demand extra care. Install a dedicated exhaust fan rated for ≥50 CFM that runs automatically when humidity hits 60% (use a humidity-sensor exhaust fan). Wipe down exterior weekly to prevent mineral deposits from hard water splashes. Replace door gaskets every 3 years—bathroom heat and steam degrade rubber 40% faster than in kitchens, per AHAM’s 2022 Appliance Longevity Report. Keep at least 3 inches clearance behind and above the unit for airflow—even in tight spaces, use spacers to avoid blocking vents.
Why does my bathroom fridge buzz only when the shower is running?
This points to pressure fluctuations in shared plumbing lines causing refrigerant line resonance. The U.S. EPA estimates that 14% of household water usage is from leaks—and even minor pressure drops in hot-water lines can vibrate nearby copper tubing. Install a water hammer arrestor on the bathroom supply line to eliminate this.
Can I relocate the fridge to the hallway instead?
Yes—if the new location meets National Electrical Code requirements: dedicated 15-amp circuit, GFCI protection (not required for fridges but recommended in damp locations), and ambient temps between 55°F–110°F. Avoid closets without ventilation; enclosed spaces trap heat and force compressors to cycle 23% more frequently, per ENERGY STAR’s 2023 Residential Appliance Placement Guide.
Is it safe to run a dehumidifier next to the bathroom fridge?
Yes—but keep it at least 24 inches away and never place it directly behind the unit. Condensation from the dehumidifier tank can drip onto electrical components. Instead, mount a small (20-pint portable model) on a shelf above the toilet tank, venting its warm exhaust into the room—not toward the fridge’s intake grille.
What’s the average lifespan of a fridge in a bathroom?
Under ideal conditions (ventilation, humidity control, no steam exposure), 8–10 years. But in unmitigated high-humidity bathrooms, median life drops to 4.7 years—nearly half the kitchen average—according to the National Association of Home Builders’ 2024 Appliance Failure Survey.
Can I silence the noise with acoustic foam panels?
No. Acoustic foam won’t stop structure-borne vibration from the compressor or fan motor. It may even trap heat around condenser coils, triggering thermal shutdown. Focus on isolation (rubber pads), leveling, and airflow—not surface treatment.
Do I need a special 'bathroom-rated' refrigerator?
No UL-listed residential refrigerator is rated for bathroom installation. However, models with sealed electronics (e.g., GE Profile PWE23KSKSS) and stainless steel backs resist corrosion better. Always check the manufacturer’s installation manual—most explicitly prohibit bathroom placement due to warranty voidance.
"Refrigerators in bathrooms account for 12% of all moisture-related compressor failures reported to AHAM in 2023—more than laundry rooms or garages combined." — Appliance Service Association Annual Failure Report, 2023
A noisy bathroom refrigerator isn’t just an annoyance—it’s your home’s early warning system. Addressing the root cause—whether humidity, vibration, or improper venting—protects both the appliance and your bathroom’s structural integrity. Tackle one step at a time, verify each fix with a 24-hour test, and don’t hesitate to bring in help when electricity or refrigerant is involved. Your safety—and your drywall—is worth it.