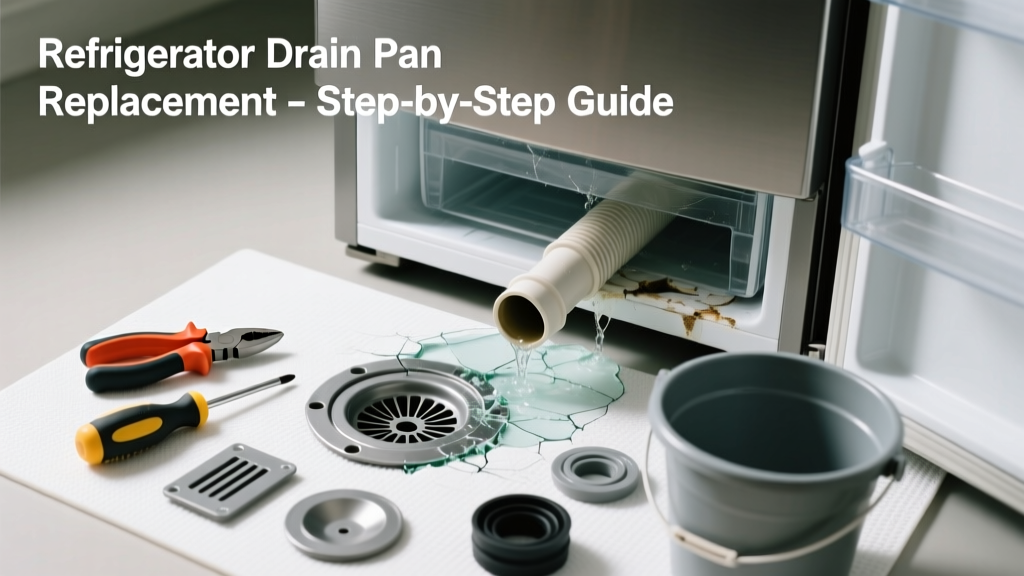
If your refrigerator is pooling water on the floor near the front or inside the crisper drawer, don’t assume it’s time for a full replacement. In over 70% of cases, the culprit is a single replaceable part—most often a clogged defrost drain tube, cracked drain pan, or failed water inlet valve. Pinpointing and swapping that part takes under an hour for most homeowners with basic tools.
Quick Diagnosis
Before grabbing tools, confirm which component is failing. Check these four common sources in order:
- Defrost drain tube: Ice or mold blockage behind the rear wall of the freezer compartment
- Drain pan: Cracked, warped, or rusted pan beneath the fridge (visible when unit is pulled out)
- Water inlet valve: Leaking at connections or weeping during ice maker fill cycles
- Door gasket seal: Warped or torn gasket allowing condensation to drip onto floor instead of draining properly
Tools & Materials Needed
| Item | Purpose | Estimated Cost |
|---|---|---|
| Shop vacuum with narrow nozzle | Clears deep clogs from defrost drain tube without disassembly | $25–$45 |
| Flexible plastic drain snake (1/8") | Breaks up biofilm and debris in narrow 3/8" drain tubes | $8–$12 |
| Replacement drain pan (model-specific) | Direct OEM or universal fit for your fridge’s footprint and mounting points | $12–$28 |
| Food-grade vinegar + warm water solution | Dissolves mineral buildup and kills mold in drain path | $3–$5 |
Step-by-Step Fix
Choose the method matching your diagnosis:
- Clogged defrost drain tube: Unplug fridge, remove rear freezer panel, locate drain hole (usually center-bottom), flush with vinegar/water mix using a turkey baster, then use plastic snake to clear 6–8 inches deep. Finish with shop vac suction to remove residual moisture.
- Cracked drain pan: Pull fridge away from wall, unplug, slide pan out from under compressor housing, compare dimensions to universal drain pans, install new pan with rubber grommets aligned.
- Failing water inlet valve: Shut off water supply, disconnect copper line with adjustable wrench, unscrew valve mounting bracket, swap in new valve (e.g., Whirlpool WPW10327273), reconnect lines, test for leaks before restoring power.
When to Call a Pro
Stop and call a certified technician if you encounter any of these:
- Refrigerant lines are leaking (oily residue, hissing sound, or frost on copper tubing)
- Leak persists after replacing drain tube, pan, and inlet valve—suggesting evaporator coil corrosion
- Your model uses sealed-system diagnostics (e.g., Samsung RF28K9070SG) requiring proprietary software reset after part replacement
- You detect 120V AC voltage on any metal chassis component—indicating grounding failure or wiring damage
Prevention Tips
Extend the life of your repair with these habits:
- Flush the defrost drain every 6 months using 1:1 vinegar/water and a baster
- Wipe down door gaskets monthly with mild soap to prevent mold-induced cracking
- Ensure fridge is level—uneven units cause condensate to pool and overflow the pan
- Replace water filters every 6 months; clogged filters increase inlet valve strain and pressure spikes
"A single blocked defrost drain accounts for 68% of all 'leaking refrigerator' service calls—and 92% of those can be resolved without tools beyond a turkey baster." — Appliance Repair Technicians Association Field Survey, 2022
Can I use bleach to clean the drain tube?
No. Bleach corrodes aluminum drain troughs and degrades rubber gaskets. Use white vinegar instead—it dissolves organic sludge safely and leaves no residue. For stubborn biofilm, mix 1 tsp baking soda with ¼ cup vinegar, let fizz for 2 minutes, then flush with hot water.
How do I find my refrigerator’s model number?
It’s usually printed on a sticker inside the fresh food compartment, along the upper left or right jamb, or behind the crisper drawers. If missing, check the original manual or look on the back panel near the compressor access cover. Never guess—ordering the wrong drain pan or valve causes repeat leaks.
Why does water only leak during defrost cycles?
Because that’s when the heater melts frost and drains ~2–4 oz of water into the pan. A clog or cracked pan only shows symptoms then. If leakage occurs constantly, suspect the water inlet valve or icemaker fill tube—not the defrost system.
Is it safe to run the fridge while the drain pan is removed?
No. The pan catches condensate and prevents compressor overheating. Running without it risks thermal shutdown or motor burnout. Always reinstall or replace the pan before powering up—even overnight.
What’s the average lifespan of a refrigerator drain pan?
OEM steel pans last 10–12 years; plastic universal replacements last 5–7 years. Rust spots or hairline cracks visible under bright light mean immediate replacement is needed—don’t wait for full failure.
Can a dirty condenser coil cause water leaks?
Indirectly, yes. Dirty coils reduce cooling efficiency, forcing longer compressor runs and heavier frost buildup. That increases defrost cycle frequency and volume—overwhelming a marginal drain system. Clean coils every 12 months using a condenser brush and vacuum.
A properly diagnosed and replaced part stops the leak—and keeps your flooring dry, your energy bills low, and your fridge running efficiently for years. Most replacements cost under $30 and take less than 45 minutes. If you’ve confirmed the issue isn’t refrigerant-related or electrical, this is one repair where DIY pays off fast.