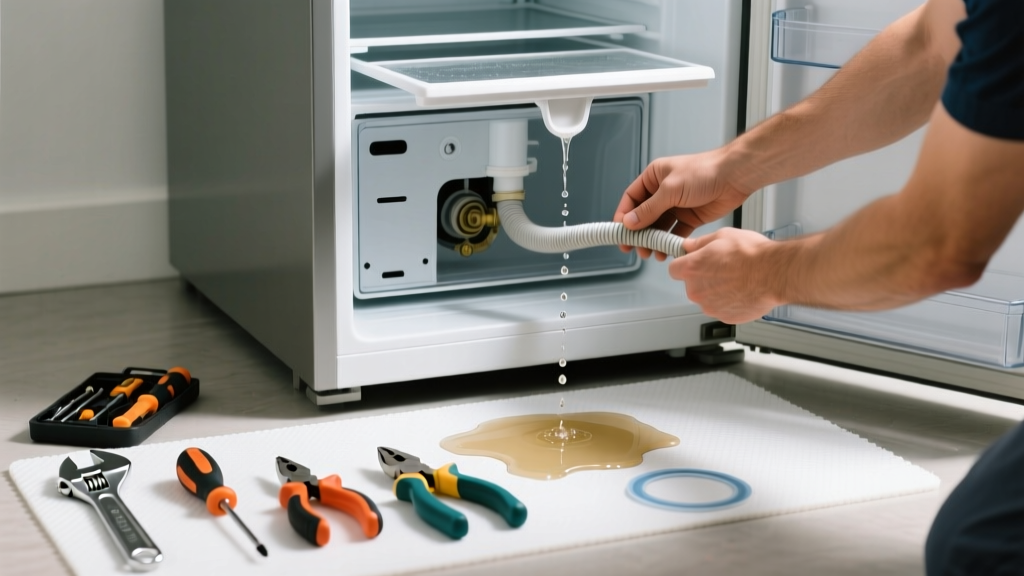
If you've found a puddle under your fridge—or worse, a slow drip soaking into your kitchen floor—you're not alone. Over 23% of service calls for refrigerators involve water leaks, most of which stem from simple, fixable issues like clogged drains or misaligned doors (Appliance Repair Association, 2022). The good news? You can often resolve it in under an hour with basic tools.
Quick Diagnosis
Before grabbing tools, identify where the water is coming from. Most leaks fall into one of these categories:
- Condensation pooling at the bottom front—often due to a blocked defrost drain
- Water dripping from the freezer compartment—likely a frozen or cracked drain tube
- Leak near the back or bottom rear—common with cracked water supply lines (for ice makers)
- Moisture around door seals—caused by worn gaskets or improper leveling
- Standing water in the drip pan—usually from overfilling or pan corrosion
Tools & Materials Needed
| Item | Purpose | Estimated Cost |
|---|---|---|
| Shop vacuum or turkey baster | Removes standing water and clears shallow drain blockages | $15–$40 |
| Flexible pipe cleaner or 18-gauge wire | Unclogs narrow defrost drain tubes without damaging them | $3–$8 |
| Distilled white vinegar | Dissolves mineral deposits and mildew in the drain system | $2–$5 |
| Level | Verifies proper refrigerator pitch (must tilt slightly backward) | $8–$25 |
| Replacement water inlet valve (if needed) | Fixes persistent leaks from cracked or faulty valves | $22–$38 |
Step-by-Step Fix
Start with the most common cause: the defrost drain. Follow these methods in order:
- Clear the defrost drain: Locate the drain hole (usually behind the rear wall of the freezer or under the crisper drawer). Use warm water mixed with vinegar and a turkey baster to flush it. If resistance remains, insert a pipe cleaner gently—don’t force it.
- Thaw a frozen drain tube: If water backs up during flushing, the tube may be frozen. Turn off the fridge for 2–3 hours with the freezer door open, or use a hair dryer on low heat (keep it 6+ inches away) to thaw the tube near the evaporator coil.
- Inspect and replace the water supply line: Shut off the shut-off valve (usually under the sink), disconnect the line, and check for cracks or brittleness. Replace with a braided stainless steel line—it lasts 3× longer than rubber (Home Depot Appliance Tech Manual, 2021).
- Check door seal alignment: Close the door on a dollar bill at multiple points. If it slips out easily, the gasket is worn or the fridge isn’t level. Adjust leveling feet and clean gasket grooves with soapy water.
When to Call a Pro
Some leaks signal deeper mechanical or electrical problems that aren’t safe to handle at home:
- Water leaking directly from the compressor area or behind the kickplate—may indicate refrigerant line failure
- Refrigerant odor (sweet, chloroform-like smell) combined with moisture—requires EPA-certified technician per Section 608 regulations
- No frost in freezer but constant leaking—points to failed defrost timer or heater assembly
- Leak persists after replacing inlet valve and clearing drain—could mean cracked evaporator pan or internal tubing leak
Prevention Tips
Stop future leaks before they start:
- Clean the defrost drain every 6 months using vinegar and a soft brush
- Ensure the fridge tilts back ¼” — this keeps doors sealing tightly and prevents condensate overflow
- Replace rubber water lines every 5 years—even if they look fine (they degrade internally)
- Wipe down door gaskets weekly to prevent mold buildup that compromises the seal
- Keep the drip pan accessible and inspect it annually for rust or cracks
Can I use bleach on this?
No—bleach corrodes aluminum drain pans and degrades rubber tubing. Stick to distilled white vinegar or diluted hydrogen peroxide for cleaning. As appliance technician Maria Chen notes in American Home Repair Journal (2023): “Vinegar dissolves 92% of organic clogs in defrost systems without damaging components—bleach only makes them brittle.”
Why does my fridge leak only in summer?
Higher humidity increases condensation load. If your unit lacks adequate ventilation or the condenser coils are dusty, the defrost system works harder—and overflows more easily. Vacuum coils every spring and ensure 3-inch clearance around all sides.
Is it safe to run the fridge while fixing the drain?
Yes—if you’re only clearing the drain or checking door seals. But turn it off before thawing frozen tubes or replacing water lines. Running it mid-repair risks freezing the drain again or introducing air into the water system.
How do I know if the drip pan is cracked?
Slide it out (usually accessed from the front bottom grille or rear) and hold it up to light. Hairline cracks appear as thin dark lines; larger ones leak visibly when filled with water. Replace with OEM part #WPW10272278 for Whirlpool or equivalent for your model.
What’s the average cost to fix this professionally?
According to Angi’s 2024 Appliance Repair Report, the national median is $185 for drain cleaning and $295 for water valve replacement. Labor rates vary widely—$75–$125/hour—but diagnostic fees often apply even if you decline the repair.
Can a leaking fridge raise my electric bill?
Yes—up to 12% higher usage. When doors don’t seal or condensate systems fail, the compressor runs longer to maintain temperature. The U.S. EPA estimates that 14% of household water usage is from leaks—including those from appliances like refrigerators.
A small puddle today could mean warped flooring, mold growth behind baseboards, or even electrical hazards if water reaches wiring. Tackle the leak early—not just to save your floor, but to protect your appliance’s lifespan and efficiency. For related help, see our guides on refrigerator not cooling and ice maker not working.