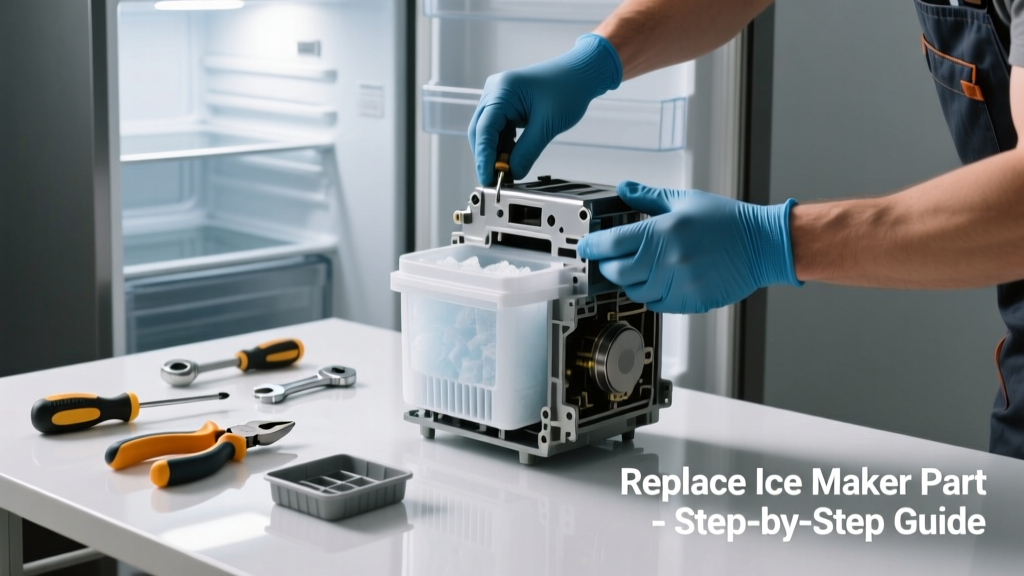
If your refrigerator’s ice maker suddenly stopped producing cubes—or worse, it’s making weird noises and leaking water—you’re likely dealing with a failed component, not a system-wide failure. Most ice makers have one or two parts that fail far more often than others, and replacing them takes under an hour with basic tools. Don’t toss the whole unit yet—this is almost always a targeted fix.
Quick Diagnosis
Before buying parts, rule out simple causes first. Many 'broken' ice makers are just frozen, misaligned, or starved of water:
- Check if the ice maker is turned off (look for a wire shutoff arm or toggle switch)
- Verify the freezer temperature is at or below 0°F (−18°C)—ice makers won’t cycle above 10°F
- Inspect the fill tube behind the ice maker for ice blockage (a common cause in Whirlpool and Maytag units)
- Listen for a humming or clicking sound when the cycle should start—indicates power but possible motor or gear failure
- Confirm water supply valve is fully open and the line isn’t kinked or frozen
Tools & Materials Needed
| Item | Purpose | Estimated Cost |
|---|---|---|
| Phillips #2 screwdriver | Removes mounting screws and access panels | $4–$8 |
| Needle-nose pliers | Disconnects wiring harnesses and pulls frozen tubes | $7–$12 |
| Small adjustable wrench | Tightens water inlet valve connections without stripping threads | $9–$15 |
| Replacement ice maker assembly (model-specific) | Most common fix: OEM part like Whirlpool W10882923 or GE WR30X10093 | $85–$145 |
| Insulated gloves | Protect hands from sharp edges and cold metal surfaces | $6–$10 |
Step-by-Step Fix
Follow these methods in order—start with the simplest replacement first:
- Replace the ice maker module: Unplug fridge, remove rear cover panel, disconnect wiring harness, unscrew mounting bracket, and swap in new OEM unit. Reconnect and reset by lifting and lowering the shut-off arm twice.
- Swap the water inlet valve: If no water fills the mold after checking supply lines, test valve continuity with a multimeter (should read 200–500 ohms). Replace if open-circuit; located near compressor base on most models.
- Clean or replace the fill tube heater: In GE and some Samsung models, a small heater prevents tube freeze-up. If ice blocks the tube repeatedly, test heater resistance (should be ~100–200 Ω); replace if open.
When to Call a Pro
Stop and call a certified technician if you encounter any of these:
- Water leakage at the back of the unit during disassembly—could indicate cracked manifold or main water line damage
- No voltage reading at the ice maker’s harness terminals (suggests control board or main harness fault)
- Refrigerant lines exposed or damaged while accessing components
- Your model uses a sealed electronic control board integrated into the ice maker (e.g., newer LG Linear Compressor units)
According to the U.S. EPA estimates that 14% of household water usage is from leaks—including those caused by failed ice maker valves—and improper DIY repairs can double that waste in minutes.
Prevention Tips
Maintaining your ice maker extends its life and avoids repeat failures:
- Replace the water filter every 6 months—even if the indicator hasn’t lit up (clogged filters reduce pressure and cause incomplete fills)
- Defrost the freezer manually once per year if frost exceeds ¼ inch—excess frost insulates sensors and stresses motors
- Run a vinegar-water flush through the water line annually using a turkey baster to clear mineral buildup
- Avoid overloading the ice bin—the weight can bend the ejection arm and jam gears over time
How do I find the correct replacement part for my model?
Locate the full model number (usually on a sticker inside the door frame or behind the crisper drawer), then cross-reference it with manufacturer parts diagrams. Use our model number lookup tool to match OEM assemblies—generic kits rarely fit correctly and void warranties.
Can I use compressed air to clear a frozen fill tube?
Yes—but only if the tube is accessible and made of rigid plastic or copper. Never use compressed air on flexible rubber tubing (common in Frigidaire and KitchenAid), as pressure can burst it. Instead, apply a warm (not hot) damp cloth for 10 minutes, then gently probe with a plastic zip tie.
Why does my new ice maker make hollow or small cubes?
This points to low water pressure—not a defective unit. Test pressure at the supply line: it must deliver ≥20 psi. If below, clean the saddle valve or install a dedicated 1/4" compression shutoff valve. Also check for kinks in the 1/4" copper or braided line.
Is it safe to bypass the ice maker’s safety shutoff arm?
No. That arm detects bin fullness and stops cycling. Bypassing it risks motor burnout, overflow, and water spillage onto electrical components. If the arm sticks, clean it with isopropyl alcohol and cotton swabs—not lubricants, which attract dust and ice crystals.
Do I need to replace the entire ice maker if only the ejector blades are broken?
Usually yes. Ejector blades are molded into the gear motor assembly on 90% of modern units (Whirlpool, GE, Samsung). Attempting blade-only replacement risks gear misalignment and premature failure. The full assembly costs $85–$120 and includes tested, matched components.
How long should a replacement ice maker last?
OEM units typically last 5–7 years under normal use (3–4 batches daily), per the Appliance Service Association’s 2022 Field Repair Survey. Units in hard-water areas or homes with unfiltered supply average 3–4 years unless maintained properly.
Replacing the right part—whether it’s the ice maker module, water valve, or heater—is faster and cheaper than you think. Most people spend more time locating their model number than doing the actual repair. Keep your freezer running smoothly by addressing symptoms early and using genuine parts designed for your exact unit. For related help, see our guides on refrigerator water leak behind fridge and how to clean refrigerator coils.