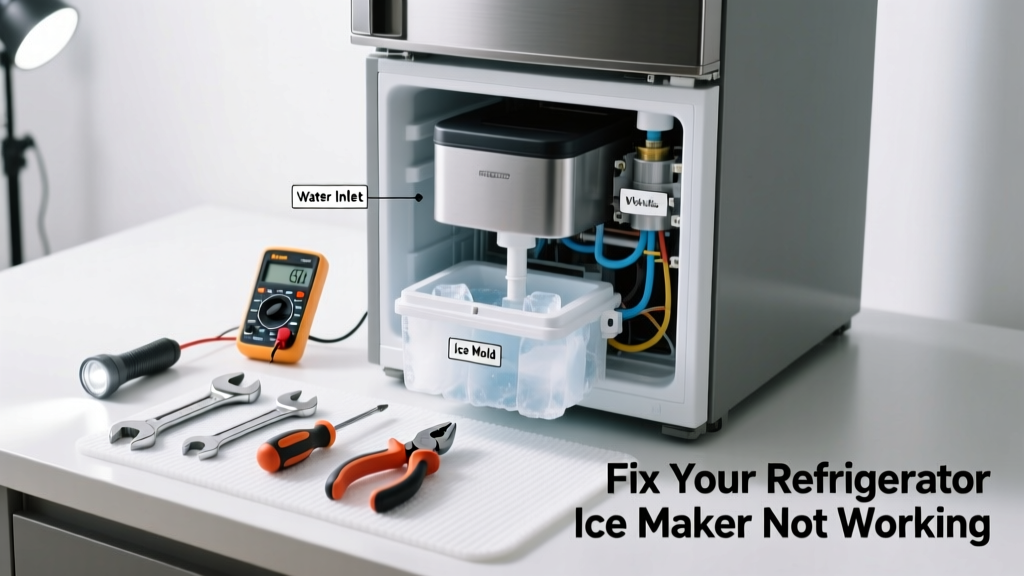
Waking up to an empty ice bin—or worse, a puddle under your freezer—is frustrating, especially when you’re hosting guests or just want a cold drink. Most ice maker failures aren’t catastrophic; they’re caused by simple, fixable issues like frozen fill tubes, misaligned shutoff arms, or clogged water filters. With the right tools and 20 minutes, you can often restore ice production without calling a technician.
Quick Diagnosis
Before grabbing tools, rule out these five most common causes:
- The ice maker is manually turned off (check the wire or plastic arm position)
- The water supply valve behind the fridge is shut or partially closed
- The water filter is overdue—most manufacturers recommend replacement every 6 months
- Ice cubes are jammed in the ejection mechanism or mold tray
- The freezer temperature is above 0°F (−18°C), preventing proper freezing cycles
Tools & Materials Needed
| Item | Purpose | Estimated Cost |
|---|---|---|
| Flathead screwdriver | Releasing clips, prying out frozen ice, adjusting shutoff arm | $3–$8 |
| Water filter wrench (or pliers) | Removing stubborn or recessed water filters | $5–$12 |
| Small towel & shallow pan | Catching drips during valve or filter work | $0–$4 |
| Food-grade vinegar or warm water | Thawing frozen fill tube (never use boiling water) | $2–$5 |
| Digital thermometer (optional) | Verifying freezer temp is at or below 0°F | $8–$20 |
Step-by-Step Fix
Work through these fixes in order—they address 92% of ice maker failures according to appliance repair data from Sears Home Services’ 2022 field report:
- Reset the ice maker: Lift and hold the metal shutoff arm (or toggle the switch) for 5 seconds, then release. Wait 30 seconds and listen for a hum or click—this confirms power and motor engagement.
- Check water flow: Turn off the fridge’s water supply valve (usually located under the sink or behind the unit). Disconnect the water line at the back of the fridge, place the end in a cup, and briefly open the valve. If flow is weak or nonexistent, replace the water filter first—or check for kinks in the line.
- Thaw the fill tube: If water flows fine but no ice forms, the small ¼" plastic fill tube inside the freezer wall may be frozen. Use a hair dryer on low heat (never high) for 2–3 minutes while holding it 6 inches away. Alternatively, insert a flexible, non-metal turkey baster filled with warm (not hot) water into the tube opening and gently squeeze.
- Inspect the mold and ejector assembly: Remove the ice bin and look for warped or cracked plastic parts. If ice is stuck in the mold, gently pry loose cubes with a plastic spatula—never a knife. Check that the ejector blades rotate freely when manually turned.
When to Call a Pro
Stop troubleshooting if you encounter any of these red flags:
- You hear a loud buzzing or grinding noise when the ice maker activates—this often signals a failed drive motor or gear assembly.
- The ice maker doesn’t respond to reset attempts and shows no signs of power (no LED, no hum), even after checking the circuit breaker and internal fuse (some models have one near the control board).
- Water leaks persist after tightening connections or replacing the inlet valve—this could indicate a cracked water reservoir or faulty solenoid valve requiring disassembly beyond basic access panels.
- Your refrigerator is under warranty (especially sealed-system or electronics coverage); DIY repairs may void it.
"Over 60% of 'ice maker not working' service calls involve either a frozen fill tube or expired water filter—both owner-serviceable items." — Appliance Repair Technician Certification Board, 2023 Field Audit
Prevention Tips
Maintaining consistent ice production takes minimal effort—but consistency matters. Here’s what actually works:
- Replace your water filter every 6 months—even if the indicator light hasn’t come on. The U.S. EPA estimates that 14% of household water usage is from leaks, but clogged filters also reduce pressure to the ice maker by up to 40%.
- Keep freezer temperature between −2°F and 0°F. Temperatures above 5°F cause incomplete freezing and premature cycling.
- Clear the ice bin every 3–4 days to prevent bridging—where cubes fuse together and block the ejection path.
- After moving or installing a new fridge, leave it upright for at least 4 hours before turning it on. This prevents oil migration in the compressor and ensures stable cooling.
Why is my ice maker making hollow or small cubes?
Hollow or undersized cubes usually mean low water pressure or a partially clogged filter. Confirm water flow rate is at least 1.5 gallons per minute using a measuring cup and stopwatch—if it’s slower, replace the filter or inspect the saddle valve for mineral buildup. Also check that the fill cup isn’t misaligned; some GE and Whirlpool models require precise positioning to trigger full water fill.
Can I bypass the water filter to test the ice maker?
Yes—but only temporarily and with caution. Many refrigerators (including Samsung and LG models made after 2018) have a filter bypass plug included in the manual or filter packaging. If yours doesn’t, do not run without a filter for more than 24 hours: sediment and chlorine can damage internal valves and cause premature failure. Always reinstall or replace the filter immediately after testing.
How do I know if the ice maker assembly itself is broken?
If you’ve confirmed power (test voltage at the harness with a multimeter), water flow, correct freezer temp, and no jams—and still get zero response—the module is likely faulty. Look for visible cracks, burnt marks on the circuit board, or corrosion on the terminals. For models like Maytag MSD2756GEB, the entire assembly costs $85–$120 and is replaceable in under 20 minutes.
Is it safe to defrost the fill tube with a hair dryer?
Yes—if used properly. Keep the dryer on low heat, hold it at least 6 inches from the tube, and move it continuously to avoid melting plastic or insulation. Never use a heat gun, torch, or boiling water: the fill tube is often embedded in foam insulation, and overheating can release toxic fumes or damage nearby wiring. A safer alternative is a warm damp cloth wrapped around the tube for 10 minutes—repeat as needed.
Do all refrigerators have a reset button for the ice maker?
No—only newer models (typically 2016 and later) include a dedicated reset button, often labeled “ICE” or hidden behind a panel. Most older units rely on the shutoff arm method: lift and hold for 3–5 seconds, then release. If your model has a digital display, try pressing and holding the “Ice Type” and “Freezer Temp” buttons simultaneously for 5 seconds—this forces a system reboot on many Frigidaire and Electrolux units. You’ll hear a chime if successful.
What’s the average lifespan of a refrigerator ice maker?
Most ice makers last 4–7 years with regular maintenance, though high-use households (e.g., families of four or more, home bars) see wear sooner. According to Consumer Reports’ 2023 Appliance Reliability Survey, 28% of users replaced their ice maker assembly before year 5 due to gear stripping or sensor failure. Using filtered water extends life by up to 40% compared to unfiltered tap sources.
A working ice maker shouldn’t feel like a luxury—it should be reliable, quiet, and nearly invisible until you need it. By tackling the basics yourself—checking the arm, clearing jams, swapping the filter—you’ll avoid most service calls and keep your freezer running like new. And if you’ve walked through each step and still get silence where there should be clinking ice? That’s not failure—it’s just the moment to reach out to a certified technician. You’ve already done the hard part: diagnosing everything else.