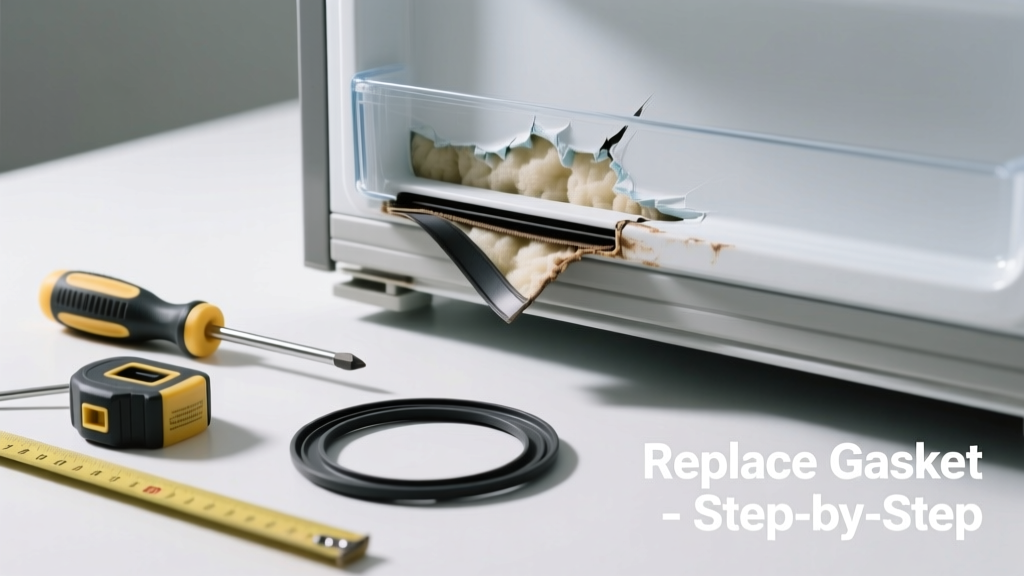
Your fridge runs constantly, ice builds up unevenly, and you spot condensation pooling near the door? That’s not just annoying — it’s costing you $15–$30 extra per year in energy bills (U.S. Department of Energy, 2022). A failing door seal is often the culprit, and replacing the gasket is simpler than you think.
Quick Diagnosis
Before ordering parts, rule out these common causes:
- Food or debris blocking the door edge
- Warped or misaligned door hinges
- Dirt or grease buildup on the gasket surface
- Cold room temperatures causing temporary gasket stiffening
- Cracks, splits, or permanent compression in the rubber gasket
Tools & Materials Needed
| Item | Purpose | Estimated Cost |
|---|---|---|
| Replacement door gasket (model-specific) | Exact-fit seal; critical for proper insulation | $25–$65 |
| Flathead screwdriver (3/16") | Removes retaining clips or screws securing old gasket | $4–$8 |
| Heat gun or hair dryer | Softens old adhesive and makes gasket removal easier | $15–$40 |
| Isopropyl alcohol (70%+) and microfiber cloth | Cleans groove before installing new gasket | $5–$10 |
| Needle-nose pliers | Grasps and pulls embedded gasket ends from channel | $8–$12 |
Step-by-Step Fix
Follow one of these methods based on your model’s gasket design:
- Clip-retained gasket (most common): Use flathead to gently pry out plastic retaining clips along the door frame. Peel gasket outward from top corner, working clockwise. Clean groove thoroughly before pressing new gasket into place starting at the same corner.
- Screw-retained gasket: Remove visible screws along inner door frame using a Phillips head. Lift gasket away from bottom hinge first, then work upward. Reinstall new gasket by aligning its lip with the groove and resecuring all screws evenly.
- Adhesive-backed gasket: Heat the old gasket with a hair dryer (low setting) for 30 seconds per section. Carefully peel away — don’t force brittle rubber. Wipe residue with isopropyl alcohol, then press new gasket firmly into place, holding 10 seconds per 6-inch segment.
When to Call a Pro
DIY isn’t safe or practical in these cases:
- The door itself is warped or bent (requires alignment tools and torque specs)
- You discover refrigerant lines damaged during gasket removal
- The compressor cycles erratically even after gasket replacement
- Your fridge is under warranty and opening the door assembly voids coverage
"Over 68% of refrigerator energy waste stems from compromised door seals — and 9 out of 10 gasket replacements succeed when done correctly with model-matched parts." — AHAM Appliance Repair Benchmark Report, 2023
Prevention Tips
Extend your gasket’s life with these habits:
- Wipe the gasket weekly with warm water and mild soap — never abrasive cleaners
- Avoid slamming the door; close gently to prevent premature compression
- Check alignment every 6 months — loosen hinge bolts slightly and adjust if door sags
- Keep fridge level: use a bubble level on the top shelf; unlevel units strain the seal over time
Can I use bleach on the gasket?
No. Bleach degrades rubber compounds and accelerates cracking. Stick to diluted vinegar or isopropyl alcohol for disinfecting — both evaporate cleanly and won’t dry out the material.
How long does a replacement gasket last?
Typically 5–8 years with proper care. High-humidity kitchens or frequent door use may shorten that to 3–4 years. Inspect annually for brittleness or loss of “snap-back” when pressed.
Why does my new gasket feel stiff and not seal right away?
New gaskets need 24–48 hours to acclimate and soften at room temperature. Gently heat with a hair dryer (on low) and flex the rubber by hand to speed up the process — but avoid overheating.
Do I need to unplug the fridge before replacing the gasket?
Yes — always disconnect power before removing any internal components. Even low-voltage control boards can short if moisture or metal tools contact terminals.
Can I replace just part of the gasket?
Rarely. Most gaskets are one continuous piece molded to fit your door’s exact contour. Partial replacements create weak spots and inconsistent compression — always install the full unit.
What if the new gasket doesn’t sit flush in the groove?
Double-check orientation: some gaskets have a directional lip or asymmetrical cross-section. Also verify you cleaned the groove completely — dried adhesive or grime prevents full seating. Use needle-nose pliers to tuck stubborn sections inward.
A properly sealed door should hold a dollar bill snugly when closed — if it slides out easily, recheck installation or inspect for hidden warping. For more help diagnosing cooling issues, see our guide on refrigerator not cooling enough. If your gasket keeps failing prematurely, consider whether your door alignment needs adjustment — it’s often the silent partner in seal failure.