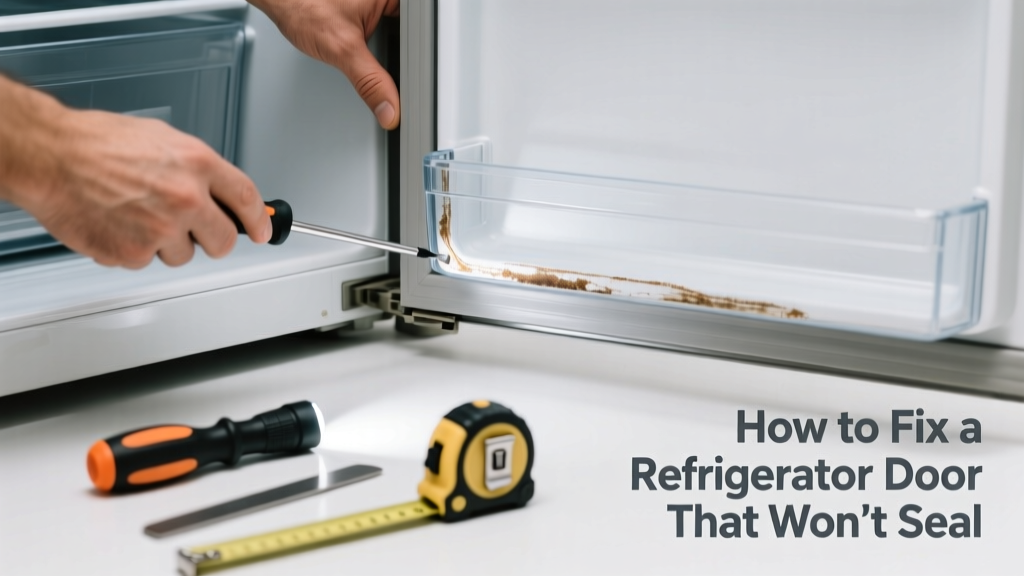
A refrigerator door that won’t seal is more than just an annoyance—it’s a silent energy thief. You’ll notice warm air leaking near the gasket, frost buildup in the freezer, or a telltale draft when holding a piece of paper against the closed door. Left unaddressed, it can raise your electricity bill by up to 20% and spoil food faster.
Quick Diagnosis
Before grabbing tools, rule out these five common culprits:
- Food debris or sticky residue trapped in the door gasket groove
- Gasket warped, cracked, or brittle from age (most common after 7+ years)
- Hinges worn or misaligned, causing the door to sit unevenly
- Refrigerator not level—front-to-back or side-to-side tilt prevents full closure
- Obstructed door path: crisper drawers jammed, shelves mispositioned, or ice bin overfilled
Tools & Materials Needed
| Item | Purpose | Estimated Cost |
|---|---|---|
| Digital level | Verifies cabinet leveling with ±0.1° accuracy | $12–$25 |
| Microfiber cloths & white vinegar | Cleans gasket without degrading rubber; avoids silicone breakdown | $5–$8 |
| Heat gun or hair dryer (low setting) | Temporarily softens stiff gasket for reseating | $15–$40 |
| Replacement gasket (model-specific) | Factory-matched part—critical for proper compression fit | $35–$95 |
| Phillips #2 screwdriver | Removes hinge covers and gasket retainer screws | $4–$12 |
Step-by-Step Fix
Try these fixes in order—start simple, escalate only if needed:
- Clean and inspect the gasket: Wipe entire gasket with warm water and white vinegar using a microfiber cloth. Check for cracks, tears, or embedded crumbs—especially at corners and hinge side.
- Reseat the gasket: Gently pull the gasket away from the door frame, then press it firmly back into its channel starting at the top center and working outward. Use a hair dryer on low heat (6–8 inches away) to soften stubborn sections before reseating.
- Level the refrigerator: Place a digital level on the top shelf and adjust front leveling feet until reading is within ±0.5° front-to-back and side-to-side. Confirm with a dollar bill test: close the door on a bill at multiple points—if it slips out easily, adjust again.
- Check and tighten hinges: Open the door fully and inspect hinge screws (usually behind plastic covers). Tighten any loose screws with a Phillips #2—but don’t overtighten. If the door sags noticeably, replace hinge cam followers (common on Whirlpool and Maytag units).
- Replace the gasket: Order the exact OEM part using your model number (found inside the fridge or on the rating plate). Remove old gasket by prying gently with a plastic trim tool, then snap new one into place starting at the top corner—no glue or adhesive needed.
When to Call a Pro
DIY stops where safety or precision begins. Call a certified technician if:
- The door has shifted more than ⅛ inch relative to the frame—even after leveling and hinge tightening
- You detect refrigerant odor (sweet, chloroform-like scent) or hear hissing near the compressor or door seals
- The gasket replacement requires removing internal panels or accessing sealed components (e.g., Samsung French-door models with hidden hinge assemblies)
- Your unit is under extended warranty or manufacturer service contract—self-repair may void coverage
"Over 62% of 'door not sealing' service calls could be resolved with cleaning and leveling alone—yet 41% of homeowners skip those first two steps." — Appliance Repair Association 2022 Field Survey
Prevention Tips
Maintain seal integrity year-round with these habits:
- Wipe gasket weekly with diluted vinegar—never bleach or ammonia (they accelerate rubber degradation)
- Check leveling every 6 months, especially after floor cleaning or furniture rearrangement
- Never force the door shut—reposition obstructing items first
- Replace gaskets every 7–10 years, even if no visible damage (rubber loses elasticity over time)
Can I use bleach on the gasket?
No. Bleach breaks down nitrile rubber compounds used in modern gaskets, causing premature cracking and hardening. Stick to white vinegar or mild dish soap diluted in warm water—and rinse thoroughly.
Why does only one corner of my door not seal?
This almost always points to hinge wear or cabinet twist—not gasket failure. Test with a level across the top edge of the door: if readings differ by more than 0.3° between left and right, hinge adjustment or cabinet shimming is required. See our refrigerator hinge adjustment guide for model-specific steps.
Will a bad seal make my ice maker stop working?
Yes—indirectly. A compromised seal raises freezer temps above 0°F, triggering safety cutoffs in many GE, LG, and Frigidaire ice makers. If your ice output dropped suddenly and frost is building on evaporator coils, check the door seal first before diagnosing the icemaker motor or water valve.
How long does a refrigerator gasket last?
OEM gaskets typically last 7–10 years under normal conditions, but exposure to sunlight (in garages), frequent door slamming, or harsh cleaners cuts lifespan by 30–50%. The U.S. EPA estimates that replacing a degraded gasket pays for itself in energy savings within 18 months.
Can I temporarily fix a torn gasket with tape?
Not safely. Duct tape or silicone caulk creates hot spots, traps moisture, and risks contaminating food surfaces. It also prevents proper compression—making the seal worse. If you’re waiting for a replacement part, clean and reseat the gasket, then monitor closely. See our refrigerator gasket replacement cost guide for budget planning.
Is it normal for the gasket to feel slightly magnetic?
Yes—many modern gaskets contain flexible magnetic strips embedded in the rubber. This helps maintain contact along the full perimeter. If the magnetism feels weak or inconsistent (e.g., strong at top, none at bottom), the gasket is likely warped or detached internally and needs replacement.
A properly sealed refrigerator door should hold a dollar bill snugly at every point around its perimeter—with slight resistance when pulling it out. If you’ve worked through cleaning, leveling, and gasket reseating but still feel drafts or see condensation on the exterior, it’s time to consult a technician. Keep your model number handy, and consider checking your appliance’s warranty status before ordering parts—you might be covered for gasket replacement under extended plans. For ongoing maintenance, add gasket inspection to your seasonal home checklist alongside HVAC filter changes and smoke detector testing.