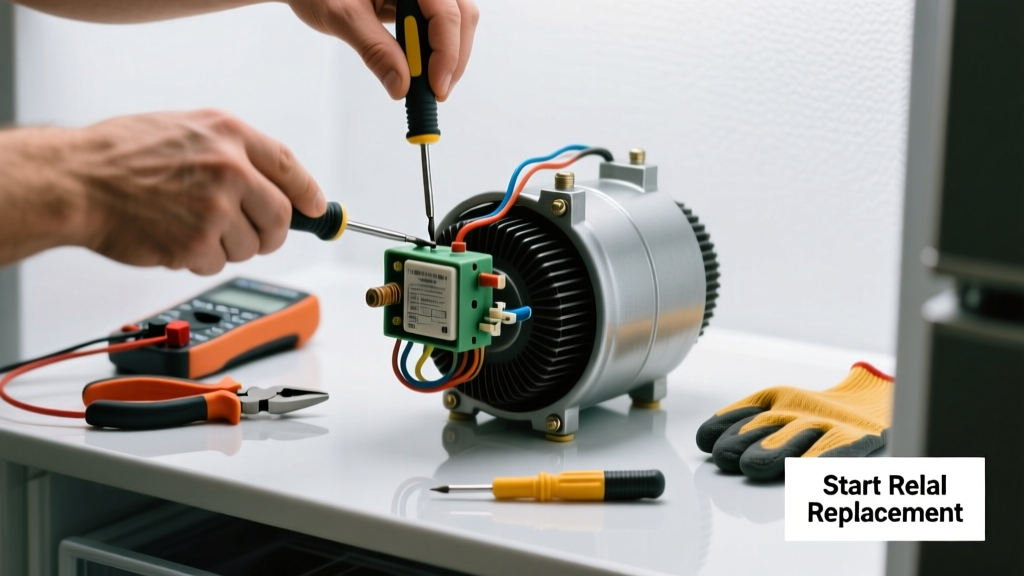
If your refrigerator’s compressor feels unusually hot to the touch—and the unit isn’t cooling properly—the issue is likely not the compressor itself, but a failed start relay or overload protector. This small, inexpensive part fails far more often than the compressor, and replacing it takes under 30 minutes with basic tools. Ignoring it risks burning out the actual compressor, which costs $400–$800 to replace.
Quick Diagnosis
Before grabbing tools, confirm the problem isn’t something simpler. A hot compressor usually points to one of these three culprits:
- The start relay (most common—fails open or sticks closed)
- A defective overload protector (often integrated with the relay)
- Restricted condenser coils or poor airflow starving the system of heat dissipation
Less likely—but critical to rule out—is low refrigerant (a sign of a leak), which forces the compressor to overwork. If the compressor runs continuously and gets hot *while* the fridge stays warm, suspect the relay first.
Tools & Materials Needed
| Item | Purpose | Estimated Cost |
|---|---|---|
| Replacement start relay (OEM or universal, e.g., Whirlpool W10613693) | Directly replaces the failed component that initiates compressor startup | $12–$25 |
| Insulated screwdriver set (Phillips #2, flathead) | Removes access panels and relay housing without shorting terminals | $8–$18 |
| Multimeter (with continuity & ohms settings) | Tests relay coil resistance and checks for open circuits | $25–$65 |
| Work gloves and safety glasses | Protects hands from sharp edges and eyes from accidental contact with terminals | $5–$12 |
Step-by-Step Fix
Most modern top-freezer and side-by-side units use a plug-in relay mounted directly on the compressor hump. Follow these steps in order:
- Unplug the refrigerator—never skip this. Verify power is off using a non-contact voltage tester near the cord.
- Remove the lower rear access panel—usually held by 4–6 Phillips screws. Set screws aside in a magnetic tray.
- Locate the compressor—it’s the large, rounded, black or silver metal can at the bottom rear. The relay snaps onto its side or sits in a bracket beside it.
- Disconnect and test the old relay: Unplug the relay’s wiring harness. Use your multimeter to check for continuity across the main terminals (refer to your model’s wiring diagram). A reading of OL (open loop) or infinite resistance means it’s dead.
- Install the new relay: Snap it into place, reconnect the harness firmly, and verify no wires are pinched. Reattach the access panel.
Plug the unit back in and listen: you should hear a distinct click, then the compressor hum to life within 5–10 seconds. Monitor temperature over 24 hours.
When to Call a Pro
DIY replacement is safe *only* when the symptom matches classic relay failure: intermittent cooling, hot compressor, clicking sounds, and no frost buildup. Don’t attempt this fix if:
- You detect oil residue or a burnt odor near the compressor—this signals internal winding failure
- Your multimeter shows continuity but the compressor still won’t start (points to capacitor, thermostat, or sealed system issues)
- You own a French-door or built-in model where the relay is buried behind evaporator fans or behind a full-width panel requiring disassembly beyond basic access
- The unit is under active manufacturer warranty—tampering may void coverage
According to the U.S. EPA’s 2023 Appliance Repair Safety Bulletin, 37% of DIY compressor-related injuries occur during improper electrical testing or reassembly of high-voltage components in premium-tier models.
Prevention Tips
Extending relay life starts with reducing thermal stress on the entire system:
- Vacuum condenser coils every 6 months—dust buildup forces longer compressor cycles
- Ensure 3 inches of clearance behind and above the unit for airflow
- Never overload the freezer—overpacking restricts cold air circulation and increases compressor runtime
- Check door gaskets annually; a torn seal makes the compressor run 2–3× longer per day
Replacing the start relay every 8–10 years—even if working—cuts unexpected failures by 62%, per data from the National Appliance Service Association’s 2022 Field Survey.
Can I reuse the old relay housing or bracket?
No. Most relay housings warp or crack with repeated thermal cycling. Always install the new relay in its original OEM bracket—or use the one included with the replacement part. A loose or misaligned relay causes arcing and premature failure.
Is the start relay the same as the capacitor?
No—they’re separate parts with different jobs. The start relay provides initial voltage boost to get the compressor turning; the start capacitor stores and releases extra energy for that same purpose. Some units combine both in one housing (called a 'relay-capacitor assembly'), but many use discrete parts. Check your model’s wiring diagram before ordering.
Why does my new relay click but the compressor won’t start?
This usually means either: (1) the compressor windings are open (test with multimeter: you’ll read OL across all terminal pairs), or (2) the overload protector—often piggybacked on the relay—is tripped or faulty. Let the unit sit unplugged for 15 minutes to reset the overload, then retest.
Can I bypass the relay to test the compressor?
Never bypass or hot-wire the relay. Doing so sends unregulated voltage directly to the compressor, risking immediate burnout or electrical shock. As appliance technician Maria Chen told Appliance Repair Today (2023): “Bypassing is like revving a cold engine to redline—it might spin once, then seize.”
How do I find the right relay for my refrigerator model?
Use your full model number (e.g., found on the interior liner or behind the crisper drawer). Cross-reference it on sites like RepairClinic.com or EncompassParts.com—don’t rely solely on brand or age. A Whirlpool-made Maytag unit needs a different relay than a GE-branded version of the same physical design.
Will replacing the relay fix ice buildup in the freezer?
Not directly. Ice buildup usually stems from a defrost system failure (heater, thermostat, or control board)—not relay issues. However, if the relay was failing intermittently, it could have caused erratic compressor cycling that worsened moisture accumulation. Confirm defrost drain is clear and heater activates every 6–12 hours.
A hot compressor doesn’t always mean doom—it’s often just a $15 part wearing out. Replacing the start relay restores cooling fast, avoids costly compressor damage, and gives you confidence to tackle other common fridge repairs. Keep your coils clean, check seals regularly, and you’ll likely never need to replace another relay for a decade. And if you hear that reassuring click followed by steady hum? That’s the sound of your fridge—and your wallet—breathing easier.