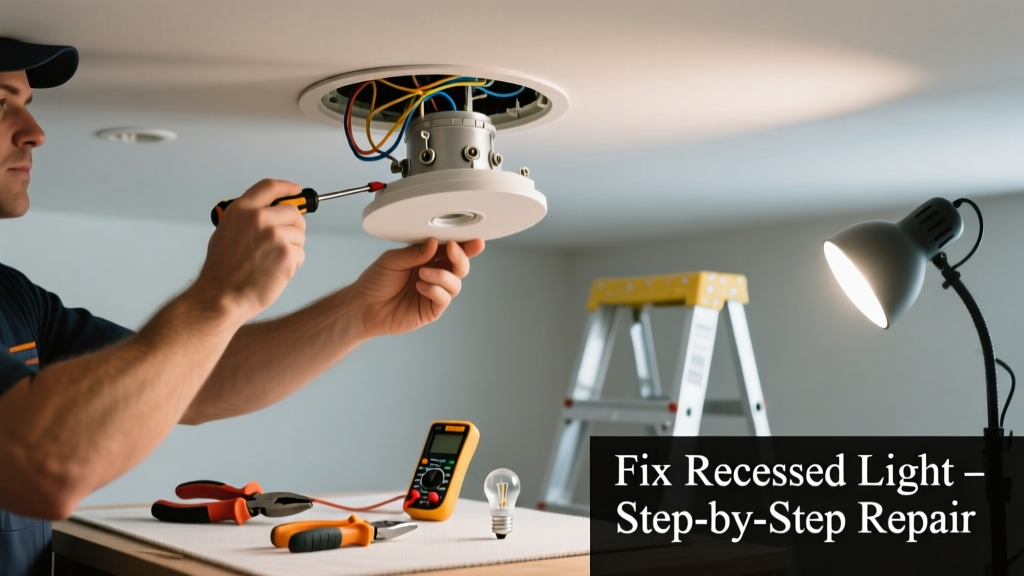
If your recessed light is tilting, dropping, or refusing to turn on—especially after years of reliable service—it’s likely not just a bulb issue. These fixtures rely on precise mounting, thermal management, and secure wiring; when any component fails, the whole unit can shift or short out. Ignoring it risks ceiling damage, overheating, or even fire.
Quick Diagnosis
Before grabbing tools, rule out these five most common culprits:
- The housing has loosened from joist anchors due to vibration or drywall shrinkage
- Thermal cut-off switch tripped (common in IC-rated cans with poor airflow)
- Worn or melted socket causing intermittent contact or bulb drop
- Loose or corroded wire nuts inside the junction box above the fixture
- LED retrofit kit incompatible with dimmer or housing depth
Tools & Materials Needed
| Item | Purpose | Estimated Cost |
|---|---|---|
| Non-contact voltage tester | Confirms power is off before touching wires—critical for safety | $12–$25 |
| Insulated Phillips screwdriver set | Tightens mounting brackets without risking shorts | $8–$18 |
| LED-compatible dimmer tester (e.g., Klein Tools RT210) | Verifies dimmer output matches fixture specs | $35–$65 |
| Recessed light support bracket (e.g., Halo H7ICAT) | Reinforces flange-mount housings prone to sagging | $9–$14 |
| Thermal paste (for LED drivers) | Improves heat dissipation in enclosed housings | $5–$12 |
Step-by-Step Fix
Start with power OFF at the breaker. Verify with your voltage tester. Then proceed:
- Inspect mounting hardware: Remove trim and gently lift the housing. Check if spring clips are bent, broken, or disengaged from joists. Tighten or replace clips using a screwdriver—don’t force them.
- Test thermal cutoff: Let the fixture cool completely (30+ minutes), then bypass the thermal switch temporarily with insulated alligator clips (only if you’re experienced). If light works, replace the housing or install an air gap kit per IC-rated housing guidelines.
- Replace socket or driver: For non-dimmable LEDs that flicker or drop, inspect the socket for discoloration or warping. Swap in a UL-listed, 120V AC socket rated for 100W+ incandescent equivalents (e.g., Leviton 6675-W).
- Upgrade wiring connections: Cut away old wire nuts, strip ½" of insulation, twist conductors clockwise, and secure with new WAGO 221 lever-nuts. Avoid solder-only joints—they fail under thermal cycling.
When to Call a Pro
Stop and call a licensed electrician if you encounter any of these:
- Aluminum wiring in the junction box (requires COPALUM crimps—not standard wire nuts)
- Smoke detector or HVAC duct interference behind the housing
- More than two recessed lights failing simultaneously—suggests circuit overload or panel issue
- Fixture mounted in insulated attic space without proper IC rating (fire hazard per NEC 410.116)
According to the National Fire Protection Association’s Electrical Safety Foundation International 2022 report, improper recessed lighting installation accounts for 12% of residential electrical fires involving lighting—most tied to thermal buildup in non-IC housings.
Prevention Tips
Extend fixture life and prevent future sagging or failure with these habits:
- Use only bulbs rated for enclosed fixtures—even if labeled “dimmable,” many LEDs overheat in tight cans
- Install baffles or reflector trims to improve airflow and reduce thermal stress
- Check mounting tension every 18 months—drywall movement loosens clips faster than expected
- Label your breaker panel with fixture locations; saves time during troubleshooting
Why does my recessed light tilt forward after replacing the bulb?
This usually means the socket assembly has warped from heat exposure, or the trim’s retaining springs lost tension. Replace the entire socket-and-trim kit—not just the bulb. Older halogen retrofits often lack adequate heat shielding for modern LEDs.
Can I reuse the old housing if the trim keeps falling?
Yes—if the housing isn’t cracked or discolored. But first check its listing: pre-2008 housings may lack UL 1598 certification for LED use. Upgrade to a housing with built-in thermal protection like the Juno RL600 series.
Is it safe to spray compressed air into the housing to clean dust?
No—compressed air can force dust deeper into sockets or push loose wires against hot surfaces. Instead, vacuum with a soft brush attachment while power is OFF. Never use water-based cleaners near live components.
Do LED retrofit kits require special dimmers?
Yes. Standard MLV (magnetic low-voltage) or leading-edge dimmers cause flickering or premature failure in most LED retrofits. Use trailing-edge (ELV) dimmers rated for ≤10W minimum load, like Lutron Diva DVCL-153P.
How do I know if my recessed light is IC-rated?
Look for stamped “IC” or “IC/AT” on the housing’s metal label—or check the manufacturer’s model number online. If it’s unmarked, assume it’s non-IC and treat as a fire risk in insulated ceilings. Confirm with our IC vs. non-IC comparison guide.
What’s the average lifespan of a recessed light housing?
Well-installed, code-compliant housings last 25–30 years—but thermal cycling and moisture reduce that by up to 40% in humid climates like Florida or the Pacific Northwest, per the U.S. Department of Energy’s Residential Lighting Lifetime Study (2021).
A sagging or dead recessed light isn’t just an eyesore—it’s a symptom of aging infrastructure, thermal stress, or outdated components. Addressing it promptly prevents bigger issues: ceiling stains, tripped breakers, or worse. Most fixes take under 45 minutes and cost less than $40 in parts. Keep your voltage tester handy, document your work, and don’t hesitate to swap out older housings before they fail mid-winter.