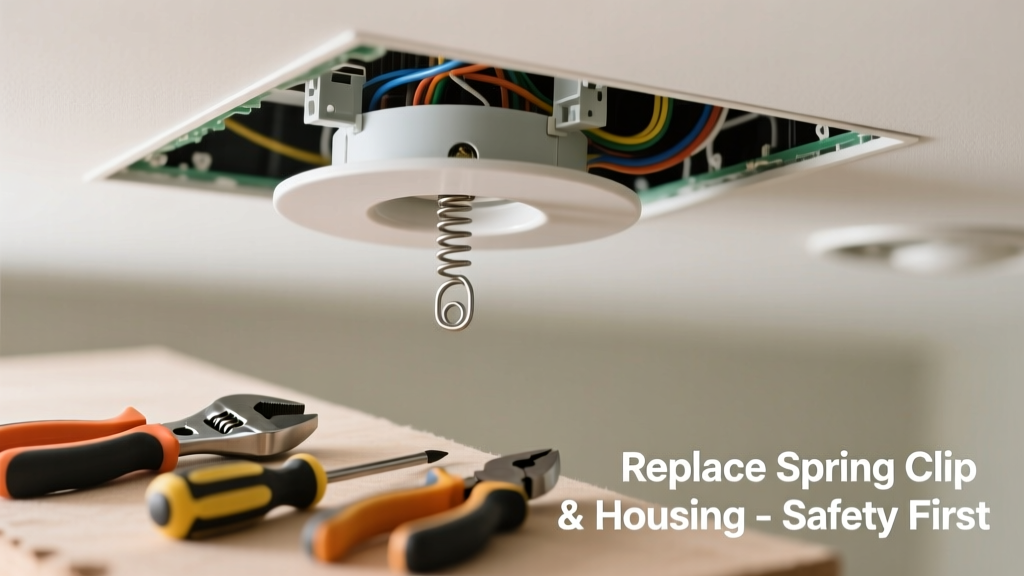
If your recessed light is tilting, drooping, or hanging by one edge—especially after bulb changes or ceiling vibrations—you’re likely dealing with a failed mechanical retention component, not an electrical fault. This is a common, fixable issue in older IC-rated housings and budget-grade trims, but ignoring it risks broken bulbs, damaged wiring, or even fixture detachment.
Quick Diagnosis
Before grabbing tools, isolate the cause. Most recessed lights rely on three key parts to stay flush: spring clips (metal arms that grip joists), housing brackets (screws or clamps securing the can), and trim rings (friction-fit or screw-mounted). Here’s what usually fails:
- Worn or bent spring clips—most frequent culprit, especially in older Halo or Juno housings
- Loose or stripped mounting screws on the housing bracket
- Cracked or warped trim ring retaining tabs (common with plastic LED trims)
- Overheating damage to housing insulation collar, causing warping and misalignment
- Missing or corroded support wires in older non-IC housings
Tools & Materials Needed
| Item | Purpose | Estimated Cost |
|---|---|---|
| Non-contact voltage tester | Confirms power is off at the junction box—critical safety step | $12–$25 |
| Needle-nose pliers (insulated) | Compresses spring clips and retrieves dropped screws inside cavity | $8–$18 |
| Replacement spring clip kit (e.g., Halo H7 or Juno RC-1) | Exact-match clips designed for your housing model—never substitute generic springs | $4–$11 |
| #2 Phillips screwdriver | Tightens housing bracket screws; use magnetic tip to prevent dropping into ceiling | $3–$9 |
| LED-compatible trim ring (if cracked) | Must match housing diameter (4", 5", 6") and type (baffle, gimbal, shower-rated) | $15–$42 |
Step-by-Step Fix
Follow these methods in order—start simple, escalate only if needed:
- Power off & verify: Turn off circuit at the breaker panel, then test wires at the junction box with a non-contact voltage tester. Never skip this—even if the switch is off.
- Remove trim and bulb: Gently press inward on opposing sides of the trim ring to release friction clips. If it’s screw-mounted, remove two small screws first. Set bulb aside.
- Inspect spring clips: Look for visible bends, corrosion, or missing arms. If one clip is visibly deformed or detached, replace both (they wear evenly). Use needle-nose pliers to compress and slide old clips out of their slots.
- Install new clips: Align replacement clips with housing grooves—Halo models require clockwise rotation to lock; Juno uses a push-and-snap design. Test tension by gently pulling outward before reassembling.
- Check bracket screws: With trim removed, locate the metal bracket attached to the housing body. Tighten all four mounting screws. If threads are stripped, use longer #8 x 1" sheet metal screws with pilot holes drilled into joist.
When to Call a Pro
Don’t risk DIY if you encounter any of these:
- Exposed or frayed NM cable inside the housing—sign of rodent damage or aging insulation
- Aluminum wiring connected to the fixture (pre-1975 homes)—requires COPALUM crimping, not standard wire nuts
- Fixture mounted directly to drywall without joist contact (a code violation requiring structural reinforcement)
- Multiple fixtures sagging across the same ceiling zone—could indicate attic moisture, insulation compression, or truss movement
According to the National Fire Protection Association’s 2023 Electrical Safety Foundation Report, 22% of residential electrical fires linked to lighting involved improper installation or degraded mechanical supports—not faulty wiring alone.
Prevention Tips
Extend the life of your recessed system with these practical habits:
- Replace incandescent or halogen bulbs with UL-listed LED retrofit kits—they run cooler and reduce thermal stress on clips and housings
- Inspect trims and clips every 18 months during routine ceiling cleaning—look for discoloration or micro-cracks near hinge points
- Avoid over-tightening trim screws; torque beyond 15 in-lbs can warp plastic retainers
- In attics, keep insulation at least 3" away from IC-rated housings—compressed insulation traps heat and accelerates metal fatigue
Can I reuse my old spring clips if they look okay?
No. Even if clips appear intact, metal fatigue sets in after ~7–10 years of thermal cycling (expansion/contraction). Replacement clips cost under $10 and prevent repeat failures. Always replace in matched pairs—mismatched tension causes uneven seating.
What if the housing itself is bent or dented?
A visibly deformed housing means structural integrity is compromised. Do not attempt to bend it back—it may crack or short-circuit when heated. Replace the entire can. Use a retrofit housing like the IC-rated remodel can designed for existing ceilings.
Do LED trims require different clips than halogen ones?
Yes—many LED trims are heavier and generate different heat profiles. Check your trim’s spec sheet: Halo’s LRI series requires RC-2 clips, while Juno’s LED Pro trims need reinforced RC-3 versions. Using halogen-era clips leads to premature sag within 6–12 months.
How do I know which clip model fits my housing?
Look for the model number stamped inside the housing rim (e.g., “H7ICAT” or “R420”). Cross-reference it with manufacturer charts—Halo’s official parts lookup and Juno’s compatibility matrix list exact clip equivalents by year and housing type.
Is it safe to spray lubricant on stiff spring clips?
No. Lubricants attract dust and insulation particles, creating abrasive gunk that accelerates wear. They also degrade rubber gaskets and may violate UL listing. If clips bind, replace them—don’t treat symptoms.
Can I upgrade to a gimbal trim without changing the housing?
Only if your existing housing is rated for adjustable trims (check for “gimbal-ready” or “universal trim compatible” stamp). Most pre-2010 IC housings lack the internal pivot plate and require full housing replacement. Verify compatibility before ordering.
Fixing a sagging recessed light isn’t about brute force—it’s about matching the right part to the right housing, respecting thermal limits, and verifying mechanical integrity before restoring power. A properly secured fixture stays flush for a decade or more, and doing it right now saves you from repeating the job—or worse, dealing with a fallen light mid-winter. Keep spare clips on hand, label your housing model, and treat each fixture like the precision-engineered component it is.