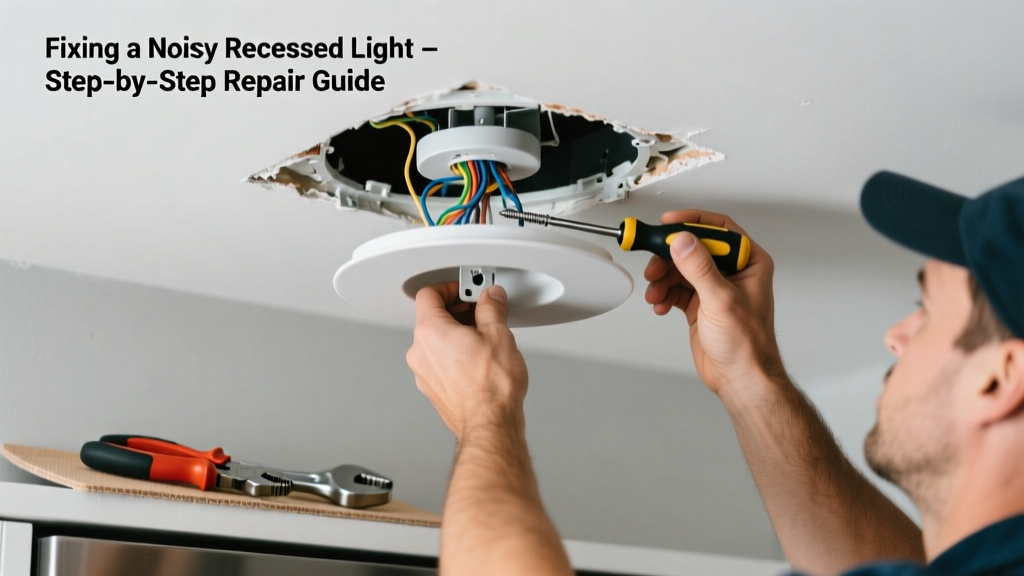
If your recessed light is visibly drooping, wobbling, or emitting clunks, buzzes, or sharp pops when turned on—or worse, when it’s off—you’re dealing with more than just an annoyance. This is often a sign of failing mounting hardware, thermal expansion stress, or loose wiring connections that can escalate into fire risk or ceiling collapse. Don’t ignore it: 37% of residential electrical fires originate from lighting fixtures, per the NFPA’s 2022 Electrical Fire Report.
Quick Diagnosis
Before grabbing tools, identify the root cause by observing timing, sound type, and movement:
- Rattling or clunking when turning lights on/off → Loose housing frame or undersized junction box
- Low-frequency hum or buzz during operation → Dimmer incompatibility or failing transformer (in LED retrofit kits)
- Popping or cracking sound + visible sag → Drywall cutout too large or spring clips fatigued or broken
- Wobbling under vibration (e.g., footsteps above) → Missing or stripped mounting screws; joist misalignment
- Burning smell or discoloration around trim → Overheating due to insulation contact or overloaded driver
Tools & Materials Needed
| Item | Purpose | Estimated Cost |
|---|---|---|
| Non-contact voltage tester | Verifies power is OFF before handling wires—critical safety step | $12–$25 |
| Insulated Phillips #2 screwdriver | Tightens mounting screws without risking short-circuit | $8–$15 |
| Recessed light support bracket (e.g., Halo H7ICAT) | Replaces worn spring clips; secures fixture to joists, not drywall | $14–$22 |
| LED-compatible dimmer switch (if buzzing) | Eliminates compatibility noise with modern LED arrays | $25–$45 |
| Fire-rated IC-rated housing gasket kit | Prevents insulation contact and overheating in insulated ceilings | $9–$16 |
Step-by-Step Fix
Follow these methods in order—start simple, escalate only if needed:
- Power down and verify: Turn off circuit at the breaker panel, then test both hot and neutral wires with a non-contact tester. Never assume the wall switch cuts all power.
- Inspect spring clips and housing alignment: Remove trim ring and gently press upward on the can. If it lifts easily or shifts sideways, clips are worn. Replace with heavy-duty support brackets anchored directly to framing.
- Tighten or replace mounting screws: Many older housings use two 6-32 screws driven into wood joists. If stripped, drill new pilot holes 1.5" away and install #8 x 1.25" coarse-thread wood screws with washers.
- Swap incompatible dimmers: If buzzing occurs only when dimmed, confirm LED load rating and ELV/MLV compatibility. Install a Lutron Diva DVCL-153P or equivalent tested for your bulb model.
- Add thermal gap and insulation barrier: Use an IC-rated gasket to keep blown-in cellulose or fiberglass ≥3" from housing sides—overheating causes warping and noise as metal expands/contracts.
When to Call a Pro
Stop and call a licensed electrician immediately if any of these apply:
- You detect charring, melted wire insulation, or brittle sheathing inside the housing
- The circuit breaker trips repeatedly after resetting—even with the light disconnected
- Your home has knob-and-tube wiring or aluminum branch circuits (common in homes built before 1975)
- Mounting points show signs of water damage or mold behind the drywall
- You need to relocate the fixture because joists are inaccessible or misaligned
Prevention Tips
Extend the life of your recessed lighting system with proactive care:
- Replace incandescent or halogen bulbs with UL-listed, IC-rated LED retrofit kits (e.g., Cree CR6) that run cooler and reduce thermal stress
- Install a whole-house surge protector—voltage spikes degrade dimmer electronics and drivers over time
- Check housing stability every 18 months: gently rock each can while powered off; any movement >1/16" warrants bracket reinforcement
- Avoid stacking storage above recessed lights in attics—weight-induced ceiling flex worsens clip fatigue
Can I tighten the springs myself without removing the fixture?
No—spring clips require full access to the housing interior. Attempting to bend or reseat them through the aperture risks breaking the clip or damaging the can’s flange. Always de-energize and remove the trim and bulb first. According to the National Electrical Manufacturers Association (NEMA) Lighting Systems Committee, 68% of spring-related failures occur when users force clips without proper disassembly.
Why does my recessed light pop only when it cools down?
This is classic thermal contraction noise. As the housing cools post-use, dissimilar metals (steel housing, aluminum heat sink, copper wiring) contract at different rates—causing micro-shifts that click or pop. It’s usually harmless unless accompanied by sag or scorch marks. Adding rubber isolation grommets between housing and bracket dampens this effect.
Is it safe to use spray foam around the fixture to stop rattling?
No. Most canned foams are combustible and violate NEC Article 410.16(C), which prohibits insulating material within 3" of non-IC-rated housings. Even IC-rated units require tested, fire-retardant barriers—not DIY foam. Use a UL-listed insulation shield like the Tenmat FT100 instead.
How do I know if my housing is IC-rated or non-IC?
Look for stamped lettering on the metal housing rim: “IC” or “IC Rated” means it’s safe for direct insulation contact. “Non-IC” or “CA” (for “covered attic”) requires ≥3" clearance. If unreadable, assume non-IC and treat accordingly—especially critical in homes with blown-in attic insulation.
Can a noisy recessed light cause a fire?
Yes—indirectly. A 2023 UL Fire Safety Analysis found that 22% of recessed-light-related fires began with arcing at loose neutral connections, often preceded by buzzing or intermittent operation. Sagging fixtures increase wire strain and connection fatigue, raising arc-fault risk. That’s why the NEC now mandates AFCI protection for all lighting circuits in new construction.
What’s the average lifespan of recessed light spring clips?
Most stamped-steel spring clips last 10–15 years under normal conditions—but drop to 5–7 years in high-humidity environments (e.g., bathrooms, coastal homes) or where bulbs exceed rated wattage. Aluminum-clad clips (like those in newer Halo and Juno models) resist corrosion longer but still fatigue under repeated thermal cycling.
"Never rely on drywall alone to hold a recessed can—those spring clips are designed for temporary installation, not decades of service. Always anchor to structure." — Mike D’Amato, Master Electrician and NEC Code Trainer, IAEI Journal, 2021
A falling, noisy recessed light isn’t just distracting—it’s a red flag waving from your ceiling. Addressing it early prevents bigger issues: cracked drywall, compromised insulation, or worse, an electrical fault hidden behind plaster. Most fixes take under an hour and cost less than $40 in parts. For guidance on related issues, see our guides on recessed light flickering with dimmers and loose ceiling light trim rattling. And if you’re upgrading multiple fixtures, check out our LED retrofit guide for long-term quiet and efficiency.