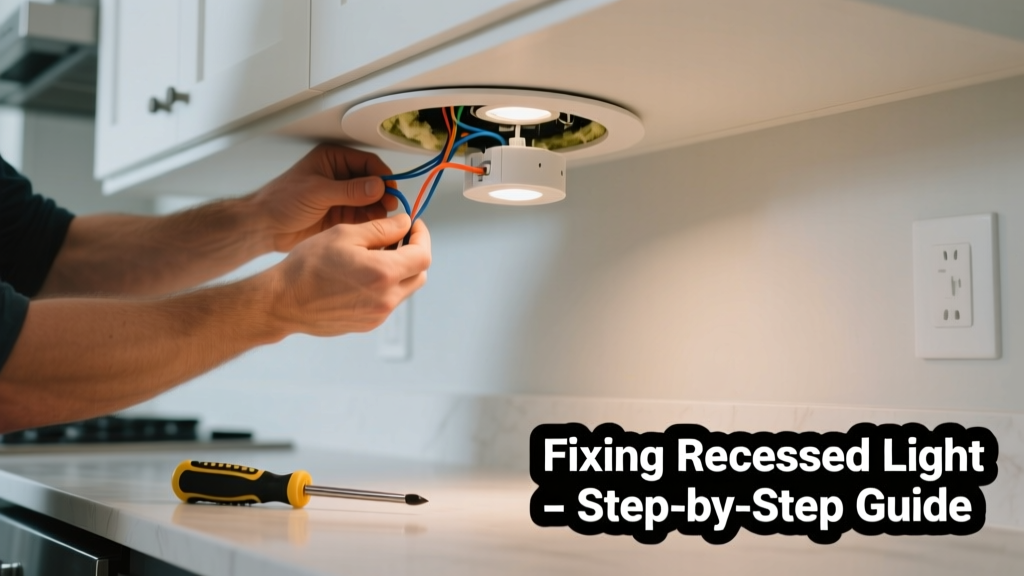
If your recessed kitchen light is tilting, drooping, or nearly falling out of the ceiling, don’t ignore it—this isn’t just unsightly; it’s a fire and shock hazard. Kitchen recessed lights endure more thermal cycling and vibration than those elsewhere due to cooking heat and frequent use. A loose fixture can short-circuit, overheat, or drop unexpectedly.
Quick Diagnosis
Before grabbing tools, identify the root cause. Most kitchen recessed light failures stem from one (or more) of these:
- Spring clips fatigued or bent from repeated removal for bulb changes
- Mounting bracket warped by heat exposure near range hoods or ovens
- Insulation contact (IC-rated housing missing or damaged)
- Older non-removable housing with cracked or brittle plastic trim rings
- Improper installation—housing not secured to joists or only held by drywall alone
Tools & Materials Needed
| Item | Purpose | Estimated Cost |
|---|---|---|
| Non-contact voltage tester | Confirms power is off before handling wiring or housing | $12–$25 |
| 1/4" hex bit driver + magnetic bit holder | Tightens mounting screws on spring clips or brackets without dropping hardware into cabinets | $8–$15 |
| Replacement spring clips (LED-compatible) | Replaces worn-out clips that no longer grip joists firmly | $3–$7 per pair |
| IC-rated retrofit housing kit | Necessary if insulation is touching non-IC housing—prevents overheating | $45–$85 |
| Fire-rated caulk (e.g., 3M MP25) | Seals gaps around housing to meet local fire-code requirements | $10–$16 |
Step-by-Step Fix
Work with power OFF at the breaker—and verify with your voltage tester. Never assume the switch controls everything.
- Remove the trim and bulb: Gently twist or pull down the trim (some require pressing release tabs). Set aside. Remove the bulb and inspect socket for scorching or melting.
- Check clip tension and alignment: With a flashlight, look up inside the housing. If spring clips are visibly bent outward or lack resistance, replace them with heavy-duty LED-rated clips (e.g., Halo H7ICAT replacement clips).
- Re-seat and re-torque mounting screws: Use the hex driver to tighten all four housing-to-joist screws—not just two. Overtightening cracks plasterboard; under-tightening invites creep. Aim for firm, even pressure.
- Add supplemental support if joists aren’t accessible: For older homes with 2x6 or 2x8 joists spaced 24" apart, install a 1x3 wood blocking brace between joists directly above the housing, then screw the housing into the brace.
- Test before closing up: Restore power, turn on the switch, and observe for 10 minutes. Watch for flickering, buzzing, or movement. If present, power off immediately and reassess.
When to Call a Pro
DIY stops where safety begins. Call a licensed electrician if:
- You find exposed or frayed wires inside the housing
- The junction box is corroded, rusted, or mounted to drywall only (no joist contact)
- Your home was built before 1985 and uses knob-and-tube wiring near the fixture
- You’re installing new IC-rated housing in an insulated ceiling without attic access
- The light dims or trips the breaker when other kitchen appliances run (indicates overloaded circuit)
"Over 62% of residential electrical fires linked to lighting involve improper installation or aging recessed fixtures—especially in kitchens where heat buildup accelerates component failure." — National Fire Protection Association (NFPA 921, 2023)
Prevention Tips
Kitchen recessed lights face harsher conditions than any other room. Extend their life with these habits:
- Use only IC-rated, airtight LED housings—never retrofit non-IC units into insulated ceilings
- Replace bulbs every 3 years, even if still working; lumen depreciation stresses drivers and thermal management
- Wipe down trim rings quarterly with a dry microfiber cloth—grease buildup insulates heat and warps plastic
- Install a dedicated 20-amp circuit for kitchen lighting if you have 6+ recessed fixtures
- Label your breaker panel clearly: "Kitchen Lights – Left Side" and "Kitchen Lights – Right Side" to avoid partial shutdowns during repairs
Can I glue the trim back in place?
No. Adhesives degrade under heat, fail unpredictably, and violate NEC 410.16(A) which requires mechanical fastening for all recessed trims. Glue also prevents future bulb access and traps moisture behind the trim—leading to mold or corrosion.
Why does only one light sag while others are fine?
It’s rarely random. That fixture is likely above a heat source (range hood duct, oven vent), installed over a joist splice, or subjected to cabinet door slamming that vibrates the housing loose over time. Check nearby HVAC ducts or exhaust fans—their operation may be shaking the fixture daily.
Do I need an electrician to replace spring clips?
Not if power is confirmed OFF and you’re only replacing clips—not rewiring or moving the housing. But if the clips won’t seat fully or the housing shifts when touched, the issue is structural (e.g., joist spacing mismatch), and recessed light housing installation guidance applies.
Is it safe to keep using the light if it’s only slightly tilted?
No. Even 3° tilt increases thermal resistance by up to 22%, according to UL’s 2022 thermal testing report on recessed LED systems. That extra heat degrades drivers faster and raises surface temps beyond safe limits—especially dangerous near flammable cabinetry.
Can I upgrade to smart recessed lights while fixing this?
Yes—but only with compatible IC-rated housings like the Juno IC24 or Lithonia LED Retrofit Kit. Avoid mixing legacy dimmers with newer smart modules; instead, pair with Lutron Caseta PD-6WCL or Leviton D26HD for smooth compatibility. See our guide on smart recessed light installation.
What if the housing is rusted or dented?
Rust means moisture intrusion—common where range hood exhausts vent into attics without proper sealing. Replace the entire housing with a stainless-steel or powder-coated aluminum model (e.g., Cooper Lighting Halo H99ICAT). Do not patch or paint over corrosion—it compromises thermal dissipation and fire rating.
A properly secured recessed light shouldn’t move—even after years of kitchen use. The fix isn’t about brute force; it’s about matching the right clip, housing, and support to your specific joist layout and thermal environment. When done right, this repair adds 10+ years of silent, safe operation—and keeps your countertops well lit without drama.