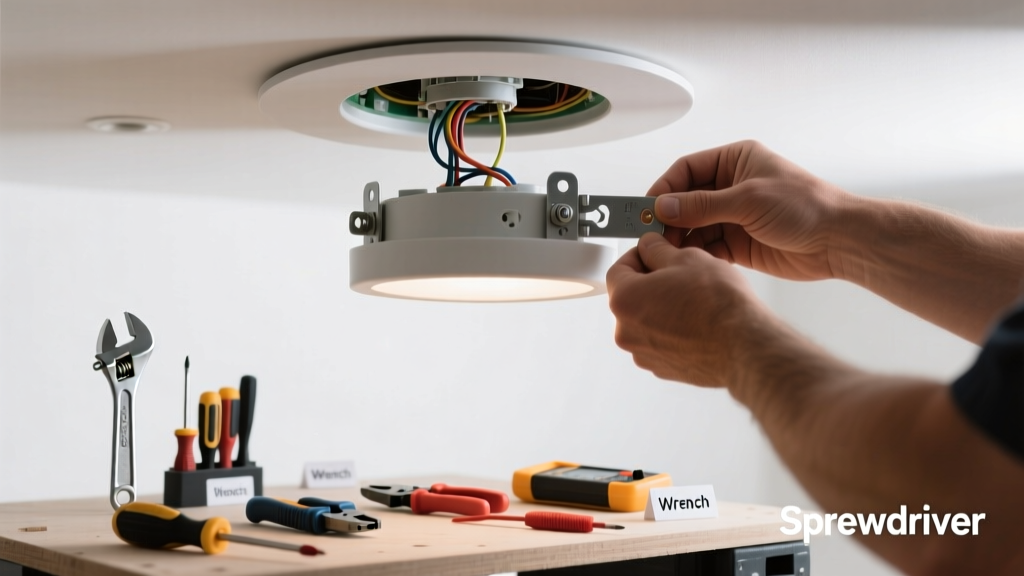
If your recessed light is tilting, drooping, or hanging by its wires, don’t just shove it back up—it’s a safety hazard and a symptom of mounting failure. This isn’t just cosmetic: a loose can risks overheating, wire strain, and ceiling damage. Most cases are fixable in under 30 minutes with basic tools—but missteps can lead to shocks or fire.
Quick Diagnosis
Before grabbing tools, identify the root cause. A falling recessed light almost always traces to one (or more) of these:
- Loose or stripped mounting screws in the ceiling joist or framing
- Collapsed or bent spring clips (especially in older IC-rated housings)
- Rotted, warped, or undersized drywall around the housing opening
- Overweight retrofit trim or LED module exceeding housing capacity
- Improper installation—e.g., no direct joist contact or missing support brackets
Tools & Materials Needed
| Item | Purpose | Estimated Cost |
|---|---|---|
| Non-contact voltage tester | Confirms power is off at the fixture before handling wires | $12–$25 |
| Phillips #2 screwdriver | Tightens mounting screws on housing and trim ring | $5–$15 |
| 16-gauge steel L-bracket (2" × 2") | Reinforces weak drywall support; mounts directly to joist | $3–$8 |
| 3/4" wood shims (cedar or pine) | Fills gaps between housing flange and uneven drywall | $2–$6 |
| UL-listed junction box brace kit | Provides code-compliant support when original framing is inadequate | $18–$32 |
Step-by-Step Fix
Choose the method that matches your diagnosis. Always turn off power at the breaker and verify with a voltage tester first.
- Reset and tighten spring clips: Gently push the housing upward while compressing each spring clip inward—then release to reseat. If clips snap or feel weak, replace the entire housing (many manufacturers offer clip-only kits).
- Reanchor to framing: Remove trim and housing. Locate joists with a stud finder. Drill pilot holes into the nearest joist and secure the housing’s bracket with 2" coarse-thread drywall screws. Never rely solely on drywall anchors.
- Add structural support: If joists are inaccessible, install a UL-listed junction box brace across two joists, then mount the housing to the brace—not the drywall.
- Shim and level: For minor sag caused by uneven drywall, insert cedar shims between the housing flange and ceiling surface before tightening mounting screws. Use a small level across the trim ring to confirm alignment.
When to Call a Pro
Stop and call a licensed electrician if any of these apply:
- You find brittle, cracked, or discolored wiring inside the housing
- The housing shows burn marks, melted plastic, or smells like ozone
- Your home has knob-and-tube or aluminum wiring (pre-1970s)
- You need to cut new access above the ceiling—especially in insulated or cathedral ceilings
- The fixture is part of a multi-light circuit where one failure affects others
According to the National Fire Protection Association’s Electrical Safety Foundation International 2022 Report, improper recessed lighting installation accounts for 12% of residential electrical fires linked to lighting systems.
Prevention Tips
Long-term stability starts with smart choices during install or upgrade:
- Always use housing rated for your ceiling type (IC vs. non-IC) and insulation contact
- Replace spring clips every 10 years—or sooner if you notice reduced tension
- Avoid stacking heavy decorative trims; check manufacturer weight limits (most max out at 3 lbs)
- After any attic work, inspect all recessed housings for shifted mounting or damaged clips
- Use a torque screwdriver set to 25 in-lbs when securing mounting screws—overtightening strips threads
Can I reuse old spring clips if they’re still attached?
No—spring clips lose elasticity after repeated compression. Even if they appear intact, their holding force drops by up to 40% after five years, per LED Lighting Facts 2023 data. Replace them with OEM clips or a full housing if clips aren’t sold separately.
What if the drywall around the can is crumbling?
Crumbling drywall means structural failure—not just cosmetic wear. Cut out the damaged section (minimum 6" diameter), install a backing ring or plywood patch anchored to joists, then remount the housing. Skipping this invites further sag and potential ceiling collapse.
Do LED retrofit kits make recessed lights heavier?
Most modern LED modules weigh less than halogen equivalents—but some high-output, dimmable, or integrated driver kits add bulk. Always check the retrofit’s spec sheet: if it exceeds the housing’s listed trim weight limit (typically printed inside the can), use a lightweight baffle or choose a housing rated for 5+ lbs.
Is it safe to caulk around the trim to stop movement?
No. Caulk creates false security and hides ongoing movement. It also traps heat and violates NEC 410.16(A) requirements for airflow around IC-rated fixtures. Movement must be fixed at the mounting point—not masked at the surface.
How do I know if my housing is IC-rated?
Look for raised “IC” or “ICAT” stamping on the metal housing near the wiring compartment. If it’s unmarked or says “NON-IC,” it requires 3" clearance from insulation. Using a non-IC housing in insulated ceilings causes overheating—and is a leading cause of premature clip failure.
Can I install a brace without attic access?
Yes—surface-mount junction box braces like the WAC JBB-2 attach through the existing can opening and expand against joists from below. They require only a 4" x 4" cutout and take 15 minutes to install with a drill and socket set.
Fixing a falling recessed light isn’t about brute force—it’s about restoring proper mechanical and electrical integrity. A snug, level housing protects your wiring, prevents heat buildup, and keeps your ceiling looking clean. When you address the cause—not just the symptom—you extend the life of the fixture by years and reduce long-term risk. Keep a spare set of spring clips and a torque screwdriver in your toolbox; they’ll pay for themselves the next time a light starts drifting.