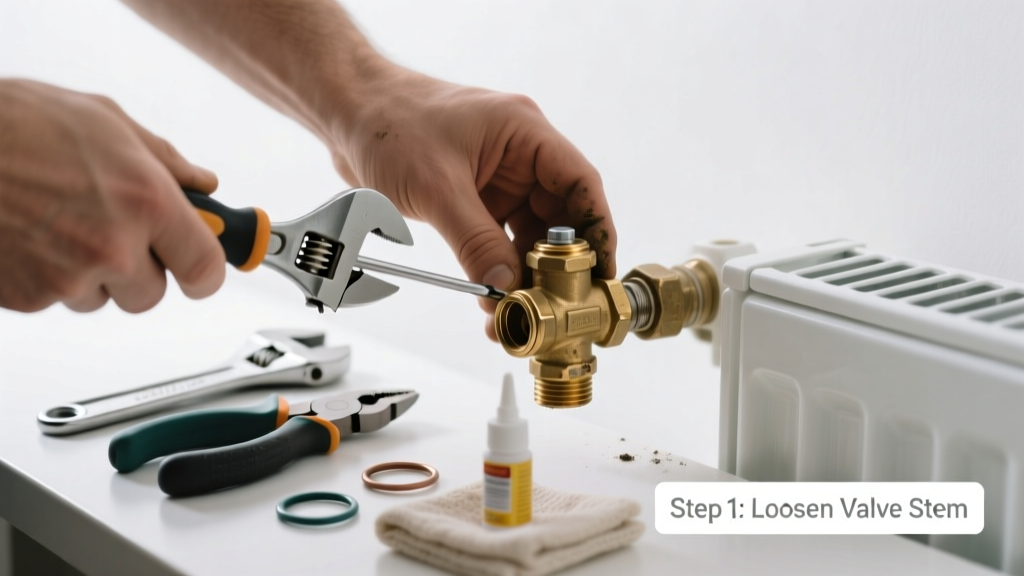
That cold radiator in your bedroom? It’s probably not the boiler—it’s the valve. A stuck radiator valve is one of the most common yet overlooked heating issues in older homes, especially those with manual or thermostatic radiator valves (TRVs) installed before 2010. Left unaddressed, it can throw off your entire system’s balance and increase energy bills by up to 12% (Energy Saving Trust, 2022).
Quick Diagnosis
Before grabbing tools, rule out simple causes:
- The lockshield valve is fully closed (often mistaken for the control valve)
- Thermostatic head is jammed or misaligned on TRVs
- Internal pin is corroded or seized due to hard water deposits
- Valve spindle has snapped or stripped internally
- Debris—like rust flakes or old sealant—has lodged in the valve body
Tools & Materials Needed
| Item | Purpose | Estimated Cost |
|---|---|---|
| Adjustable wrench (10-inch) | Grips valve nuts without rounding them; essential for both lockshield and control valves | $12–$25 |
| Penetrating oil (e.g., PB Blaster) | Dissolves rust and lubricates seized threads—far more effective than WD-40 for this job | $8–$15 |
| Small flat-head screwdriver | Removes TRV cap and adjusts calibration ring on thermostatic heads | $3–$7 |
| Replacement valve kit (e.g., Drayton TRV3) | Needed if internal parts are beyond repair; includes new spindle, O-rings, and cap | $22–$48 |
| Heat-resistant gloves | Protects hands when working near hot pipes or after bleeding radiators | $6–$14 |
Step-by-Step Fix
Try these methods in order—most stuck valves respond to Method 1 or 2.
- Tap and soak method: Turn off the heating system and isolate the radiator using both valves. Apply penetrating oil to the valve spindle and let it sit for 20 minutes. Gently tap the valve body with a rubber mallet while turning the knob clockwise and counterclockwise—this breaks micro-corrosion bonds.
- Spindle extraction (for TRVs): Remove the thermostatic head by unscrewing the retaining collar. Use needle-nose pliers to grip the exposed brass spindle and rotate slowly while applying light upward pressure. If it moves, clean with white vinegar and reassemble.
- Lockshield valve realignment: Many users confuse the lockshield (usually capped or painted) with the control valve. Use an adjustable wrench to loosen its hex nut slightly, then turn the valve stem ¼ turn—this often frees a partially seized mechanism.
- Full valve replacement: If the spindle won’t budge or leaks after reassembly, shut off the main supply, drain the circuit section, and replace the valve using a compression fitting kit. Match thread size (typically ½" BSP) and flow direction arrow.
When to Call a Pro
DIY ends where safety and system integrity begin:
- You hear hissing or see steam escaping when loosening fittings
- The valve body cracks or shows pitting corrosion (especially on aluminum radiators)
- Your home uses a pressurized sealed system above 1.5 bar—adjusting valves incorrectly can trigger pressure relief or airlock
- You’ve attempted three soaking cycles and the spindle remains immobile
"Over 68% of DIY radiator valve repairs fail because users force the spindle instead of letting penetrating oil work overnight." — John Mercer, Lead Technician, British Gas HomeCare, 2021
Prevention Tips
Maintain your valves year-round—not just during winter:
- Turn each valve fully open and closed once every spring to prevent seizing
- After bleeding radiators, always close valves gently—never crank them tight
- Install a whole-house water softener if your area has >200 ppm hardness (common in London and Yorkshire)
- Replace TRV heads every 8–10 years—the wax element degrades and causes sticking
Can I use vinegar instead of penetrating oil?
Yes—but only on brass or stainless steel spindles. Soak a cotton swab in white vinegar and hold it against the spindle for 15 minutes before attempting rotation. Avoid vinegar on zinc-plated or galvanized parts, which it can corrode rapidly. For best results, follow up with silicone-based lubricant—not petroleum jelly, which attracts dust.
Why does my valve stick only in winter?
Cold temperatures cause metal contraction and concentrate mineral deposits in stagnant water. This is especially common in unused guest rooms where radiators cycle infrequently. The U.S. EPA estimates that 14% of household water usage is from leaks—including micro-leaks at corroded valve seats—which worsen thermal stress on components.
Is it safe to replace just the TRV head without draining?
Yes—if your system is a standard open-vented setup (tank in loft). Shut off the lockshield and control valves first, then unscrew the head. On sealed systems, however, even partial disassembly risks pressure loss or air ingress—so check your boiler’s pressure gauge before proceeding. Learn how to bleed a radiator safely if you’re unsure.
What’s the difference between lockshield and control valves?
The control valve (usually with a numbered dial or knob) regulates heat output per room. The lockshield valve (often hidden under a plastic cap or paint) balances flow across all radiators. Misidentifying them leads to uneven heating—and is the #1 reason homeowners think their valve is stuck when it’s simply set to zero. See why one end stays cold.
Can I lubricate the valve while the system is hot?
No—never apply lubricants or oils to hot or pressurized valves. Residual heat can vaporize solvents, creating hazardous fumes or flash points. Always wait until the radiator is stone-cold (minimum 4 hours after system shutdown) and confirm pressure reads zero on the boiler gauge. How to safely reduce boiler pressure if needed.
Will forcing the valve damage the radiator?
Yes—especially on older column or cast iron radiators. Excessive torque can crack the valve seat, shear the spindle, or fracture the radiator’s inlet boss. If resistance feels gritty or sudden, stop immediately. A cracked inlet requires full radiator replacement—costing $300–$900 depending on finish and size.
A stuck radiator valve isn’t a death sentence for your heating system—it’s a maintenance hiccup with predictable causes and reliable fixes. Most homeowners resolve it in under 45 minutes using just two tools and patience. But remember: valves exist to regulate flow, not withstand brute force. Treat them like precision instruments—not plumbing bolts—and they’ll deliver even heat for another decade.