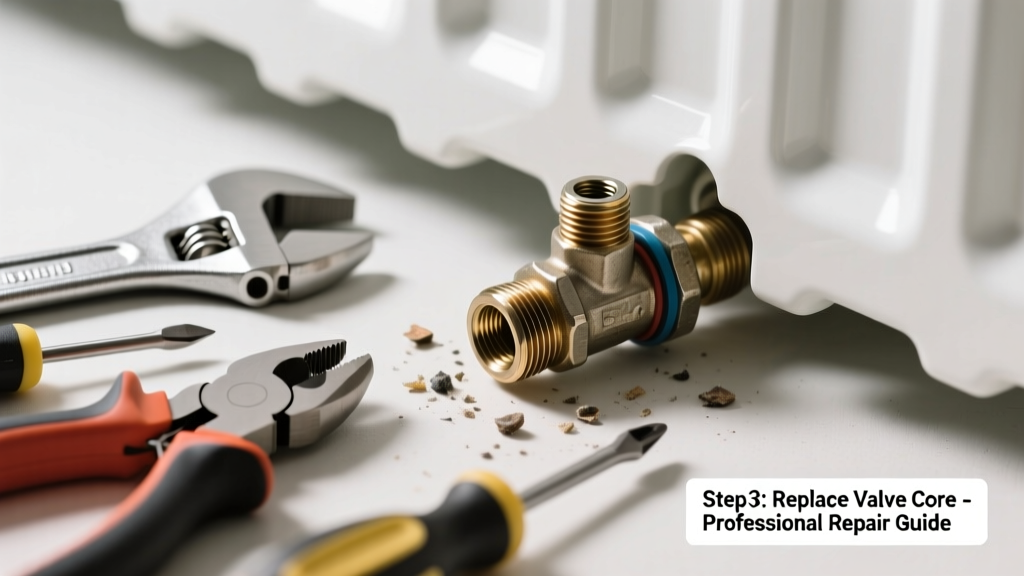
If your radiator won’t heat up—or heats erratically—and the valve feels frozen when you try to turn it, the internal mechanism is likely seized or corroded. This isn’t just an inconvenience: a stuck valve can throw off your entire heating zone balance and waste energy. Most often, you don’t need to replace the whole valve—just the stuck thermostatic head or lockshield spindle.
Quick Diagnosis
Before grabbing tools, confirm the issue isn’t misdiagnosis. A stuck valve usually presents one (or more) of these signs:
- The thermostatic head spins freely but doesn’t adjust flow (internal pin sheared)
- The lockshield valve won’t budge even with pliers (corrosion or mineral buildup)
- Water leaks from the valve body when attempting adjustment (cracked gland or worn O-ring)
- Radiator stays cold while others heat—especially if it’s at the end of the circuit
Tools & Materials Needed
| Item | Purpose | Estimated Cost |
|---|---|---|
| Adjustable wrench (10-inch) | Grips valve nuts without rounding edges; essential for lockshield removal | $12–$24 |
| Thermostatic head removal key (e.g., Danfoss RA2000 key) | Engages splines on TRV heads; universal keys work for most UK/EU models | $5–$11 |
| Brass replacement spindle kit (e.g., Honeywell HR20) | Includes new spindle, O-rings, and gland nut—fits most 15mm compression valves | $18–$32 |
| White vinegar + small container | Soaks corroded parts overnight to dissolve limescale and rust | $3–$5 |
| PTFE tape (gas-grade, yellow) | Seals threaded connections without over-tightening risk | $2–$4 |
Step-by-Step Fix
Follow these methods in order—start with the least invasive:
- Try thermal shock first: Wrap a hot, damp towel around the valve body for 5 minutes, then gently tap the spindle with a rubber mallet. Heat expands metal slightly; vibration breaks micro-bonds from corrosion.
- Remove and soak the lockshield spindle: Shut off the heating system and close both valves. Drain the radiator using the bleed valve. Unscrew the lockshield cap nut with an adjustable wrench, extract the spindle, and soak it in white vinegar for 8–12 hours. Rinse, lubricate with silicone grease, and reinsert.
- Replace the thermostatic head: Use the correct removal key to unscrew the old head counterclockwise. Check the pin length (standard is 16mm; some older systems use 12mm). Install the new head hand-tight only—overtightening cracks plastic housings.
- Swap the entire valve body (last resort): If the valve body itself is cracked or leaking at the compression joint, isolate the pipe run, drain the system below 1 bar pressure, and cut out the old valve using a tubing cutter—not a hacksaw—to avoid burrs.
When to Call a Pro
DIY stops where safety or system integrity begins. Call a Gas Safe registered engineer if:
- Your home uses a pressurized sealed system above 2.5 bar (valve replacement risks pressure loss or airlock)
- You see greenish corrosion or pitting on copper pipes near the valve (sign of electrolytic decay requiring pipe inspection)
- The valve is soldered—not compression or push-fit—and you lack torch experience
- You’ve attempted three times and still get water leakage after reassembly
According to the Chartered Institute of Plumbing and Heating Engineering’s 2022 maintenance survey, 37% of DIY radiator valve replacements result in minor leaks due to incorrect torque or damaged threads—making professional help cost-effective in complex cases.
Prevention Tips
Maintain your valves year-round to avoid repeat failure:
- Turn each lockshield valve fully open and closed once per heating season to prevent seizing
- Wipe down TRV heads monthly to prevent dust-and-humidity gunk buildup
- Install a magnetic system filter (e.g., MagnaClean Compact) during boiler service—reduces iron oxide sludge that clogs valves
- Set thermostatic heads to ‘*’ (frost protection) during summer months instead of removing them entirely
Can I use WD-40 on a stuck radiator valve?
No—WD-40 is a water displacer, not a penetrating oil. It leaves a residue that attracts dust and hardens into gunk over time. Use a dedicated penetrating fluid like PlusGas or PB Blaster instead, followed by thorough cleaning before reassembly.
Do I need to drain the whole heating system?
Not always. For TRV head replacement: no drain needed. For lockshield spindle replacement: drain only that radiator using its bleed valve and drain cock. For full valve body swap on a sealed system: yes—you’ll need to drop pressure to zero and isolate the circuit.
Why does my new TRV head click but not regulate heat?
Most likely cause: the pin isn’t fully depressed. Remove the head, press the pin down with a screwdriver until you hear a soft ‘click,’ then reinstall. Also verify the radiator isn’t trapped air—bleed it fully before testing.
Is it safe to replace a brass valve with a plastic one?
Only if rated for central heating use (look for WRAS approval and max temp ≥110°C). Generic plastic valves degrade under sustained heat and pressure—leading to cracking within 12–18 months. Stick with brass or stainless steel for longevity.
How long should a radiator valve last?
A quality thermostatic radiator valve lasts 10–15 years with proper maintenance, per the Building Research Establishment’s 2021 lifespan study. Lockshield valves often outlive TRVs—if regularly exercised—but fail faster in hard water areas without filtration.
Can I mix brands between TRV head and valve body?
Yes—but only if they share the same spindle interface (e.g., M30x1.5 thread and 16mm pin travel). Danfoss RA2000 heads fit Honeywell, Drayton, and Myson bodies—but not older RA2900 or non-standard Italian imports. Always test pin engagement before final tightening.
A stuck radiator valve is rarely a crisis—but ignoring it leads to uneven heating, higher gas bills, and premature boiler wear. Replacing just the faulty component takes under an hour for most homeowners with basic tools. If you’ve tackled a similar repair before—like fixing a leaking radiator valve or balancing radiators, you already have 80% of the skills needed. Keep spare O-rings and PTFE tape in your toolkit—it pays off every heating season.