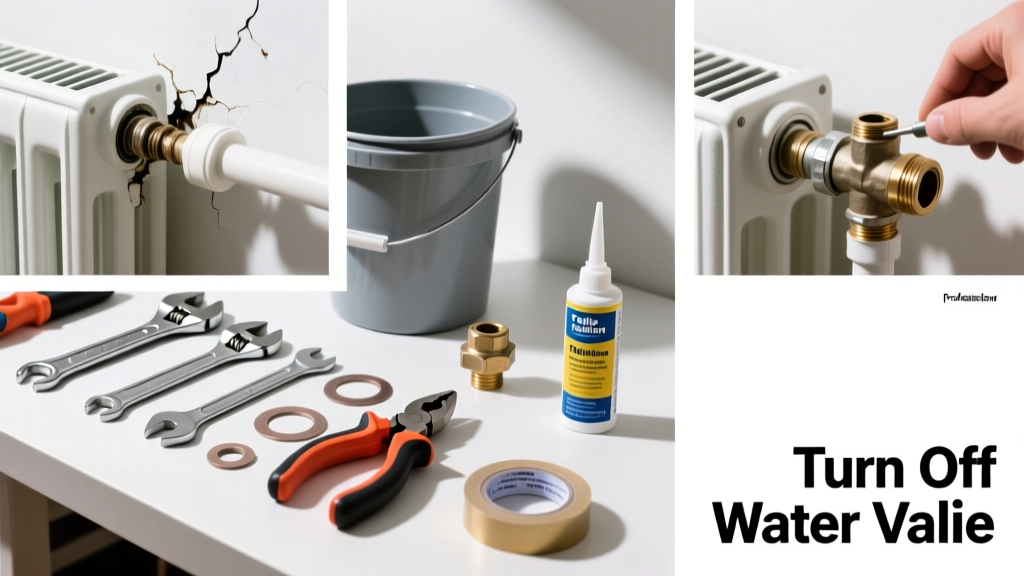
A small drip from your radiator can quickly become a soaked floor, warped baseboard, or even mold risk—especially if ignored for more than 48 hours. Most leaks are fixable in under two hours with basic tools, but misdiagnosis or rushed repairs often make things worse. Let’s stop the leak—and keep your heating system running safely.
Quick Diagnosis
Before grabbing tools, identify where and why the leak is happening. Common causes include:
- Corrosion at valve threads or pipe joints (most frequent in older cast-iron radiators)
- Cracks in the radiator body from thermal stress or freezing (common in unheated rooms or poorly bled systems)
- Worn or distorted gaskets between sections (especially in column-style radiators)
- Loose or damaged lockshield or thermostatic radiator valve (TRV) stems
- Pinhole leaks from internal sludge buildup (confirmed by brown, gritty water)
Tools & Materials Needed
| Item | Purpose | Estimated Cost |
|---|---|---|
| Adjustable wrench (10-inch) | Tightens valves and unions without stripping brass fittings | $12–$25 |
| Radiator key (universal) | Accesses bleed valves and gland nuts on older TRVs | $3–$8 |
| PTFE tape (white, ½-inch) | Seals threaded connections on valves and tails | $2–$5 |
| Epoxy putty (steel-reinforced) | Temporary patch for small cracks (not for high-pressure steam systems) | $6–$12 |
| Replacement valve kit (e.g., Drayton TRV) | Swaps out failed thermostatic or manual valves | $25–$45 |
Step-by-Step Fix
Choose the method based on leak location and severity:
- Valve stem leak: Turn off both valves, open bleed valve to depressurize, then tighten gland nut ¼ turn with a radiator key. If still leaking, wrap stem threads with 3 layers of PTFE tape before re-tightening.
- Union joint leak (between radiator and pipe): Shut off central heating, drain nearby section using drain valve, loosen union nut, clean threads, apply fresh PTFE tape clockwise, and retighten snugly—no over-torquing.
- Small crack or pinhole: Dry surface thoroughly, sand area lightly, knead epoxy putty until uniform color, press firmly over leak, and let cure 1 hour before refilling system. This is a 3–6 month stopgap—not permanent.
- Gasket failure between sections: Drain system, remove securing bolts, separate sections, replace rubber or fiber gasket (match thickness and diameter), reassemble with torque evenness, and pressure-test before full operation.
When to Call a Pro
Don’t risk injury, property damage, or voided warranties in these cases:
- Leak originates from a welded seam or internal core (requires full radiator replacement)
- Steam radiator leaking—these operate at higher pressure and temperature; improper repair risks scalding or explosion
- Multiple leaks across several radiators—indicates systemic corrosion or oxygen ingress, requiring chemical flush and inhibitor recharge
- Leak persists after two attempts at tightening or epoxy patching
- Your boiler pressure drops >0.5 bar per week—even after fixing visible leaks (suggests hidden pipe corrosion)
"Over 68% of DIY radiator repairs fail within 90 days when epoxy is used on active heating circuits—especially where water velocity exceeds 2.5 ft/sec." — ASHRAE Handbook: HVAC Applications, 2022 Edition
Prevention Tips
Extend radiator life and avoid repeat leaks with these habits:
- Bleed all radiators at least once per heating season—air pockets accelerate internal corrosion
- Maintain proper system pH (between 8.2–8.5) using Fernox Protector or Sentinel X100 inhibitor
- Install a magnetic filter (e.g., MagnaClean) during boiler service—removes iron oxide sludge before it clogs radiators
- Set room thermostats no lower than 12°C in winter to prevent localized freezing in unused rooms
Can I use duct tape to stop a radiator leak?
No—duct tape degrades rapidly under heat and pressure, and may melt or ignite near steam radiators. It also traps moisture, worsening corrosion underneath. Use only rated epoxy or proper mechanical repair.
Why does my radiator leak only when the heating is on?
Thermal expansion stresses weak points—especially corroded joints or hairline cracks—that seal when cold. This is a red flag: the leak will worsen. Shut down the zone and inspect while cool.
Do I need to drain the whole system to fix one radiator?
Not always. Modern systems with isolation valves let you drain just that radiator using its drain cock and a bucket. Older systems may require partial draining—but never attempt without confirming your expansion tank is accessible and not sealed.
Is radiator fluid toxic?
Most residential systems use plain water with corrosion inhibitor (non-toxic at dilution), but some commercial or older buildings use glycol-based antifreeze. If fluid smells sweet or sticky, treat as hazardous—follow glycol leak safety protocols and ventilate well.
How tight should radiator valves be?
Tighten until resistance increases sharply—then stop. Over-tightening brass components causes microfractures. A snug fit with a radiator key (about 1/8 turn past hand-tight) is sufficient. For reference, radiator valve torque specs range from 15–25 in-lbs depending on size.
Can I paint over a patched radiator leak?
Only after the epoxy has fully cured (24+ hours) and the system has run for 48 hours without leakage. Use heat-resistant enamel (e.g., Rust-Oleum Radiator Paint) and avoid covering valve stems or bleed screws.
A properly diagnosed and repaired radiator leak shouldn’t return for years—if you’ve addressed root causes like sludge, air, or low inhibitor levels. But if you notice recurring drips, discoloration, or reduced heat output, it’s time to test your system’s water chemistry or consider upgrading to a modern aluminum radiator with better corrosion resistance. Small fixes today save big bills—and headaches—tomorrow.