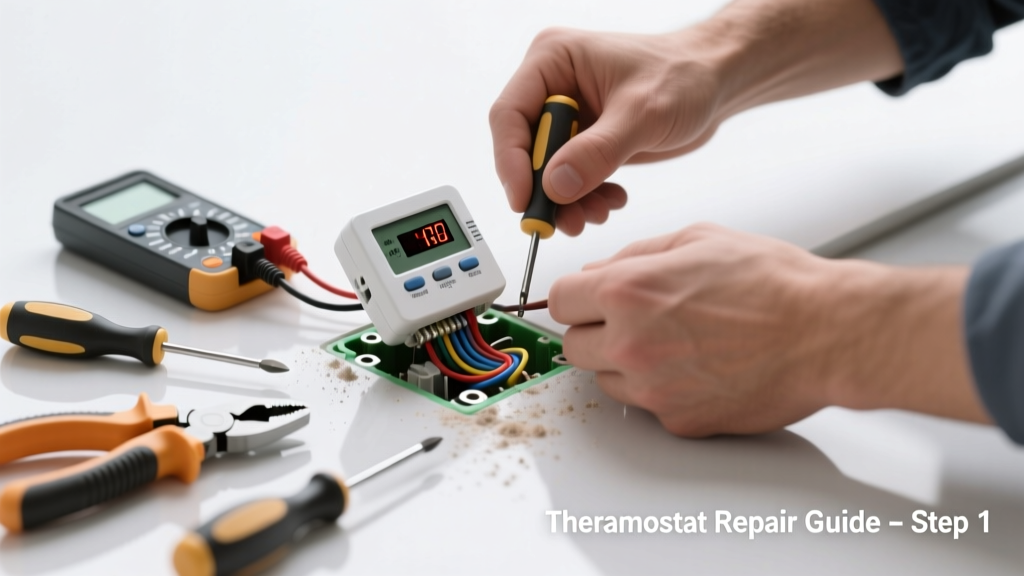
Waking up to a cold bathroom floor in winter — especially when your radiant heating system used to deliver gentle, even warmth — is more than annoying. It’s a red flag that your radiant floor thermostat has failed or is malfunctioning. Unlike standard HVAC thermostats, radiant floor units operate at lower voltages and interface directly with embedded heating cables or hydronic loops, making misdiagnosis common.
Quick Diagnosis
Before grabbing tools, rule out simple causes. Most radiant thermostat failures fall into these categories:
- Power loss to the thermostat (tripped breaker or GFCI outlet)
- Battery depletion (for battery-powered models like the Warmup 4iE)
- Loose or corroded low-voltage wiring at terminals
- Sensor wire damage or improper placement (e.g., buried under tile adhesive)
- Internal thermostat failure due to moisture exposure or voltage surge
Tools & Materials Needed
| Item | Purpose | Estimated Cost |
|---|---|---|
| Digital multimeter | Measures continuity, line voltage, and sensor resistance (critical for verifying floor sensor integrity) | $25–$65 |
| Non-contact voltage tester | Confirms power presence safely before opening the thermostat box | $12–$28 |
| Wire strippers & needle-nose pliers | Re-terminating low-voltage wires without damaging delicate conductors | $10–$22 |
| Replacement floor sensor (if needed) | Most common point of failure — sensors degrade or get damaged during tiling | $18–$45 |
| Thermostat mounting plate & screws | Ensures proper alignment and grounding; prevents short circuits in metal boxes | $3–$9 |
Step-by-Step Fix
Follow this sequence — skipping steps risks misdiagnosis or electrical hazard:
- Verify power supply: Check the dedicated circuit breaker (often 15A GFCI-protected) and test the outlet behind the thermostat with a non-contact tester. Reset if tripped.
- Test the floor sensor: Disconnect the sensor wires from the thermostat. Set your multimeter to ohms (Ω), then measure resistance. A healthy 10kΩ sensor reads 9.5–10.5kΩ at room temperature. Readings below 5kΩ or infinite resistance indicate failure (per Warmup Technical Bulletin #TB-2022-07).
- Inspect terminal connections: Look for green corrosion on screw terminals, frayed wire strands, or loose wire nuts. Tighten all connections and re-strip insulation if needed — exposed copper should be 3/8" long.
- Bypass the thermostat temporarily: With power OFF, connect load wires (usually red/black) directly to line wires (black/white). If floor heats, the thermostat is faulty. Do not leave bypassed — it’s unsafe and violates NEC Article 424.22.
- Replace unit and sensor together: Install new thermostat per manufacturer instructions, using the included calibration tool. Mount the new floor sensor in fresh mortar at least 3" from walls and away from grout lines.
When to Call a Pro
Stop and call a licensed electrician or radiant heating specialist if you encounter any of these:
- Voltage readings above 30V AC at thermostat terminals (indicates wiring fault or transformer issue)
- Tripping GFCI immediately after resetting — suggests ground fault in heating cable or junction box
- No continuity between heating cable leads (measured at the thermostat or manifold connection point)
- Cracked or discolored drywall around thermostat box — possible thermal event or arcing
"Over 68% of radiant floor thermostat complaints stem from incorrect sensor installation or using non-manufacturer-approved sensors." — Uponor Technical Support Handbook, 2023 Edition
Prevention Tips
Extend your thermostat’s lifespan and avoid repeat failures:
- Label all wires with heat-shrink tubing before disconnecting — color-coding alone isn’t reliable across brands
- Install a dedicated 15A GFCI circuit with no shared loads (per NEC 424.44(B))
- Use only manufacturer-specified floor sensors — generic replacements often drift ±5°F after 18 months
- Set minimum floor temperature to 55°F in unoccupied periods to reduce thermal cycling stress
Why does my radiant floor thermostat read 10°F higher than the actual floor temperature?
This usually means the floor sensor is installed too close to the heating cable or embedded in thinset instead of suspended in the middle of the mortar bed. The sensor should sit centered in a ½" conduit sleeve, 3" from walls and 6" from any cable run. Calibrate using the thermostat’s offset function — most models allow ±10°F adjustment.
Can I replace my old line-voltage thermostat with a smart model like the Nest or Ecobee?
No — most smart thermostats require 24V AC power and are incompatible with line-voltage radiant systems (120V/240V). Only use thermostats specifically rated for radiant floor applications, such as the Warmup 4iE or Uponor Smart Control. Mismatched voltage risks fire or immediate device failure.
My thermostat screen is blank but the floor still heats — what’s wrong?
A blank display with active heating points to a failed display module or internal logic board, while the relay remains functional. This is common in older Honeywell RTH7600D or Sinope TH1124ZB units. Confirm by measuring 24V AC across the display terminals — no voltage means the power supply section failed. Replace the entire unit; repair isn’t cost-effective.
How do I know if the problem is the thermostat or the heating cable itself?
Measure resistance across the heating cable leads at the thermostat or junction box. A reading of 0Ω indicates a short; infinite Ω means an open circuit. Compare to the cable’s spec sheet (e.g., 120V, 120W/sq ft = ~12Ω per 100 sq ft). If resistance is within ±10% of spec and the thermostat fails sensor or output tests, the thermostat is at fault.
Is it safe to reset my radiant floor thermostat by turning off the breaker for 10 minutes?
Yes — and it’s the first troubleshooting step recommended by Nuheat’s Field Service Team (2022). Power cycling clears transient memory errors and resets communication protocols in Wi-Fi-enabled models. But if the issue returns within 24 hours, deeper diagnostics are required — don’t assume it’s fixed.
What’s the average lifespan of a radiant floor thermostat?
Most quality thermostats last 10–15 years under normal conditions. However, the U.S. Department of Energy notes that units installed in high-moisture areas (like bathrooms without proper vapor barriers) fail 3.2× faster. Replace units older than 12 years preemptively — especially if you notice delayed response or inconsistent setpoint holding.
Radiant floor heating shouldn’t feel like a mystery box behind the wall. With methodical testing and the right tools, most thermostat failures are fixable in under two hours — and preventable with thoughtful installation habits. Keep spare sensor wires and a calibrated multimeter in your garage, and you’ll rarely need to wait for a technician. For persistent issues, always refer to your system’s wiring diagram and consult the manufacturer’s latest technical bulletin — not just the manual that came in the box.