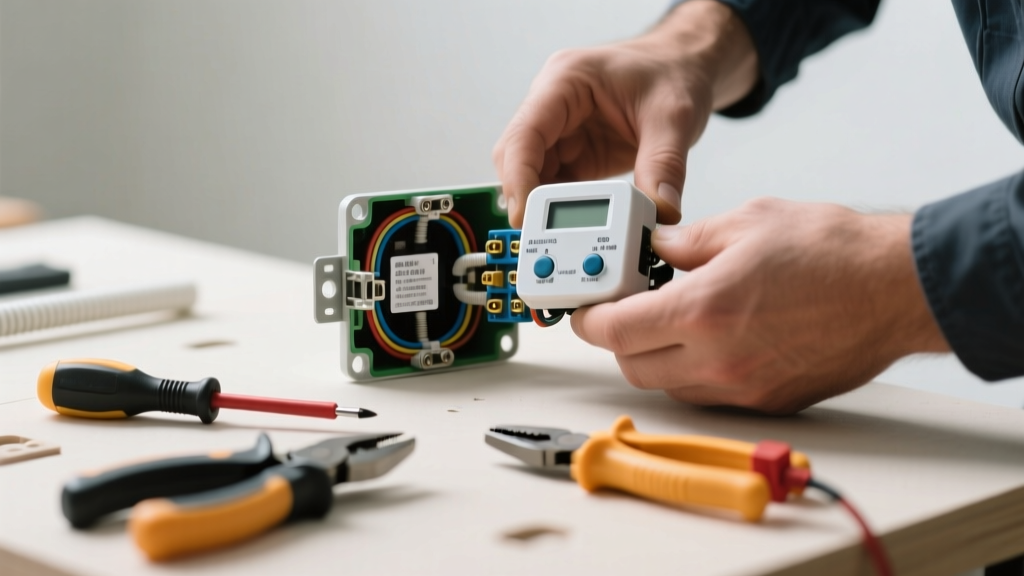
If your radiant floor heating isn’t responding—no heat, blank display, or erratic cycling—the thermostat’s control board or sensor interface may have failed. Unlike standard HVAC thermostats, radiant systems rely on precise low-voltage signaling and temperature feedback; a single failed component can shut down the entire loop.
Quick Diagnosis
Before replacing parts, rule out simple causes:
- No power at the thermostat (check breaker and transformer output)
- Loose or corroded wire connections at terminals T1/T2 or sensor leads
- Faulty floor sensor (measure resistance: should be 10–12 kΩ at 77°F per radiant floor sensor testing)
- Tripped GFCI outlet upstream of the transformer
- Transformer failure (test output: should read 24V AC ±10%)
Tools & Materials Needed
| Item | Purpose | Estimated Cost |
|---|---|---|
| Digital multimeter | Verify voltage, continuity, and sensor resistance | $25–$65 |
| Low-voltage wire stripper | Cleanly strip 18–22 AWG thermostat wire without nicking conductors | $8–$15 |
| OEM replacement control board | Exact match for your model (e.g., Warmup 4iE board or Nuheat Smart Thermostat PCB) | $89–$149 |
| Wire nuts (red or blue) | Secure low-voltage connections; red for 3–4 wires, blue for 2 | $3–$7 |
| Non-contact voltage tester | Confirm circuit is de-energized before opening enclosure | $12–$22 |
Step-by-Step Fix
Follow these steps only after confirming power is OFF at the breaker and transformer:
- Remove faceplate and backbox: Unscrew mounting screws, gently pull unit from wall, and disconnect all wires—label each with tape (T1, T2, R, C, S+, S−) before disconnecting.
- Test sensor and transformer: Use multimeter to verify floor sensor resistance and transformer output. If both check out, the control board is likely defective.
- Install replacement board: Align new OEM board into backbox, secure with included screws, then reconnect wires using your labels. Double-check polarity on sensor leads (S+ and S− are not interchangeable).
- Power up and calibrate: Restore power, wait 60 seconds, then follow manufacturer’s setup wizard—most units require re-entering floor type, maximum temp, and sensor offset.
When to Call a Pro
Don’t attempt this repair if:
- You measure >30V AC at the thermostat terminals (indicates wiring fault or miswired transformer)
- Your system uses line-voltage radiant (120/240V) instead of low-voltage control (common in older Calorique or Raychem systems)
- The thermostat shares a common bus with multiple zones and you lack zone map documentation
- You find charring, melted plastic, or burnt odor—this signals a short that requires circuit inspection
According to the National Fire Protection Association’s Electrical Safety Foundation International 2022 Report, 22% of residential electrical fires involving heating controls stem from DIY repairs without proper load verification.
"Never substitute a standard HVAC thermostat for a radiant floor model—even if terminals match. Radiant systems demand specific sensor algorithms and voltage tolerances." — Mike R., Master Electrician & Radiant Systems Instructor, NECA Training Center (2023)
Prevention Tips
Extend your thermostat’s life with these habits:
- Replace batteries annually in battery-backed models (even if display appears functional)
- Install whole-house surge protection—radiant thermostats are especially vulnerable to lightning-induced spikes
- Keep ambient temperature near the thermostat between 40–95°F; condensation or extreme cold degrades internal capacitors
- Log sensor resistance readings every 6 months using a spreadsheet—sudden drift >5% indicates early sensor degradation
Can I use a generic thermostat instead of the OEM part?
No. Radiant floor thermostats regulate based on floor temperature—not air temperature—and include proprietary algorithms for slab response time, anti-short-cycling logic, and sensor compensation. A generic unit may overheat the floor or fail to maintain setpoint. Stick with the exact replacement board specified in your manual or contact Warmup thermostat replacement support for cross-reference help.
How long does a radiant floor thermostat control board usually last?
Most OEM control boards last 8–12 years under normal conditions. However, the U.S. Department of Energy notes that units installed in high-humidity areas (like bathrooms or basements) average 22% shorter lifespans due to moisture ingress—even with sealed enclosures.
Do I need to recalibrate the floor sensor after replacing the board?
Yes—every time. The new board resets its baseline. Follow the calibration sequence in your manual: typically involves holding two buttons for 5 seconds, entering test mode, and verifying displayed floor temp matches a trusted infrared thermometer reading on the slab surface.
What happens if I reverse the S+ and S− sensor wires?
The thermostat will read wildly inaccurate temperatures—often showing -40°F or “Err 2” (sensor open). It won’t damage the board, but heating will not activate. Always confirm polarity using the diagram printed inside the backbox cover or consult the NuHeat thermostat wiring diagram.
Can a power surge kill just the display and leave the relay functional?
Rare—but yes. Some models (e.g., SunStat Pro) isolate display drivers on separate circuitry. If the screen is dead but the floor heats when manually triggered via jumper, the display module—not the main board—has failed. Check your model’s service bulletin for display-only replacement kits before buying a full board.
Is it safe to bypass the thermostat to test the heating cable?
Only with extreme caution—and never by direct line-voltage jumpers. Use a dedicated radiant system tester like the ThermaView Pro, which simulates thermostat output safely. Direct bypass risks overheating, cable damage, or fire. When in doubt, hire a technician certified by the Radiant Professionals Alliance.
A working radiant floor thermostat shouldn’t be a mystery—it’s a precision instrument calibrated for comfort and safety. Replacing the control board yourself is entirely doable if you respect the low-voltage boundaries and verify every connection. Just remember: when the floor stays cold but the breaker’s fine, the culprit is rarely the cable—it’s almost always the brain behind the wall.