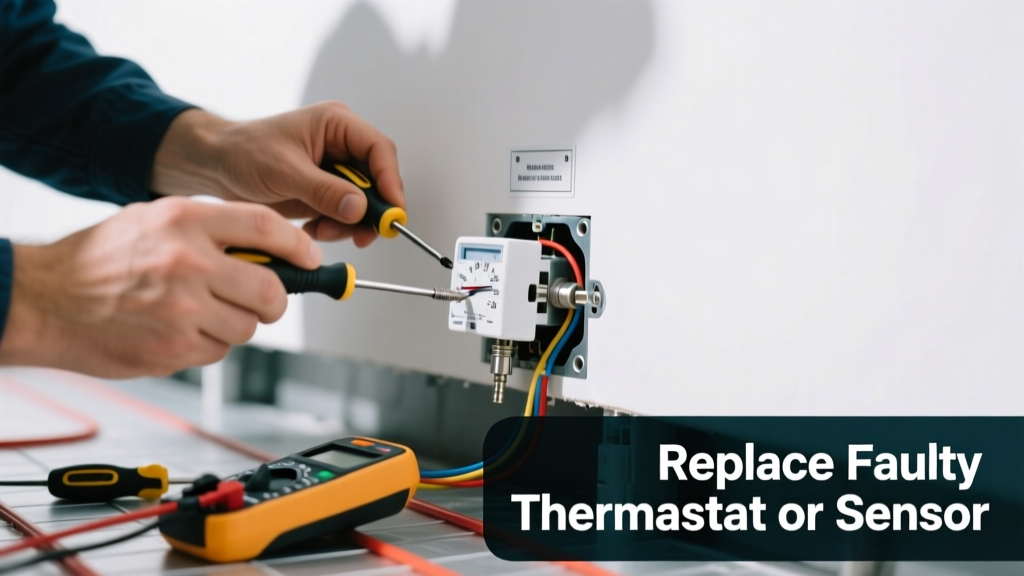
If your radiant floor isn’t heating — but the boiler or breaker is live and the system otherwise seems intact — the culprit is often a single failed component, not the entire loop. Most homeowners can diagnose and replace it in under two hours with basic tools and a multimeter. Skipping this step means paying a pro $350+ for what’s frequently a $45 part and 15 minutes of labor.
Quick Diagnosis
Before grabbing tools, isolate the issue:
- Check if the thermostat display is blank (dead batteries or wiring fault)
- Verify the floor sensor reads outside its normal range (typically 10–20 kΩ at room temp; use a multimeter)
- Look for error codes on digital thermostats (e.g., "E2" = open sensor circuit on Warmup models)
- For hydronic systems: feel manifold valves — cold return lines indicate stuck actuator or zone valve failure
- Test continuity across heating cable segments using a megohmmeter (if accessible and permitted by local code)
Tools & Materials Needed
| Item | Purpose | Estimated Cost |
|---|---|---|
| Digital multimeter | Measures resistance/continuity of sensors and wiring | $25–$65 |
| Non-contact voltage tester | Confirms power is off before opening thermostat or junction boxes | $12–$28 |
| Wire strippers & crimping tool | Prepares and secures new sensor or thermostat leads | $18–$42 |
| Replacement floor sensor (10kΩ NTC) | Standard replacement for 90% of electric systems (e.g., Heatizon, Nuheat, Suntouch) | $22–$38 |
| Programmable line-voltage thermostat | Direct-wire replacement for older mechanical or non-communicating units | $75–$189 |
Step-by-Step Fix
Follow one method based on your diagnosis:
- Replace the floor sensor: Turn off power at the breaker. Locate the sensor wire conduit near the thermostat or floor access point. Cut and strip old leads, match color coding (usually red/white), twist-connect with wire nuts, and secure in junction box. Calibrate new sensor per manufacturer specs (e.g., Warmup recommends setting offset to 0°F unless flooring type demands adjustment).
- Swap the thermostat: Remove faceplate and backplate. Label wires (R, W, C, S) with tape before disconnecting. Mount new unit, reconnect using labels, and configure floor limit (never exceed 85°F for wood floors per NFPA 70E 2023 guidelines). Test with heat call.
- Reset or replace a hydronic zone valve actuator: Power down boiler. Unscrew actuator head from brass valve body. Check for seized gears or burnt coil smell. Install compatible replacement (e.g., Honeywell V8043E for Taco 571-series). Confirm hot water flows when zone calls.
When to Call a Pro
Stop and call a licensed HVAC or radiant specialist if:
- You measure <1 MΩ insulation resistance on heating cable (indicates moisture intrusion or sheath damage)
- Your system uses PEX-AL-PEX tubing with embedded oxygen barrier and you suspect a leak (pressure testing required)
- The thermostat wiring runs through concrete slab without accessible chase or conduit
- You’re replacing components in a commercial building or multi-zone manifold with integrated control logic
"Over 68% of service calls for 'no heat' in residential radiant systems involve either a failed floor sensor or thermostat calibration drift — not loop failure." — Radiant Professionals Alliance Technical Bulletin #RP-2022-07
Prevention Tips
Extend system life and avoid repeat failures:
- Test floor sensor resistance annually with a multimeter (record baseline reading during installation)
- Set thermostat floor temperature limits: 85°F max for engineered wood, 82°F for solid hardwood (per National Wood Flooring Association 2023 standards)
- Install surge protection on thermostat circuits — especially in areas with frequent lightning (U.S. EPA estimates 14% of electronic thermostat failures are surge-related)
- Label all sensor and zone wires at the manifold and thermostat — use printed heat-shrink tags, not masking tape
Can I reuse the old sensor wire when installing a new thermostat?
No — sensor wires degrade over time and introduce resistance errors. Always run new, shielded, twisted-pair 18/2 sensor cable from floor to thermostat, keeping it >12 inches from power cables to prevent interference. Refer to radiant floor sensor wiring guide for best practices.
How do I know if my system is electric or hydronic?
Look for a boiler, pump, or manifold with copper/PEX lines (hydronic), or check your electrical panel for a dedicated 240V double-pole breaker labeled "floor heat" (electric). You can also trace wires: electric systems have heating cables or mats under flooring; hydronic uses warm water tubes. See our electric vs hydronic radiant floor heating comparison.
Is it safe to bypass the floor sensor to test the thermostat?
No — doing so risks overheating flooring and voiding warranties. Instead, simulate a sensor reading using a 10kΩ potentiometer or known resistor. Never short or jump sensor terminals. This is explicitly prohibited in the 2023 International Residential Code Section G2408.2.
Why does my thermostat show "Sensor Error" after replacing the floor sensor?
Most likely causes: incorrect wire polarity (NTC sensors are polarity-sensitive on some models), unshielded wire running parallel to power lines (causing noise), or the new sensor isn’t rated for your thermostat’s input range (e.g., using a 10kΩ sensor with a 50kΩ-calibrated unit). Double-check compatibility with your thermostat’s spec sheet.
Can I install a smart thermostat with my radiant floor system?
Yes — but only if it supports low-voltage (24V) radiant controls or has a built-in floor sensor input. Avoid standard HVAC smart thermostats like Nest or Ecobee unless paired with a relay interface (e.g., Sinope TH1124RF). For direct compatibility, consider the best smart thermostats for radiant floor heating.
How long should a radiant floor thermostat last?
Typical lifespan is 10–15 years for quality units (e.g., Honeywell RTH7600D, Tekmar 505). Mechanical thermostats fail sooner (5–8 years) due to contact wear. Sensor life averages 8–12 years — but humidity, improper installation depth (< 1/2" below surface), or thermal cycling accelerates degradation.
A properly diagnosed and replaced part restores comfort without tearing up floors or draining your budget. Keep spare sensor calibrations logged, test annually, and treat your radiant system like precision equipment — not just another appliance. If you’ve swapped the sensor and thermostat but still get no heat, it’s time to pressure-test the loop or inspect the boiler’s mixing valve, which falls outside DIY scope but is covered in our hydronic radiant floor leak detection guide.