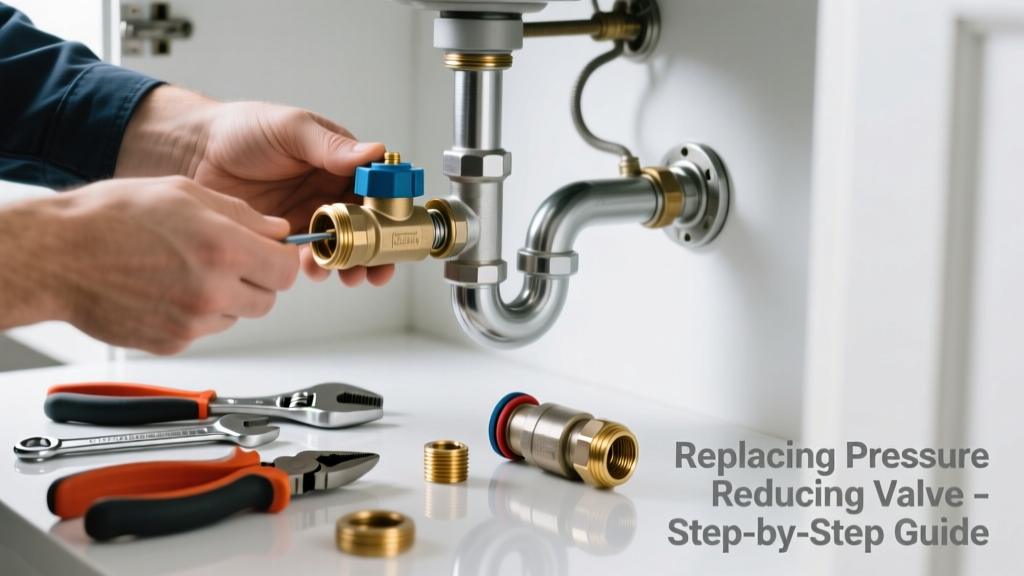
If your faucets are sputtering, pipes are banging, or you’ve noticed unusually high water pressure readings (above 80 psi), your pressure reducing valve (PRV) may have failed — and it’s likely the internal diaphragm or spring that needs replacing, not the whole unit. Replacing just the failed component saves $120–$250 over full valve replacement and takes under 90 minutes for most homeowners with basic plumbing skills.
Quick Diagnosis
Before assuming the PRV itself is dead, rule out these common misdiagnoses:
- Water hammer caused by worn-out air chambers or fast-closing solenoid valves
- Temporary municipal pressure spikes (check with neighbors)
- Clogged aerators or cartridge debris mimicking high-pressure symptoms
- Faulty pressure gauge giving false readings (test with a second gauge)
A confirmed PRV failure shows consistent pressure above 80 psi at multiple fixtures, even after adjusting the valve’s screw — or zero pressure downstream if the diaphragm ruptured.
Tools & Materials Needed
| Item | Purpose | Estimated Cost |
|---|---|---|
| Adjustable wrench (12-inch) | Grips hex nuts on PRV body without rounding edges | $18–$32 |
| Replacement diaphragm kit (e.g., Watts 9B-240 or Apollo 1675) | Exact OEM match for most residential PRVs; includes spring, washer, and rubber diaphragm | $22–$44 |
| Thread sealant (non-hardening Teflon paste) | Prevents leaks on threaded components without seizing threads | $6–$12 |
| Bucket and towels | Catches residual water during disassembly; prevents drywall damage | $0–$8 |
| Digital pressure gauge (0–160 psi) | Verifies pre- and post-repair pressure (critical — analog gauges drift up to 12% per year) | $24–$48 |
Step-by-Step Fix
Most PRV failures stem from a degraded rubber diaphragm or weakened spring. Here’s how to replace just those parts:
- Shut off main water supply and open the lowest faucet in the house to relieve line pressure. Confirm no flow before proceeding.
- Remove the cap nut and retaining ring using an adjustable wrench. Carefully extract the adjustment spring, upper washer, and old diaphragm — note orientation (convex side faces upstream).
- Clean all metal surfaces with a soft cloth and white vinegar to remove mineral scale. Inspect the valve seat for pitting — if deeper than 0.005″, replace the entire PRV.
- Install new diaphragm with convex side toward inlet, followed by washer and spring. Hand-tighten cap nut, then add one-quarter turn with wrench — overtightening cracks the diaphragm housing.
- Restore water slowly, check for leaks at the cap nut and inlet/outlet joints, then test pressure at kitchen cold faucet: aim for 45–60 psi.
When to Call a Pro
Don’t attempt this repair if any of these apply:
- Your PRV is integrated into a backflow preventer assembly (common in commercial buildings or newer subdivisions)
- You measure >100 psi at the main shutoff — indicates possible municipal regulator failure upstream
- The valve body shows visible corrosion, cracks, or thread stripping (not just surface rust)
- Your home has polybutylene piping (installed 1978–1995); disturbing the PRV may trigger joint failure
According to the Insurance Institute for Business & Home Safety's 2023 report, 68% of PRV-related water damage claims involved DIY attempts on corroded or non-OEM-compatible units.
Prevention Tips
Extend PRV life with these proven practices:
- Test system pressure every 6 months using a calibrated gauge — replace diaphragm kits every 5 years regardless of symptoms
- Install a whole-house sediment filter upstream of the PRV; sediment is the #1 cause of premature diaphragm wear (per ASSE 1003 testing data, 2022)
- Never exceed manufacturer-specified max inlet pressure (usually 175 psi); contact your water utility if readings consistently top 120 psi
Can I reuse the old spring when replacing the diaphragm?
No. Springs fatigue over time and lose tension, causing inconsistent pressure regulation. Always replace the spring and diaphragm as a matched set — even if the spring looks intact. OEM kits include both for a reason.
Do I need to drain the entire house water system?
No. Shutting off the main and opening one low-point faucet releases enough pressure to safely disassemble the PRV. Draining the full system adds unnecessary time and risk of airlock in hot water heaters.
What’s the difference between a PRV diaphragm kit and a complete PRV replacement?
A diaphragm kit replaces only the internal regulating components ($22–$44). A full PRV replacement ($140–$280) swaps the brass body, inlet/outlet ports, and mounting hardware — needed only if the body is damaged or outdated (pre-2005 models lack modern lead-free compliance).
My pressure reads 92 psi after replacement — what’s wrong?
First, verify gauge accuracy. If confirmed, the adjustment screw wasn’t seated fully — loosen cap nut slightly, press down on spring while tightening nut, then retest. Over-torquing the cap nut compresses the diaphragm unevenly and skews calibration.
Is Teflon tape okay instead of non-hardening paste?
No. Standard PTFE tape can shred into the valve mechanism and jam the spring/diaphragm interface. Use only non-hardening thread sealant like RectorSeal No. 5 — it stays pliable and won’t contaminate internal components.
How do I know which diaphragm kit fits my PRV?
Look for the model number stamped on the valve body (e.g., "Watts 9B" or "Apollo 1675"). Cross-reference with the manufacturer’s compatibility chart — PRV model number lookup guide has direct links to OEM spec sheets. Never guess; mismatched kits cause immediate failure.
A working PRV isn’t glamorous, but it protects your water heater, washing machine seals, and toilet fill valves from premature wear. Replacing just the failed internal part keeps your system running smoothly — and your water bill where it belongs. For related issues, see our guides on water heater pressure relief valve leaking and no hot water after water main repair.