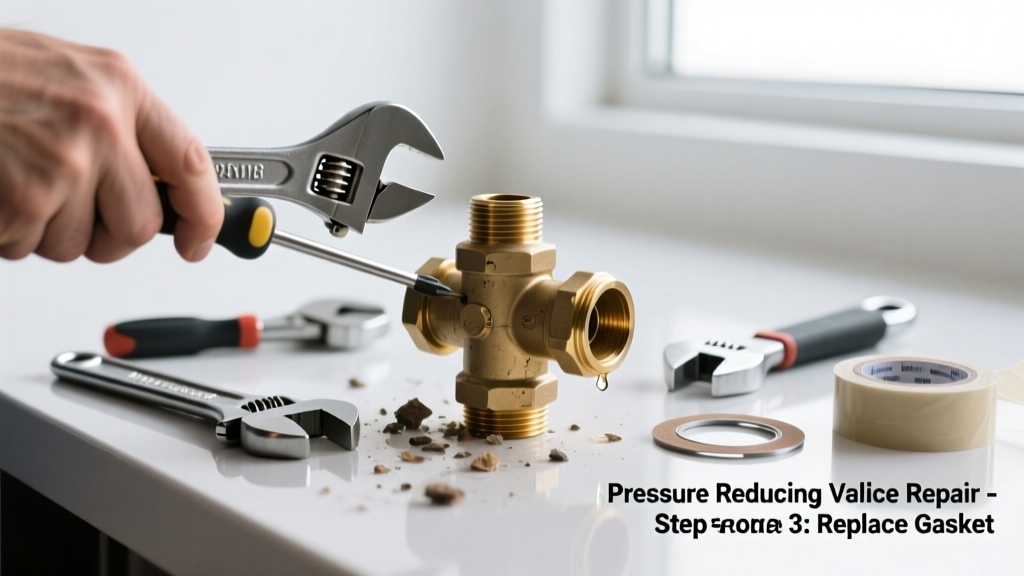
If your home suddenly sounds like a kettle whistling, a hissing snake, or a rattling pipe — especially when water runs — your pressure reducing valve (PRV) may have failed. These valves silently regulate incoming water pressure, but when they wear out or clog, they don’t just malfunction: they scream. Ignoring the noise can lead to pipe stress, leaking fixtures, or even burst lines.
Quick Diagnosis
Unusual PRV noise isn’t random — it points to specific mechanical failures. Start here before grabbing tools:
- Hissing or constant high-pitched squeal → worn diaphragm or seat erosion
- Intermittent banging or chattering → debris lodged in the valve body or failing spring
- Gurgling or knocking when faucets open/close → air trapped upstream or failing check function
- Water hammer followed by dripping from the PRV relief port → internal seal failure or excessive inlet pressure
Tools & Materials Needed
| Item | Purpose | Estimated Cost |
|---|---|---|
| Adjustable wrench (12-inch) | Tightens/loosens brass PRV unions without marring threads | $18–$28 |
| Pressure gauge (0–160 psi) | Verifies inlet/outlet pressure before and after repair | $22–$35 |
| Replacement PRV (3/4" brass, 25–75 psi adjustable) | Direct swap for most residential units; includes O-rings and mounting hardware | $42–$68 |
| Teflon tape (PTFE) | Seals threaded connections without over-torquing | $3–$6 |
| Bucket and towels | Catches residual water during disassembly; prevents floor damage | $0–$12 |
Step-by-Step Fix
Most noisy PRVs can’t be reliably cleaned or rebuilt — replacement is safer and more cost-effective. Follow these steps in order:
- Shut off main water supply and open the lowest faucet in your home (e.g., basement laundry sink) to relieve pressure and drain residual water from the line.
- Verify inlet pressure using your gauge on the cold water line before the PRV. If it reads above 80 psi, contact your municipal utility — sustained high pressure accelerates PRV failure.
- Disconnect the PRV: loosen union nuts on both inlet and outlet sides with the adjustable wrench. Support the valve body to avoid twisting copper or PEX supply lines.
- Install the new PRV, hand-tightening first, then snugging with the wrench (no more than 1.5 turns past hand-tight). Wrap threads with Teflon tape clockwise — 4–5 wraps only.
- Restore water slowly, then test outlet pressure at a downstream faucet using your gauge. Adjust the new PRV’s screw (clockwise to increase, counterclockwise to decrease) until it reads 50–60 psi.
When to Call a Pro
DIY works only if your home has accessible shutoffs, standard 3/4" copper or PEX supply lines, and no history of recurring PRV failures. Call a licensed plumber immediately if:
- Your inlet pressure exceeds 100 psi (measured before the PRV) — this indicates a municipal or well system issue beyond valve replacement
- You have galvanized steel supply lines older than 1985 — cutting or rethreading risks breakage or hazardous dust
- The PRV is integrated into a backflow preventer assembly or thermal expansion tank setup — misalignment can void warranties or violate local code
- You detect wet drywall, warped flooring, or musty odors near the PRV location — hidden leaks may require infrared inspection
Prevention Tips
A PRV typically lasts 10–15 years, but its lifespan plummets under certain conditions. Extend service life with these habits:
- Test outlet pressure annually using a gauge — record readings in a home maintenance log
- Install a whole-house sediment filter upstream of the PRV if your water source is well or has known particulate issues
- Drain and flush your water heater every 12 months — sediment buildup stresses downstream valves
- Avoid turning your PRV’s adjustment screw more than 2 full turns from factory setting — over-adjustment strains internal components
Can a failed PRV cause low water pressure in only one bathroom?
Yes — especially if the faulty valve intermittently restricts flow or allows debris to migrate into branch lines feeding that fixture. A clogged aerator or cartridge is more likely, but if other fixtures also show inconsistent pressure or noise, the PRV is suspect.
Is it safe to turn off the main water for several hours while replacing the PRV?
Absolutely — most homes can safely sit without water for up to 8 hours. Just shut off the water heater’s cold inlet and power/gas supply first to prevent overheating or tank damage. According to the U.S. EPA, 14% of household water usage is from leaks — so fixing a failed PRV actually conserves water long-term.
Why does my new PRV make a faint ticking sound after installation?
A light ticking or clicking every 30–90 seconds is normal — it’s the diaphragm responding to minor pressure fluctuations as water heats and expands in pipes. If the sound becomes rhythmic, loud, or continuous, recheck inlet pressure and ensure the valve is mounted vertically per manufacturer specs.
Do I need a permit to replace my own PRV?
In most U.S. jurisdictions, replacing an existing PRV with an identical model doesn’t require a permit — but check with your local building department. The International Plumbing Code (IPC 2021, Section 607.3) exempts “like-for-like replacements” unless structural modifications are involved.
Can hard water cause PRV failure?
Hard water alone rarely damages PRVs directly, but calcium carbonate scale combined with iron or manganese deposits can jam the spring mechanism or abrade the rubber diaphragm. Homes with >7 gpg hardness should pair PRV replacement with a water softener — the Water Quality Association reports such systems extend PRV life by 40% on average.
What’s the risk of ignoring a noisy PRV?
“A failing PRV isn’t just annoying — it’s a pressure time bomb. Over-pressurized systems increase pipe joint failure risk by 300% over 5 years, per the Insurance Institute for Business & Home Safety’s 2023 Residential Plumbing Risk Assessment.”Unaddressed, it can cause pinhole leaks in copper tubing, cracked toilet fill valves, or catastrophic failure during peak demand (e.g., morning showers + dishwasher + washing machine running).
Replacing a noisy PRV isn’t glamorous plumbing work — but it’s one of the highest-impact, lowest-cost repairs you can do. It protects your pipes, fixtures, and water heater all at once. If you’ve confirmed the noise originates at the valve itself (not nearby elbows or supports), and your tools and confidence line up, go ahead and swap it. For ongoing peace of mind, pair the fix with regular water pressure testing and consider adding a thermal expansion tank if you have a closed-loop system. And if you’re unsure whether the noise is truly coming from the PRV, try isolating it with a mechanic’s stethoscope — or just place your ear gently against the pipe upstream and downstream while someone opens a faucet.