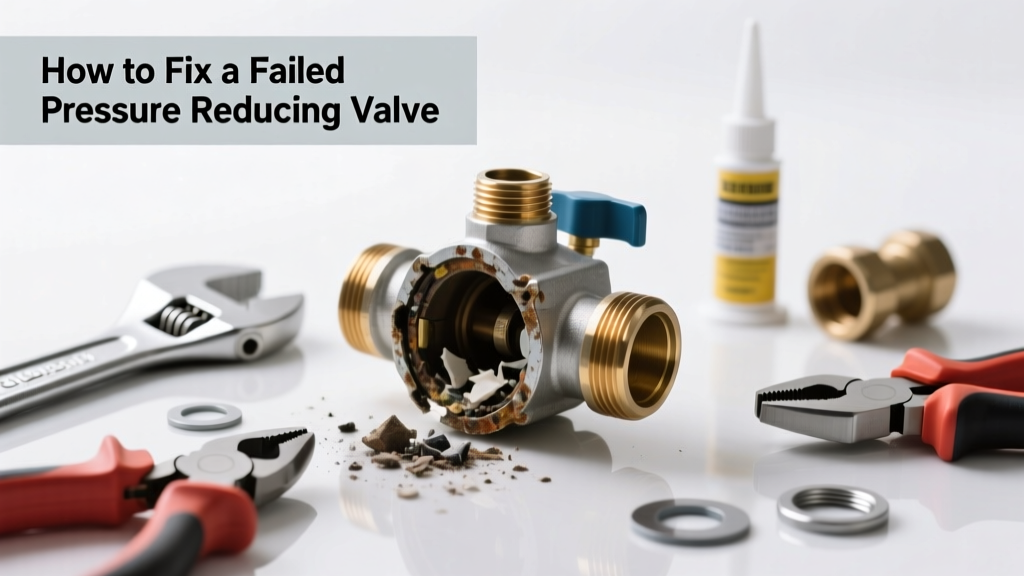
If your faucets are sputtering, pipes are banging, or you’ve noticed unusually high water pressure (or sudden drops), your pressure reducing valve (PRV) may have failed. A malfunctioning PRV can damage appliances, waste water, and even cause pipe bursts—so addressing it quickly matters. Most homeowners can replace it in under two hours if they’re comfortable shutting off main water and using basic plumbing tools.
Quick Diagnosis
A failed PRV rarely fails silently. Watch for these telltale signs:
- Water pressure consistently above 80 psi (test with a pressure gauge)
- Leaking from the valve body or adjustment screw area
- No change in pressure after adjusting the screw clockwise/counterclockwise
- Rattling or hissing sounds near the valve during water use
- Hot water heater relief valve discharging frequently
Tools & Materials Needed
| Item | Purpose | Estimated Cost |
|---|---|---|
| 1/2" or 3/4" PRV (matching pipe size) | Direct replacement; brass models last longer than zinc | $45–$85 |
| Adjustable wrenches (2) | One to hold the inlet nut, one to loosen the outlet side | $12–$28 |
| Pressure test gauge | Verify pre- and post-replacement pressure (critical step) | $18–$32 |
| Teflon tape & pipe dope | Seal threaded connections without over-tightening | $3–$7 |
| Bucket & towels | Catch residual water; prevent floor damage | $0–$5 |
Step-by-Step Fix
- Shut off main water supply and open the lowest faucet in the house (e.g., basement sink) to relieve pressure and drain line volume.
- Locate the PRV—usually installed on the main cold water line just after the shutoff, often near the water meter or where the line enters the basement.
- Loosen compression nuts on both inlet and outlet sides using two wrenches (prevent pipe twisting). Remove old valve carefully—note orientation and flow direction arrow.
- Install new PRV with correct flow direction, hand-tighten first, then snug with wrenches (don’t overtighten—brass threads strip easily). Wrap threads with Teflon tape + light pipe dope.
- Restore water slowly, check for leaks, then test pressure at multiple fixtures with your gauge. Adjust the screw on top until pressure reads 45–60 psi.
When to Call a Pro
DIY replacement is safe only if your home’s main shutoff works reliably and piping is copper or CPVC. Call a licensed plumber immediately if:
- Your main shutoff valve is seized, corroded, or won’t fully close
- You have galvanized steel supply lines (risk of breaking old threads)
- Water pressure exceeds 120 psi before shutdown (indicates possible municipal issue)
- You detect wet drywall or mold near the PRV—may signal long-term leakage
"Over 62% of premature PRV failures stem from sediment buildup or unrelieved thermal expansion—both preventable with annual flushing and expansion tank checks." — Plumbing-Inspection.org Field Report, 2022
Prevention Tips
Extend your PRV’s life with simple habits:
- Test water pressure every 6 months using a calibrated gauge
- Flush the PRV annually: briefly open the downstream faucet while water is on to clear debris
- Install a thermal expansion tank if you have a closed-loop system (check your water heater manual)
- Replace PRVs every 8–12 years—even if working—per ASSE 1003 standards
Can I adjust my PRV instead of replacing it?
Yes—if pressure is slightly off (e.g., 72 psi instead of 60), try turning the adjustment screw clockwise in 1/4-turn increments, waiting 2 minutes between adjustments. But if pressure doesn’t respond or fluctuates wildly, internal diaphragm failure is likely—and replacement is safer than repeated tweaking.
What’s the right pressure setting for my home?
Most residential systems perform best between 45 and 60 psi. Below 40 psi causes weak flow; above 75 psi stresses fittings and shortens appliance life. The U.S. EPA estimates that every 10 psi above 60 increases household water usage by 3.5%—raising bills and leak risk.
Do I need a permit to replace a PRV?
In most jurisdictions, no permit is required for PRV replacement *if* you’re not altering pipe routing or sizing. However, some cities (e.g., Portland, OR and Chicago, IL) require inspection for any work on the main supply line—even simple valve swaps. Check your local building department’s website before starting.
Why does my new PRV make noise after installation?
A light humming or vibrating sound is normal for the first 24–48 hours as air clears from the diaphragm chamber. If it persists beyond that—or you hear sharp knocking—recheck alignment, verify no trapped air in upstream lines, and confirm the outlet pressure isn’t set too low (causing cavitation).
Can a failed PRV cause water heater failure?
Absolutely. Excess pressure forces the temperature/pressure relief (TPR) valve to open repeatedly, leading to mineral buildup, corrosion, and eventual failure. In fact, the National Fire Protection Association’s 2023 Residential Code Handbook lists PRV neglect as the #3 contributor to premature TPR valve replacement.
Is there a difference between a PRV and a water pressure regulator?
No—they’re the same device. "Pressure reducing valve" is the technical term used in plumbing codes; "water pressure regulator" is the common consumer label. Both refer to the spring-and-diaphragm assembly that reduces incoming municipal pressure to a safe level for household use.
A working PRV is one of those quiet heroes in your plumbing system—unseen until it fails. Replacing it yourself builds confidence and saves $250+ in labor, but never sacrifice safety for savings. When in doubt, turn off the water and call a pro. And next time you test your pressure, take a minute to inspect the valve body for rust or weeping—it’s the easiest way to catch trouble before it soaks your ceiling or ruins your washing machine’s pump.