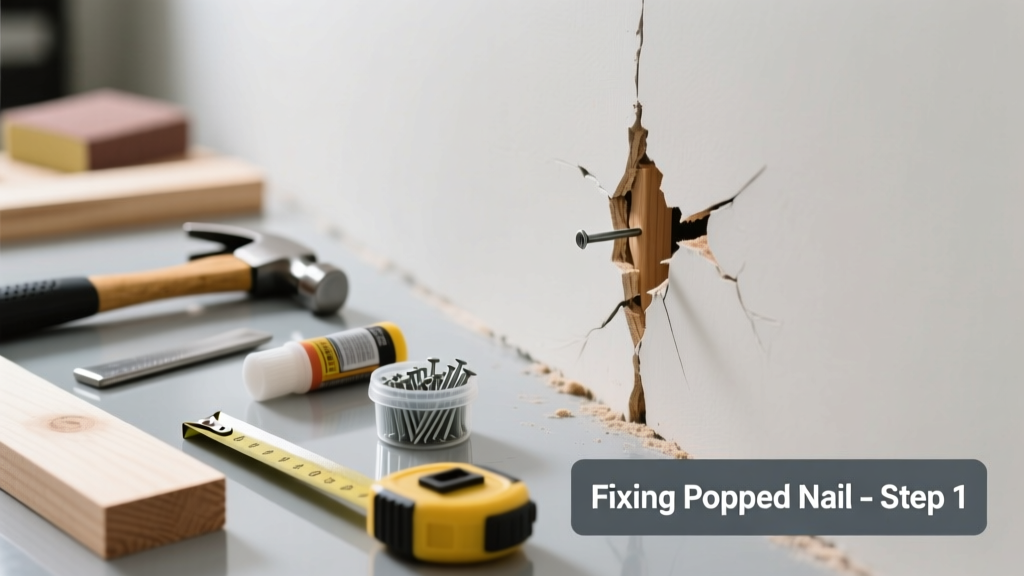
A popped nail—where the head pushes through drywall or plaster—is more than just an eyesore; it’s a sign of movement, moisture, or improper installation. If your nail keeps backing out, wobbling, or failing to grip, it’s not just annoying—it’s a symptom begging for attention before cracks spread or mold takes hold.
Quick Diagnosis
Before grabbing tools, identify the root cause. Most popped nails stem from one (or more) of these issues:
- Wood framing shrinkage or seasonal expansion/contraction
- Overdriven or undersized nails in drywall or plaster
- Moisture behind walls causing substrate swelling or rot
- Structural settling—especially near doorways, corners, or upper floors
- Use of nails instead of screws in high-stress areas like ceiling joists
Tools & Materials Needed
| Item | Purpose | Estimated Cost |
|---|---|---|
| 1¼" drywall screws (coarse thread) | Replace nails with stronger, non-popping fasteners | $4–$8 |
| Stud finder with AC detection | Locate solid framing behind drywall to anchor properly | $25–$60 |
| Putty knife & joint compound | Fill and smooth over old nail holes and new screw depressions | $3–$12 |
| Drill/driver with Phillips bit | Drive screws without stripping heads or cracking drywall | $45–$120 (if you don’t own one) |
| 16-gauge finishing nails (optional) | Temporary hold while compound dries; not for structural use | $2–$5 |
Step-by-Step Fix
Don’t just hammer it back in—that’ll fail again within weeks. Use one of these three proven methods, depending on severity and location:
- Reanchor with screws: Locate the stud using a stud finder, drill a pilot hole slightly smaller than your screw, then drive a 1¼" coarse-thread drywall screw ½" past the surface. Countersink just enough to allow compound coverage.
- Back-brace with wood shim (for ceiling pops): Cut a 1"×2" scrap to fit between joists, secure with construction adhesive and screws, then drive a screw through drywall into the shim and joist. This eliminates flex that causes popping.
- Two-point reinforcement: Install a second screw or nail at least 2" above or below the popped spot—never directly beside it—to distribute load across a wider framing section.
When to Call a Pro
DIY stops where safety and structure begin. Call a licensed contractor if:
- You find soft, spongy drywall or dark staining—signs of active water intrusion or rot
- Popping occurs in multiple locations across ceilings or exterior walls (suggesting foundation or framing failure)
- The wall or ceiling feels bouncy or moves when pressed
- You’re working in a bathroom, kitchen, or basement with known moisture history
According to the Insurance Institute for Business & Home Safety's 2023 report, 68% of drywall failures linked to popped fasteners were traced to undetected moisture behind surfaces—not poor nailing technique.
Prevention Tips
Stop future pops before they start—especially in homes built before 2010, when nail-only drywall attachment was common:
- Always use drywall screws—not nails—for ceilings and high-movement areas like hallways and stairwells
- Leave a ⅛" gap between drywall sheets and floor to allow for expansion
- In humid climates, run exhaust fans 20+ minutes after showers and maintain indoor RH below 55%
- Inspect attic framing annually for signs of warping, cupping, or gaps between joists and subfloor
Can I just hammer the nail back in?
No—hammering reactivates stress fractures in the drywall paper layer and worsens the void behind it. It also risks splitting the gypsum core. You’ll see another pop within days, often larger. Replace it with a screw anchored into solid framing instead.
Why do nails pop more in winter?
Cold, dry air shrinks framing lumber, pulling nails loose as wood contracts. The U.S. Department of Energy notes interior humidity below 30% increases this effect by up to 40% compared to 45–50% RH levels.
Is spackle okay instead of joint compound?
Spackle works for tiny nail holes under ¼", but it’s too brittle for popped nail repairs where movement may recur. Joint compound (all-purpose or topping) flexes slightly and bonds better to drywall paper. For best results, use two thin coats with sanding between.
Do I need to prime before painting over the repair?
Yes—unprimed joint compound absorbs paint unevenly, causing ‘flashing’ (shiny dull spots). Use a PVA primer like Zinsser Gardz to seal porosity and lock down dust. Skip priming, and you’ll likely need two extra topcoats to hide the patch.
Can I use toggle bolts instead of screws?
Toggle bolts are overkill—and potentially damaging—for standard drywall pops. They’re designed for heavy loads on hollow walls, not structural anchoring. They can crack surrounding drywall and make future repairs harder. Stick with screws into studs or shims.
What if the popped nail is near an electrical outlet?
Turn off power at the breaker, verify with a non-contact voltage tester, and remove the cover plate before proceeding. If the nail is embedded in or near wiring, stop immediately and call a licensed electrician. Never assume wires are safely routed—especially in older homes where NM cable wasn’t always stapled to stud centers.
Fixing a popped nail isn’t about brute force—it’s about understanding why the system failed and reinforcing it intelligently. Whether you’re patching one spot in a bedroom or auditing your whole home’s drywall attachment method, the right fix today prevents cracked paint, mold risk, and costly callbacks down the line. For deeper issues like recurring pops in load-bearing walls, consult a structural engineer before adding weight or insulation—some cracks aren’t cosmetic, and sagging ceilings demand more than screws.