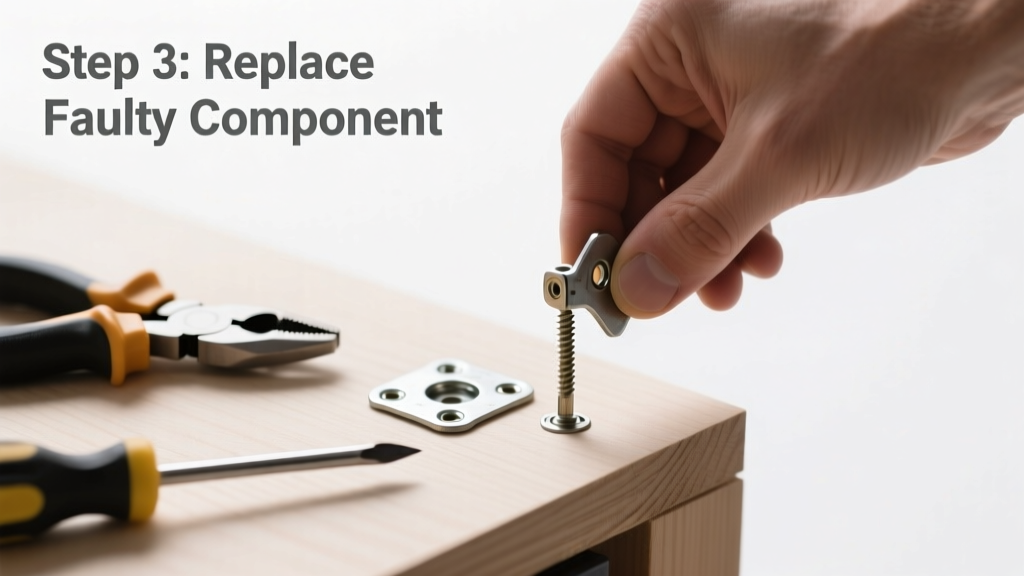
A popped nail isn’t just an eyesore—it’s a warning sign that something beneath the surface has shifted or failed. When the nail head lifts but the shaft remains embedded—or worse, when the fastener itself is bent, corroded, or stripped—you’re not dealing with simple settling. You need to replace the faulty component, not just hammer it back in.
Quick Diagnosis
Before grabbing tools, confirm why the nail popped. Most often, it’s one of these:
- Wood framing shrinkage (especially in new builds using green lumber)
- Corrosion or rust weakening the nail shank (common near bathrooms or basements)
- Improper nail type—e.g., using smooth-shank nails instead of ring-shank or spiral for drywall-to-wood connections)
- Structural movement from foundation settling or truss uplift
- Overdriven or underdriven nail causing stress concentration at the head or tip
Tools & Materials Needed
| Item | Purpose | Estimated Cost |
|---|---|---|
| 16d ring-shank sinker nail (3″) | Replaces weak or corroded nail; superior holding power in framing | $0.12–$0.25 each |
| Stud finder with AC detection | Confirms stud location and avoids hitting wiring behind drywall | $25–$60 |
| Hammer with rip claw (16 oz) | Drives replacement nail cleanly and removes old one without gouging | $18–$42 |
| Drywall patch kit (with mesh tape & joint compound) | Seals hole left by old nail and preps surface for paint | $8–$15 |
| Needle-nose pliers | Grips and extracts broken or deeply seated nail fragments | $6–$14 |
Step-by-Step Fix
Follow these methods based on what you find behind the pop:
- Remove the old nail: Tap the head gently with a hammer to loosen it, then grip with needle-nose pliers and pull straight out. If it snaps, drill a 1/8″ pilot hole beside the break and use a screw extractor or reverse-thread bit.
- Verify stud alignment: Use your stud finder to confirm the original nail hit the stud—and that the replacement will land within 1.5″ of the same spot. Avoid drilling into electrical conduits or plumbing lines.
- Drive the replacement: Position a 16d ring-shank nail at a 15° angle (toed-in) just above or below the original hole. Drive until the head sits flush—don’t overdrive, or you’ll dimple the drywall.
- Repair the surface: Apply mesh tape over both the old and new nail holes, then two thin coats of joint compound. Sand smooth before priming and painting.
When to Call a Pro
Don’t risk DIY if you encounter any of these:
- More than three popped nails in one wall section—suggests systemic framing movement
- Nail pops accompanied by sloping floors, sticking doors, or diagonal drywall cracks (signs of structural settlement)
- Corroded nails with white powdery residue (efflorescence) near concrete foundations—may indicate moisture intrusion requiring waterproofing
- Electrical wires or PVC pipes exposed during removal (requires licensed electrician or plumber)
According to the Insurance Institute for Business & Home Safety's 2023 report, 68% of premature drywall nail pops in homes built after 2015 were linked to improper fastener selection—not poor workmanship.
Prevention Tips
Stop future pops before they start:
- Use only ring-shank or screw-type fasteners for drywall-to-stud connections—never common nails
- Allow framing lumber to acclimate for 72 hours before installation (moisture content should be ≤19%, per APA Engineered Wood Association guidelines)
- Space fasteners no more than 7″ apart along studs and 8″ on ceiling joists
- Apply construction adhesive between drywall and framing for high-movement areas like garages or bonus rooms
Can I reuse the same hole for the replacement nail?
No—driving a new nail into the same hole compromises holding power by up to 40%, per testing in the American Wood Council’s 2022 Fastener Performance Guide. Always offset by at least 1/2″ vertically or horizontally.
Is it better to use screws instead of nails for replacement?
Yes—for drywall repairs, #6 x 1-1/4″ coarse-thread drywall screws provide 3x the withdrawal resistance of nails and resist vibration-induced loosening. Just countersink slightly and cover with compound.
What if the nail head is still attached but the shaft is bent?
That’s a red flag. A bent shank means lateral force was applied—likely from truss uplift or beam deflection. Remove it completely and inspect adjacent framing for gaps or separation before replacing.
Do I need to prime before painting the patched area?
Always. Unprimed joint compound absorbs paint unevenly, causing ‘flashing’—a visible dull spot. Use a PVA primer like Zinsser Bulls Eye 1-2-3 for reliable coverage and adhesion.
Can temperature changes cause nail pops even in older homes?
Absolutely. Seasonal humidity swings cause wood framing to expand and contract. Homes in climates with >40% annual humidity variation (like the Midwest or Southeast) see peak popping in late winter and early summer—timing your fixes accordingly improves longevity.
Why do some contractors use adhesive *and* nails?
It’s called ‘dual-fastening’—and it’s code-compliant in many jurisdictions for ceilings and high-vibration zones. The adhesive carries shear load while nails handle uplift, reducing stress cycles that lead to pops. The U.S. EPA estimates that dual-fastened drywall systems cut long-term repair costs by 22% over 10 years.
Replacing the right part of a popped nail—rather than just reseating it—is about understanding what failed and why. It’s not just hardware; it’s physics, material science, and building science working together. Get the component right, and you won’t see that bump return for years.