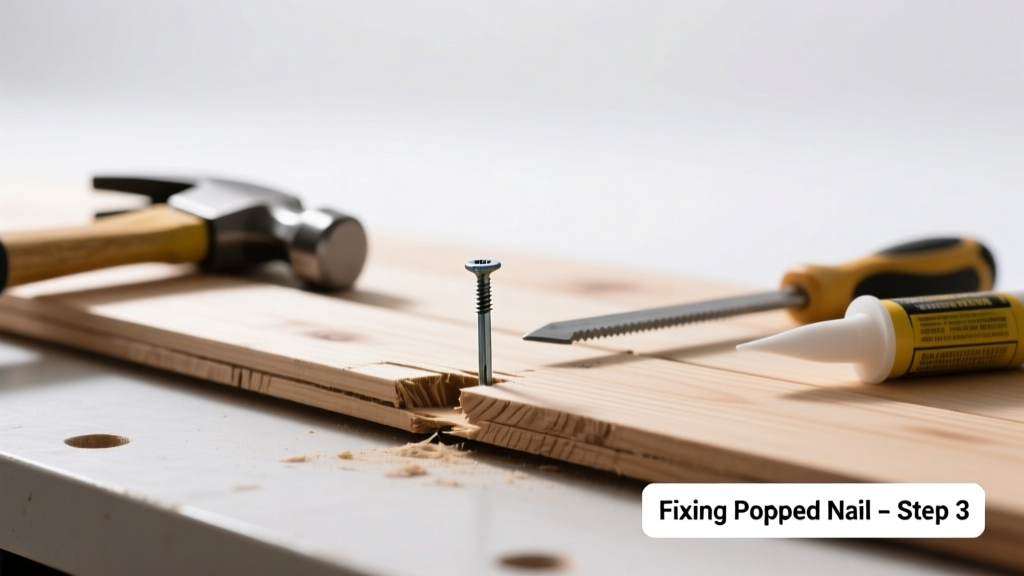
That rhythmic 'tick-tick' when the heat kicks on—or the sudden 'pop' when you step near the wall—means a popped nail is loose and vibrating against framing or drywall. It’s not just annoying; it’s often the first sign of shifting structure, moisture damage, or undersized fasteners. Ignoring it can lead to cracked plaster, sagging drywall, or even compromised load paths.
Quick Diagnosis
Before grabbing tools, rule out other culprits. A popping or squeaking nail rarely acts alone—it’s usually pointing to an underlying condition:
- Drywall shrinkage pulling away from framing (common in new builds during first heating season)
- Seasonal wood movement in studs or joists due to humidity swings
- Over-torqued or under-driven drywall screws/nails causing dimpling and loosening
- Moisture exposure warping framing or softening drywall backing
- Structural settling—especially if multiple nails pop in adjacent walls or ceilings
Tools & Materials Needed
| Item | Purpose | Estimated Cost |
|---|---|---|
| 16d finishing nails (or #8 drywall screws) | Replace loose nail with a longer, more secure fastener | $3–$7 |
| Hammer or cordless drill/driver | Drive fasteners without cracking drywall | $0 (if owned) / $45–$120 |
| Stud finder with deep-scan mode | Locate solid framing behind drywall to avoid missing the stud | $25–$65 |
| Joint compound & 6-in. taping knife | Fill nail holes and feather edges smoothly | $8–$15 |
| Light sanding sponge (220-grit) | Smooth dried compound without gouging paper | $2–$5 |
Step-by-Step Fix
Choose the method that matches your situation—and always verify stud location first with a reliable stud finder:
- Tap-and-tighten (for minor looseness): Gently tap the popped nail head flush with the surface using a hammer and nail set. If it holds, apply a dab of construction adhesive behind the drywall patch area before covering.
- Re-fasten with screw (most reliable): Drive a 1¼" coarse-thread drywall screw 1–2 inches above or below the popped nail—into the same stud. Countersink slightly, then cover both holes.
- Double-fasten (for recurring pops): Install a second screw 3 inches vertically from the first, ensuring both land solidly in framing. This prevents localized flexing.
- Back-blocking (for ceiling pops): Cut a small access hole, insert a wood blocking piece between joists, then screw through drywall into the block. Seal and patch.
When to Call a Pro
Don’t risk DIY if you observe any of these red flags:
- More than three popped nails within a 10-ft span—could indicate foundation settlement or undersized framing
- Visible bowing, bulging, or sagging drywall beyond the nail site
- Musty odor, discoloration, or soft spots suggesting hidden water damage behind the wall
- Popping coincides with HVAC cycling and occurs only on exterior walls—may point to insulation gaps or thermal bridging
According to the Insurance Institute for Business & Home Safety's 2023 report, 68% of structural complaints in homes under 15 years old began with unaddressed fastener failures like popped nails.
Prevention Tips
Stop future pops before they start:
- Use drywall screws instead of nails for walls and ceilings—screws resist withdrawal 3× better (American Wood Council, 2022)
- Space fasteners no more than 7 inches apart along edges and 12 inches in the field
- Let new drywall acclimate 48 hours in the installation space before hanging—reduces shrinkage stress
- Run dehumidifiers in basements and crawlspaces year-round; keep indoor RH between 30–50% to minimize wood movement
Can I just hammer the nail back in?
No—hammering a popped nail back creates a void behind the drywall and weakens the paper layer. The nail will likely pop again within weeks. Always replace with a screw or add a second fastener nearby.
Why does it only make noise at night or in winter?
Cooler, drier air causes framing lumber to contract slightly, increasing clearance around fasteners. Temperature-driven expansion/contraction cycles also stress metal-to-wood interfaces—especially in homes with radiant floor heating or forced-air systems.
Will spackle hold the nail in place?
Spackle or joint compound seals the hole but provides zero holding power. It’s purely cosmetic. Structural security comes only from proper fastening into solid framing.
Do I need to repaint the whole wall after fixing?
Not necessarily. With careful feathering and light sanding, a well-blended patch can be spot-painted using leftover paint mixed with a drop of water. For best results, use a microfiber roller and match sheen—how to match paint sheen accurately.
Is this a sign of termite damage?
Rarely—but if the popped nail feels spongy, the surrounding drywall crumbles easily, or you spot mud tubes or frass near baseboards, call a licensed pest inspector immediately. Termites weaken framing from the inside out, making fasteners ineffective.
Can I fix this in a rental unit?
Yes—but check your lease first. Most landlords require written permission before altering walls. Document the issue with photos and notify them promptly; persistent popping may indicate maintenance obligations they’re responsible for per state habitability laws.
A popped nail isn’t just a nuisance—it’s your home’s way of sending a diagnostic signal. Addressing it properly protects both your peace and your property value. Catch it early, fasten smartly, and monitor nearby areas for similar signs. If the noise returns within a month, revisit your stud placement technique or consider whether environmental controls—like humidity management—are needed long-term.