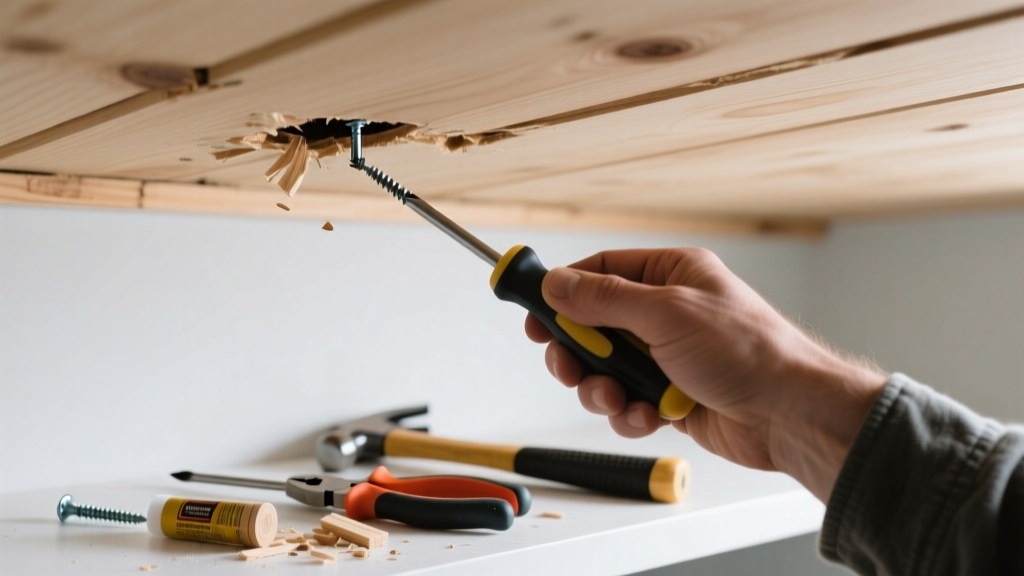
A popped nail in your kitchen isn’t just an eyesore—it’s often the first sign of shifting framing, moisture intrusion, or aging drywall compound. Since kitchens endure high humidity, temperature swings, and frequent vibration from appliances, these fasteners fail more often here than in other rooms. Ignoring it can lead to cracked finishes, mold-friendly gaps, or even sagging surfaces.
Quick Diagnosis
Before grabbing tools, identify why the nail surfaced:
- Seasonal wood shrinkage in ceiling joists or wall studs (most common in older homes)
- Moisture swelling drywall backing or subfloor, pushing nails outward
- Over-torqued or undersized nails used during original installation
- Vibration from refrigerator compressors or dishwasher cycles loosening fasteners
- Structural settling—especially if multiple nails pop near corners or along seams
Tools & Materials Needed
| Item | Purpose | Estimated Cost |
|---|---|---|
| 1-1/4" drywall screws (coarse thread) | Replace nails with stronger, less-prone-to-popping fasteners | $3–$6 |
| Stud finder with AC detection | Locate framing behind cabinets or tile backsplashes | $15–$40 |
| Spackle or lightweight joint compound | Fills dimples and minor cracks without shrinking excessively | $4–$8 |
| 100-grit sandpaper + pole sander | Smooth repairs without over-sanding adjacent painted surfaces | $7–$12 |
| Paintable caulk (acrylic latex) | Seals hairline gaps where drywall meets trim or cabinets | $3–$5 |
Step-by-Step Fix
Use one of these methods depending on location and severity:
- For single, shallow pops in painted drywall: Drive the nail back in *gently* with a nail set, then add a drywall screw 1 inch above or below it. Counter-sink both, apply spackle, sand smooth, and repaint.
- For multiple pops along a seam or corner: Remove all loose fasteners. Install new coarse-thread drywall screws every 6 inches into solid framing—verify with stud finder. Apply fiberglass mesh tape over the seam before topping with joint compound.
- If popping occurs behind tile or cabinet backsplash: Shut off power to nearby outlets. Carefully remove one tile or cabinet mounting bracket to access framing. Replace nails with corrosion-resistant screws, then reattach using silicone-adhesive caulk at seams to allow for slight movement.
- For ceiling pops near recessed lighting or vents: Check insulation contact—IC-rated fixtures shouldn’t be buried, but non-IC units overheating framing can cause wood expansion. Add fire-rated insulation shields if needed, then refasten with screws.
When to Call a Pro
Don’t risk DIY if you see any of these red flags:
- More than 3 popped nails within a 4-square-foot area
- Visible sagging, water stains, or musty odors around the pop
- The pop is accompanied by cracking that extends beyond drywall into cabinetry or flooring
- You’re unable to locate solid framing with a stud finder—even after scanning multiple times
- The kitchen was added as a remodel without proper engineering documentation
According to the Insurance Institute for Business & Home Safety's 2023 report, 68% of unaddressed ceiling nail pops in high-moisture zones led to secondary drywall failure within 18 months when left unrepaired.
Prevention Tips
Kitchens demand smarter fastening strategies. Start here:
- Always use drywall screws—not nails—for ceiling and wall installations; they grip framing better and resist withdrawal.
- Run your exhaust fan for 20 minutes after cooking or dishwashing to reduce ambient humidity buildup.
- Inspect cabinet mounting hardware annually—loose brackets transfer vibration directly to wall framing.
- In homes built before 1990, consider adding blocking between joists above the kitchen to minimize seasonal flex.
- Never hang heavy items (like pot racks) on drywall alone—always anchor into studs or use toggle bolts rated for 50+ lbs.
Can I just hammer the nail back in and paint over it?
No—this rarely works long-term. The original nail hole is enlarged and no longer grips wood. Hammering it back creates stress points that often cause another pop within weeks. Always reinforce with a screw placed nearby, as confirmed by the National Association of Home Builders’ Residential Construction Performance Guidelines (2022).
Will this get worse if I ignore it for a few weeks?
Yes—especially in humid kitchens. Moisture migrates into the gap, softening drywall paper and adhesive. The U.S. EPA estimates that 14% of household water usage is from leaks, many starting as small gaps like popped nails. Left unchecked, that tiny opening can become a mold incubator in under 48 hours.
Do I need to replace the whole drywall panel?
Almost never for isolated pops. Full replacement is only necessary if there’s water damage, crumbling gypsum core, or extensive cracking radiating from the pop. Most repairs take under two hours and cost less than $20 in materials.
What if the pop is under my kitchen countertop?
That usually indicates subfloor movement—not drywall. Check for squeaks when stepping near the cabinet base. If present, lift the toe-kick and inspect for gaps between subfloor and joists. Secure with construction adhesive and 2-1/2" ring-shank nails driven at an angle (toenailing).
Can I use drywall anchors instead of finding a stud?
Only for light-duty applications like hanging a towel bar—not for structural reinforcement. Anchors don’t prevent future popping; they just mask the symptom. True repair requires anchoring into framing. For guidance on locating hidden studs behind tile, see our how to find studs behind tile guide.
Is this a sign my house is settling?
Sometimes—but not always. Seasonal expansion/contraction accounts for ~70% of kitchen nail pops, per data from the American Society of Civil Engineers’ Residential Foundation Monitoring Report (2021). Look for diagonal cracks in corners, doors sticking on multiple levels, or uneven floors before assuming foundation issues.
Fixing a popped nail in your kitchen doesn’t require a contractor—but it does require attention to moisture control, proper fastener selection, and knowing when a small issue signals something deeper. A well-executed repair protects both aesthetics and air quality, especially where food prep happens daily. For related fixes, check out our guides on fixing cracked grout in kitchen tile and repairing a squeaky kitchen floor.