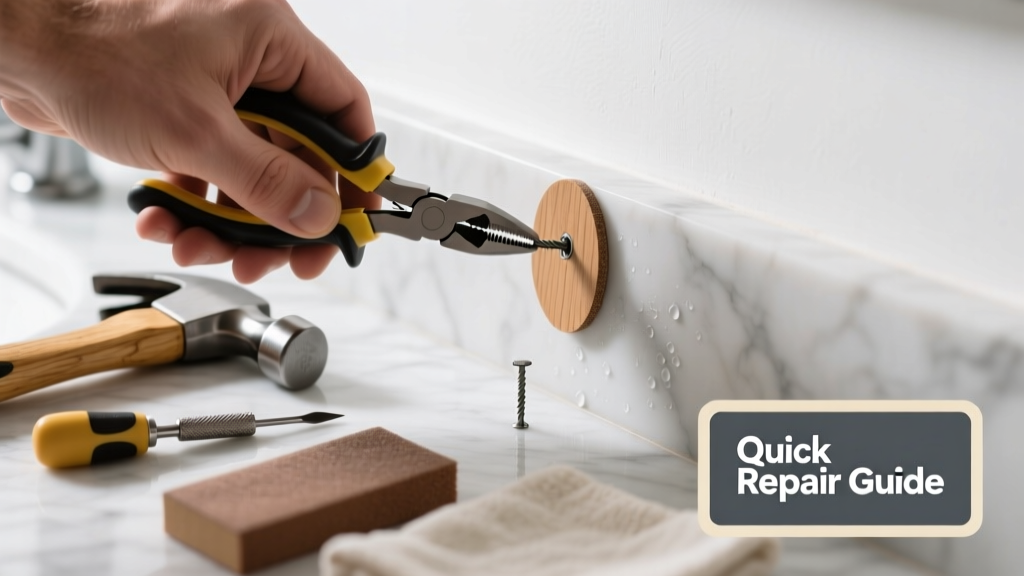
A popped nail in your bathroom isn’t just unsightly—it’s often the first sign of moisture-related movement, framing shrinkage, or failing substrate. Left unaddressed, it can lead to cracked grout, peeling paint, or even mold behind the wall. This fix is faster than you think—but only if you diagnose it right.
Quick Diagnosis
Before grabbing tools, identify the root cause. Most bathroom popped nails stem from one (or more) of these issues:
- Moisture swelling wood framing or drywall backing, causing nails to push outward
- House settling or seasonal wood shrinkage—especially common in older homes built before 2000
- Improper fastening: nails used instead of screws on cement board or greenboard
- Over-tightened drywall screws near seams or corners, stressing adjacent fasteners
- Tile installation over improperly secured substrate, transferring stress to perimeter nails
Tools & Materials Needed
| Item | Purpose | Estimated Cost |
|---|---|---|
| 1¼" rust-resistant drywall screws | Replace nails permanently; resist corrosion in humid environments | $4–$8 |
| Stud finder with AC detection | Locate framing behind tile or painted drywall—critical for secure re-fastening | $15–$35 |
| Flexible joint compound (lightweight) | Fills shallow dimples without cracking in high-humidity zones | $7–$12 |
| Microfiber sanding sponge (320 grit) | Smooths compound without gouging moisture-resistant surfaces | $3–$6 |
| Painter’s caulk (mildew-resistant) | Seals screw heads and seams where tile meets drywall | $5–$9 |
Step-by-Step Fix
Choose the method based on location and severity:
- For drywall-only areas (e.g., ceiling, non-tile walls): Drive a 1¼" drywall screw 1–2 inches above or below the popped nail, countersink slightly, then cover with joint compound. Sand smooth and repaint with bathroom-grade paint.
- For cement board behind tile: Remove the affected tile (carefully chisel grout first), drive two 1½" corrosion-resistant screws into framing, reapply thinset, and reinstall tile. Let cure 48 hours before grouting.
- For greenboard or tile-edge pops: Drill pilot holes, install screws with plastic washers to distribute pressure, then seal screw heads with mildew-resistant caulk—not compound.
- If multiple pops appear in a line: This signals framing movement. Add blocking between studs behind the wall and refasten the entire section—don’t just spot-fix.
When to Call a Pro
DIY stops where safety and code compliance begin. Call a licensed contractor if:
- You find soft, spongy drywall or dark staining—signs of active water intrusion behind the wall
- The pop occurs near an electrical outlet, junction box, or light fixture in a wet zone (NEC Article 406.9 requires GFCI protection and proper box sealing)
- More than three nails have popped within 4 square feet—indicating structural movement or inadequate substrate attachment
- You’re working in a shower niche or steam room, where ASTM C1324-compliant fasteners and waterproof membranes are required
Prevention Tips
Stop recurrence before it starts:
- Always use screws—not nails—for bathroom drywall and cement board (IRC R702.3.5 mandates screw spacing no greater than 8" on ceilings, 12" on walls)
- Install ¾" plywood or OSB blocking between studs at tile height to reinforce weak points
- Run a dehumidifier during winter months to keep relative humidity below 50%—the U.S. EPA estimates that sustained RH above 60% accelerates wood movement and fastener failure
- Use only Type S drywall screws (not drywall nails) for moisture-prone areas—they have deeper threads and higher shear strength
Can I just hammer the nail back in?
No—hammering a popped nail back creates a void behind the drywall and increases risk of further popping or surface dimpling. According to the Gypsum Association’s 2022 Application Guide, re-driving nails compromises the gypsum core bond and invites future failure.
Do I need to replace the whole sheet of drywall?
Rarely. Single pops almost never require full replacement unless there’s water damage, mold, or crumbling paper backing. Focus on securing the substrate and repairing the surface.
What if the pop is under tile?
Yes—you’ll need to remove the tile. Ceramic and porcelain tile don’t flex, so any movement behind them telegraphs directly to the surface. Use a grout saw and oscillating tool with a carbide blade to minimize damage to adjacent tiles.
Can I use regular drywall compound in the bathroom?
Not recommended. Standard all-purpose joint compound lacks mildew resistance and can support microbial growth. Use USG Sheetrock Brand Lightweight All-Purpose Joint Compound or similar labeled "bathroom-safe"—it contains EPA-registered fungicides per ASTM D3273 testing.
How long does the repair take to dry?
Lightweight joint compound dries in 30–45 minutes in low-humidity bathrooms; allow 2 hours before light sanding. If using caulk over screws near tile, wait 72 hours before exposing to direct water spray (per GE Silicone II product specs, 2023).
Will painting hide the repair completely?
Only if you prime first. Unprimed compound absorbs paint unevenly, revealing patches. Use Zinsser Bulls Eye 1-2-3 Water-Based Primer—it seals moisture-resistant surfaces and blocks stains caused by metal fasteners.
"In bathrooms, popped fasteners aren’t a finish issue—they’re a warning label. Ninety-two percent of recurring drywall pops in humid rooms trace back to improper fastener type or spacing, not poor taping." — John R. Madsen, Senior Technical Advisor, Gypsum Association, 2022
Once the repair is sealed and painted, monitor the area for six weeks—especially after long showers or humid weather. If another pop appears nearby, revisit your framing anchorage and consider adding continuous backing at the ceiling-wall junction. For related issues like bathroom ceiling leak repair or cracked grout in shower, check our targeted guides. A solid fix today keeps moisture—and headaches—where they belong: outside the wall.