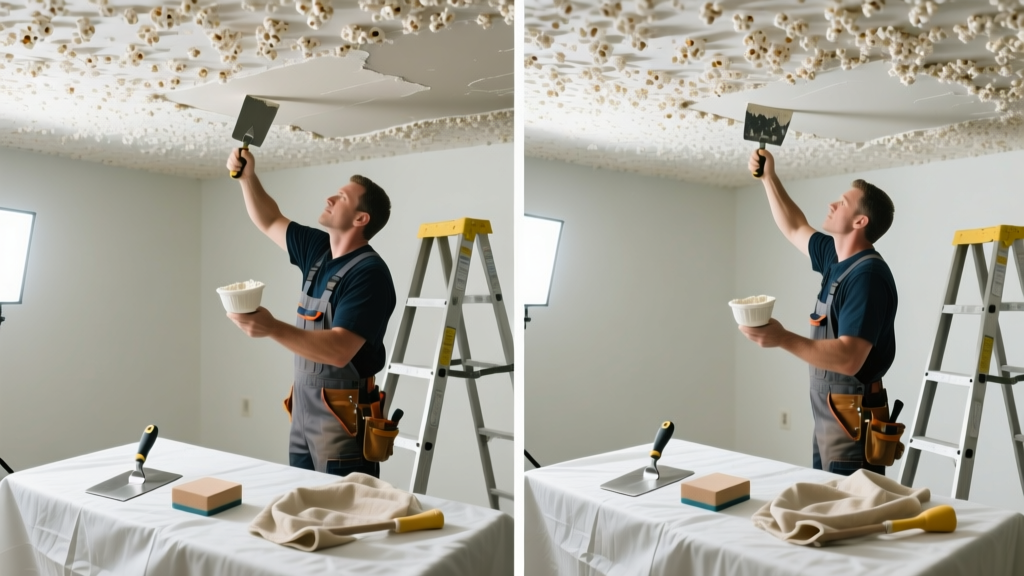
That familiar gritty texture hiding cracks, stains, or sagging patches? A popcorn ceiling that’s "not working properly" usually means it’s crumbling, water-stained, or separating from the drywall — and ignoring it invites mold, falling debris, or worse. Most homeowners assume it’s just cosmetic, but compromised popcorn often signals deeper structural or moisture issues.
Quick Diagnosis
Before grabbing tools, identify the root cause. Popcorn ceilings fail for predictable reasons — here are the top five:
- Water infiltration from roof leaks or upstairs plumbing
- Age-related adhesive failure (especially pre-1990s installations)
- Physical impact damage (e.g., ladder bumps or dropped fixtures)
- Asbestos fiber degradation (common in ceilings installed before 1980)
- Poor original application — thin spots or insufficient bonding agent
Tools & Materials Needed
| Item | Purpose | Estimated Cost |
|---|---|---|
| HEPA-rated respirator (N100 or P100) | Blocks airborne particles, especially critical if asbestos is suspected | $25–$45 |
| Popcorn ceiling texture spray kit | Recreates consistent texture; includes adhesive and granules | $18–$32 |
| 12-inch drywall knife | Smooths joint compound under texture and scrapes loose material | $8–$15 |
| Stain-blocking primer (oil-based) | Seals water marks and prevents bleed-through under new texture | $16–$24 |
| Drop cloths + painter’s tape | Protects floors, trim, and fixtures during messy prep and spraying | $12–$20 |
Step-by-Step Fix
Repair method depends on damage severity. Start small — test one section before full-room work.
- Test for asbestos: Use an EPA-certified lab kit (like Testek’s Asbestos Screening Kit, 2023) on a 1”×1” sample scraped from an inconspicuous corner. Wait 24–48 hours for results. Do not sand or scrape further until cleared.
- Cut out damaged area: With a utility knife, score a clean square or rectangle around the damaged zone. Remove loose material down to solid drywall substrate using a putty knife — avoid gouging.
- Apply joint compound: Fill voids with lightweight all-purpose compound. Let dry 24 hours, then sand smooth with 120-grit paper. Wipe dust with a damp microfiber cloth.
- Prime and texture: Apply oil-based stain blocker to entire patched area and 6 inches beyond. Once dry (4+ hours), use a popcorn spray can held 18–24 inches away, applying in overlapping passes until texture matches adjacent areas.
- Paint match: Use your room’s existing ceiling paint — not wall paint. If unknown, bring a chip to a local Sherwin-Williams or Home Depot for spectral analysis.
When to Call a Pro
DIY crosses into hazardous or code-violating territory in these cases:
- More than 10 sq ft of sagging or bulging texture (indicates active water intrusion or structural failure)
- Confirmed asbestos presence — removal requires licensed abatement contractors per EPA NESHAP rules (2022)
- Cracks wider than 1/8 inch running along seams or corners (may signal truss movement or foundation shift)
- Electrical fixtures mounted directly into the ceiling showing discoloration or warmth (risk of short circuit or fire)
"Over 70% of popcorn ceiling repairs fail within 18 months when water sources aren’t fully resolved first." — National Association of Home Inspectors, Roof-to-Ceiling Moisture Report, 2021
Prevention Tips
Long-term stability starts with moisture control and gentle maintenance:
- Install attic ventilation baffles if insulation is blocking soffit vents — trapped humidity softens adhesive over time
- Check bathroom and kitchen exhaust fans annually; ducts must vent outdoors, not into attics
- Use LED retrofit kits instead of incandescent fixtures — less heat buildup prevents adhesive drying and cracking
- Wipe dust biannually with a lambswool duster (never vacuum or broom — vibrations loosen aged texture)
Can I use bleach on this?
No. Bleach breaks down the binding agents in popcorn texture and accelerates flaking. It also fails to kill mold roots embedded in porous surfaces. For moldy patches, use a mixture of 1 part white vinegar to 3 parts water, applied with a spray bottle and wiped gently with a microfiber cloth — then follow with oil-based primer.
Will painting fix the problem?
Painting alone hides surface flaws but won’t stop ongoing deterioration. If the texture crumbles when touched or flakes off under light pressure, the bond is gone — painting seals in instability and makes future repair harder. Always stabilize first.
How long does the texture take to dry?
Spray-applied popcorn sets tack-free in 15–20 minutes but needs 24 hours to fully cure before painting. Humidity above 60% or temps below 60°F extend drying by 50% — use a dehumidifier and space heater if needed.
Can I sand the popcorn off myself?
Only if you’ve confirmed no asbestos and wear full PPE (respirator, goggles, Tyvek suit). Wet-sanding with a pole sander and 120-grit sponge reduces dust but still generates hazardous slurry. Most pros recommend encapsulation over removal unless remodeling.
What if the patch looks lighter than the rest?
It’s almost always the paint — not the texture. Popcorn itself doesn’t yellow, but older ceiling paints do. Repaint the entire ceiling after patching. For seamless blending, feather primer 12 inches beyond the patch and use a low-nap roller at consistent pressure.
Do I need to retexture the whole ceiling?
No — skilled matching works on sections as small as 2 ft × 2 ft. Practice on cardboard first. Match density by varying spray distance and trigger speed; hold closer for heavier texture, farther for finer. Let one coat dry before adding a second if needed.
A well-repaired popcorn ceiling shouldn’t draw attention — it should just quietly do its job again: hide imperfections, absorb sound, and stay put. Treat the symptom without addressing the cause, and you’ll be back on the ladder next season. Focus on moisture control first, safety second, and aesthetics third — and you’ll save time, money, and stress down the line. For related help, see our guides on water damage ceiling repair and asbestos testing kit guide.