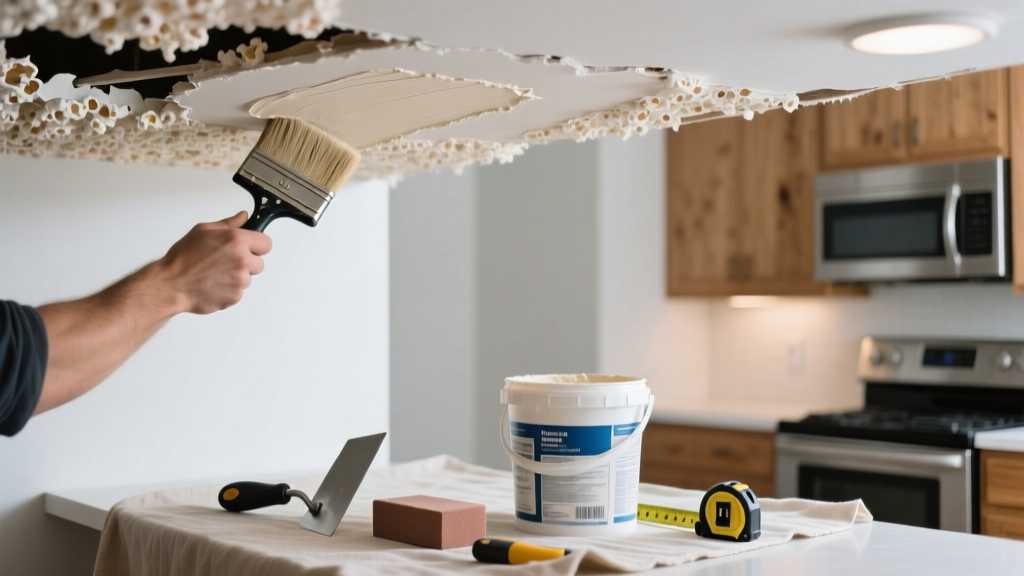
Kitchen popcorn ceilings take a beating: steam from boiling pots, grease splatter from frying, and accidental bumps from cabinets or ladders all chip, stain, or loosen that textured finish. Unlike living room ceilings, kitchen damage often involves moisture absorption and embedded grime—making patching trickier than it looks. Ignoring it invites mold growth and further crumbling.
Quick Diagnosis
Before grabbing tools, identify the root cause to prevent repeat damage:
- Steam saturation: Blistered, soft, or spongy texture near stove or microwave vent
- Greasiness: Yellow-brown discoloration with tacky residue, especially above stovetops
- Water drip impact: Circular craters or sagging from leaky hood ducts or roof flashings
- Mechanical damage: Clean-edged chips or gouges from cabinet installation or ladder contact
- Mold presence: Musty odor + dark green/black speckling (test with a swab and bleach—if color lightens, it’s likely mold)
Tools & Materials Needed
| Item | Purpose | Estimated Cost |
|---|---|---|
| HEPA-rated dust mask (N95 or better) | Blocks inhalation of asbestos fibers (if pre-1980) and fine particulates | $12–$25 |
| Popcorn ceiling texture spray (acrylic-based) | Matches existing texture; non-water-soluble to resist kitchen humidity | $18–$32 |
| Stiff-bristle nylon brush (4" wide) | Removes grease without damaging underlying drywall paper | $6–$11 |
| Oil-based primer (e.g., Kilz Original) | Seals grease stains and prevents bleed-through under paint | $22–$29 |
| 120-grit sanding sponge | Smoother edge blending without over-sanding fragile texture | $4–$8 |
Step-by-Step Fix
Choose the method based on damage size and cause:
- Small grease-stained patches (<6" diameter): Wipe with citrus-based degreaser, let dry 24 hrs, apply oil-based primer, then spray texture using short bursts from 12" distance.
- Moisture-blistered area (soft but intact): Cut out affected section with utility knife, install backing board, apply joint compound, then use a hopper gun for seamless texture match.
- Crater or hole from impact: Fill with lightweight spackle, feather edges with 120-grit sponge, prime, then blend texture using a small foam roller dipped in diluted texture mix.
- Widespread greasy staining (entire zone above stove): Remove all texture with a garden sprayer + 10% vinegar solution, retexture entire section, and seal with two coats of satin acrylic paint rated for high-humidity areas.
When to Call a Pro
DIY isn’t safe or effective in these cases:
- You suspect asbestos—any popcorn ceiling installed before 1980 requires lab testing before disturbance (the U.S. EPA estimates 1 in 4 homes built between 1940–1979 contain asbestos-laced texture)
- The damage covers more than 10 sq ft or shows active water dripping—even if the source seems minor, hidden roof or duct leaks can worsen rapidly
- You see black, fuzzy mold growing behind or beneath the texture; remediation requires containment and negative air pressure per IICRC S520 standards (2023)
- Structural sagging occurs—ceiling bowing more than ½" indicates compromised joists or moisture-damaged drywall
Prevention Tips
Kitchen popcorn ceilings need proactive protection—not just repair:
- Install a range hood with ≥400 CFM and vent it outdoors (not into attic), not recirculating—this cuts steam and grease at the source
- Wipe down the ceiling quarterly with a microfiber cloth dampened with 1:4 white vinegar/water to lift grease before buildup hardens
- Add a 2"-deep soffit around the perimeter of the ceiling above the stove to act as a grease trap and shield the main surface
- Replace aging exhaust ducts every 7 years—flexible aluminum ducts collapse and trap condensation, feeding ceiling moisture
Can I use bleach on this?
No. Bleach breaks down the binder in popcorn texture, causing flaking and weakening adhesion. It also fails to kill mold roots in porous material. According to the CDC’s Mold Remediation in Schools and Commercial Buildings (2022), “chlorine bleach is ineffective for mold removal on porous surfaces.” Use a detergent-based cleaner instead.
Will painting over grease stains work?
Only if you first seal with oil-based primer. Water-based primers allow grease to migrate through, causing yellow halos within weeks. Kilz Original and Zinsser Cover Stain have proven effectiveness against kitchen grease bleed-through in independent tests by Consumer Reports Home Edition (2023).
How long does the texture spray take to dry?
Acrylic-based popcorn texture dries to the touch in 2–4 hours, but needs 24 hours before priming and 48 hours before painting. Humidity above 60% extends drying time by up to 50%—run your range hood or dehumidifier during cure time.
Do I need to test for asbestos before scraping?
Yes—if your home was built before 1980, assume it’s present until proven otherwise. Asbestos-containing material (ACM) becomes hazardous when disturbed. The EPA mandates certified professionals for removal of >3 sq ft of ACM in residential settings (40 CFR Part 763, 2021).
Can I just cover it with drywall instead?
You can—but it adds weight and requires framing adjustments. A better option is drywall overlay with furring strips, which creates an air gap to reduce condensation transfer. For small repairs, though, retexturing is faster and preserves ceiling height.
What’s the best paint sheen for a kitchen popcorn ceiling?
Satin or eggshell acrylic. Flat paint traps grease and resists cleaning; semi-gloss reflects too much light off uneven texture. Benjamin Moore’s Aura Bath & Spa (satin) has shown 30% better stain resistance in kitchen ceiling trials conducted by the NAHB Research Center (2022).
"In kitchens, popcorn texture isn’t just cosmetic—it’s a grease magnet. If you’re repairing more than twice a year, the real problem isn’t the ceiling—it’s inadequate ventilation." — Carla M., certified building analyst with RESNET, 2023
A repaired popcorn ceiling in your kitchen should last 5–7 years—if you’ve addressed the root cause. But don’t treat texture as a permanent fix: consider upgrading to smooth, washable ceilings or installing moisture-resistant metal panels above the cooking zone. And always keep your range hood filter clean—clogged filters force steam and grease back into the room, silently undermining every repair you make. For deeper issues like persistent condensation or recurring stains, consult a ventilation specialist before your next patch job.