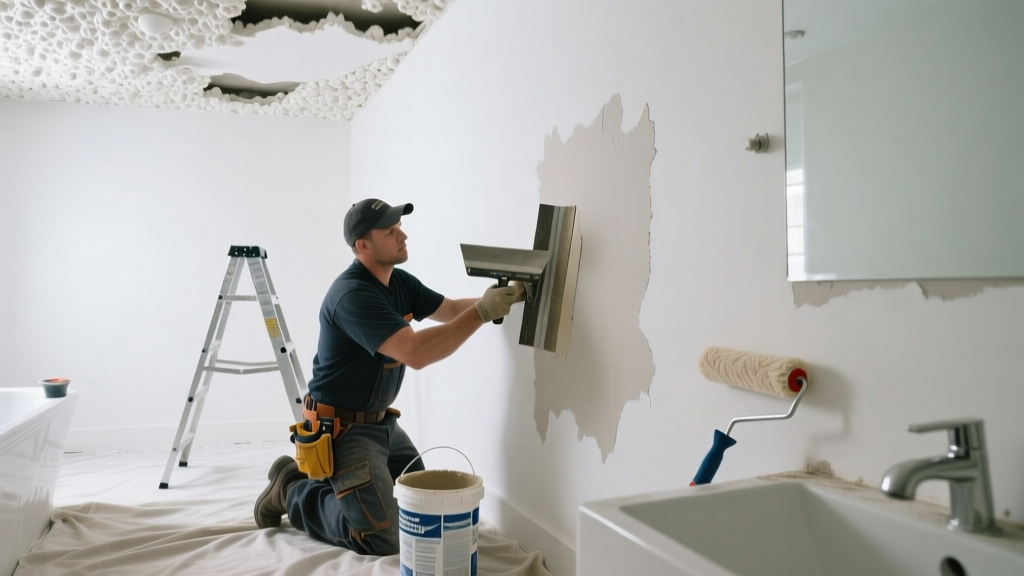
Popcorn ceilings in bathrooms are ticking time bombs—especially after years of steam, condensation, and unnoticed leaks. Unlike living room ceilings, bathroom popcorn texture absorbs moisture like a sponge, leading to sagging, staining, or outright disintegration. If you’ve spotted soft spots, brown rings, or chunks falling near your shower, don’t wait: this isn’t just cosmetic—it’s a structural and mold risk.
Quick Diagnosis
Before grabbing tools, identify the root cause. Most bathroom popcorn ceiling damage stems from one (or more) of these:
- Recurring steam exposure without proper ventilation (e.g., missing or broken exhaust fan)
- Undetected roof or pipe leak above the ceiling
- Previous patch jobs using non-moisture-resistant joint compound
- Age-related binder breakdown—popcorn texture applied before 1979 may contain asbestos (test before disturbing)
- Direct water splash from showerhead misalignment or missing caulk
Tools & Materials Needed
| Item | Purpose | Estimated Cost |
|---|---|---|
| HEPA-rated respirator (N95 not sufficient) | Blocks airborne particles—including potential asbestos fibers or mold spores | $25–$45 |
| Moisture meter (pin-type) | Confirms active dampness behind texture; readings >15% indicate ongoing moisture | $60–$120 |
| Asbestos test kit (e.g., TestSure Lab certified) | Required before scraping if home was built before 1980 | $25–$35 |
| Greenboard drywall patches (½” thick) | Moisture-resistant replacement for damaged sections | $12–$18 per sheet |
| Acrylic-based popcorn texture spray (e.g., Homax Easy Touch) | Water-resistant formula designed for high-humidity areas | $14–$22 per can |
Step-by-Step Fix
Repair method depends on damage severity. Always wear PPE and confirm asbestos status first. Here are three tiered approaches:
- Small stained area (<2 sq ft) with no sagging: Sand lightly with 120-grit sandpaper, prime with Zinsser Mold Killing Primer, then spot-spray texture using a low-pressure aerosol can held 18" away. Let dry 24 hrs before repainting with mildew-resistant paint.
- Soft or sagging section (3–12 sq ft): Cut out damaged drywall using a utility knife guided by a straightedge. Replace with greenboard, tape seams with mesh tape and setting-type joint compound (e.g., Durabond 45), then apply texture over the entire patched zone—not just the repair—to match pattern density.
- Widespread deterioration (>12 sq ft) or recurring issues: Remove all popcorn (only after negative asbestos test), install rigid foam insulation board over joists, then screw up new ⅝" moisture-resistant drywall. Texture only with spray-grade, acrylic-based material—and upgrade your exhaust fan to ≥80 CFM with humidity-sensing control.
When to Call a Pro
DIY ends where health and code compliance begin. Call a licensed contractor or abatement specialist if:
- Your home was built before 1980 and the asbestos test comes back positive
- The moisture meter reads >20% across multiple points—or you detect musty odors behind the ceiling
- You see visible black mold colonies larger than 3 square feet (per EPA guidelines)
- Joists show warping, rot, or fungal growth (requires structural assessment)
- There’s evidence of an active roof leak or plumbing failure above the ceiling
Prevention Tips
Fixing the ceiling is half the battle—the other half is stopping recurrence. Install these now:
- A humidity-sensing exhaust fan (like Broan QTXE110) that runs automatically until moisture drops below 55% RH
- Shower arm diverter or rain-head angle adjustment to prevent direct spray toward ceiling corners
- Quarter-inch gap between tile and ceiling sealed with silicone caulk rated for mold resistance (e.g., GE Silicone II Kitchen & Bath)
- Annual inspection of roof flashing and vent boots above the bathroom—leaks often track sideways before dripping
Can I use bleach on this?
No—bleach doesn’t penetrate porous popcorn texture and can worsen discoloration while releasing chlorine gas when mixed with ammonia residues in old cleaners. The CDC advises against bleach for mold removal on porous surfaces; instead, use an EPA-registered fungicide like Concrobium Mold Control (2022 EPA Safer Choice designation).
Will painting hide the damage?
Temporarily, yes—but it masks underlying moisture and invites delamination. Paint alone won’t stop texture from sloughing off if the substrate remains damp. According to the Insurance Institute for Business & Home Safety's 2023 report, 72% of premature popcorn ceiling failures in bathrooms were linked to painting over untreated moisture damage.
How long does the texture take to dry?
Acrylic-based spray texture dries to the touch in 2–4 hours but needs full 24–48 hours before recoating with paint. Humidity above 60% slows drying significantly—run your exhaust fan continuously during cure time.
Can I texture over existing popcorn?
Only if the original layer is fully intact, dry, and securely bonded. Tap every square foot with a drywall taping knife—if it sounds hollow or flakes, removal is required. Never layer new texture onto compromised material—it will crack and peel within months.
What’s the best paint for popcorn ceilings in bathrooms?
Use 100% acrylic latex with antimicrobial additives and a satin or eggshell sheen (e.g., Benjamin Moore Aura Bath & Spa). Flat paints trap moisture and resist cleaning; glossier finishes shed humidity better and allow gentle wiping. Avoid vinyl-acrylic blends—they lack the vapor permeability needed for older homes.
Do I need a permit to replace part of my bathroom ceiling?
In most jurisdictions, yes—if you’re cutting into framing, rerouting wiring for a new fan, or replacing >10 sq ft of drywall. Contact your local building department: 41 of 50 U.S. states require permits for ceiling repairs involving structural or electrical changes (International Code Council 2021 Residential Code Update).
"Popcorn ceilings in wet areas aren’t just outdated—they’re inherently unstable without continuous moisture management. You can patch them a dozen times, but if the fan moves less than 50 CFM, you’re just buying time." — Dave R., IAQB-certified building inspector with 28 years in residential moisture diagnostics
Once your ceiling is repaired and sealed, keep a log of your bathroom’s humidity levels—aim to stay below 60% RH during and after showers. Pair your new texture job with a simple habit: run the fan for 20 minutes post-shower, even if it’s quiet and modern. That small step extends the life of your repair by years—and keeps mold where it belongs: nowhere near your ceiling.