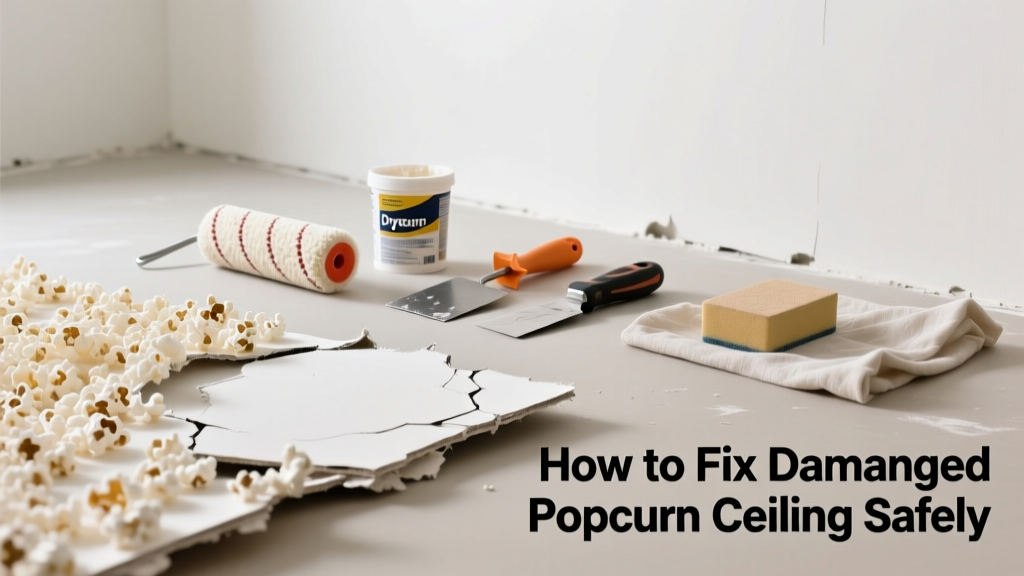
That beige, bumpy texture on your ceiling isn’t just outdated—it’s fragile. A popped nail, water leak, or even a misplaced ladder rung can crater or loosen popcorn texture, leaving unsightly bare spots or dangling chunks. And if your home was built before 1980, that damage could expose something far more dangerous than aesthetics: asbestos.
Quick Diagnosis
Before grabbing tools, identify what caused the damage—this dictates your repair path and safety steps:
- Water stains or sagging: Likely from roof leaks, plumbing above, or condensation in attics
- Cratered or dented areas: Often from impact (ladders, dropped tools, ceiling fans)
- Flaking or crumbling without moisture: May indicate aging adhesive failure or prior improper repairs
- Large sections pulling away: Suggests poor original installation or substrate (drywall) deterioration
Tools & Materials Needed
| Item | Purpose | Estimated Cost |
|---|---|---|
| HEPA-rated respirator (N100 or P100) | Mandatory protection if asbestos is suspected or confirmed; filters 99.97% of particles ≥0.3 microns | $25–$45 |
| Popcorn ceiling texture spray kit | Contains texture compound, spray bottle, and nozzle for matching existing pattern | $18–$32 |
| 12-inch drywall knife | For scraping loose material and smoothing patched areas | $8–$15 |
| Joint compound (lightweight, all-purpose) | Fills voids and primes surface before texturing; sands easily | $12–$22 |
| Drop cloths + painter’s tape | Protects floors, furniture, and walls from overspray and dust | $10–$20 |
Step-by-Step Fix
Repair method depends on damage size and age of ceiling. Never skip testing for asbestos first—if your home was built before 1980, assume it’s present until proven otherwise via lab testing (e.g., asbestos testing kit).
- Test for asbestos: Collect sample using dampened cloth, sealed bag, and mail-in lab service. Wait for results before proceeding.
- Remove loose material: Using a drywall knife, gently scrape away crumbled or hanging popcorn only—don’t sand or power-tool it. Vacuum debris with HEPA vacuum, not a shop vac.
- Prime and patch: Apply lightweight joint compound over bare drywall patches. Let dry 24 hours, then sand smooth with 120-grit paper.
- Match and spray texture: Shake spray can thoroughly. Hold 18–24 inches from ceiling. Use short bursts in overlapping passes to replicate existing density and grain.
- Paint carefully: Use interior flat or eggshell paint—glossy finishes highlight texture inconsistencies. Prime first if patching exposed drywall.
When to Call a Pro
Some situations aren’t worth the risk—or the time. Call a licensed abatement contractor or ceiling specialist if:
- You confirm or suspect asbestos contamination (federal law requires certified removal for >3 sq ft in many jurisdictions)
- Damage covers more than 10 sq ft or spans multiple joists
- There’s active water intrusion you can’t locate or stop
- The drywall substrate is soft, warped, or disintegrating beneath the texture
"Over 70% of popcorn ceiling removals performed by untrained homeowners result in airborne asbestos fiber levels exceeding EPA safety thresholds—even with masks." — National Institute for Occupational Safety and Health (NIOSH), 2022
Prevention Tips
Popcorn ceilings don’t age gracefully—but you can slow the decline:
- Avoid hanging heavy fixtures or ceiling fans directly into popcorn without reinforcing joists
- Install attic ventilation to reduce condensation buildup that weakens adhesive bonds
- Fix roof and plumbing leaks within 24 hours—water damage accelerates texture failure
- Use extendable dusters instead of brooms or poles that snag texture
Can I use bleach on this?
No. Bleach does not remove mold from porous popcorn texture—it only kills surface spores and leaves roots embedded deep in the material. Worse, mixing bleach with ammonia (common in older cleaning products) creates toxic chloramine gas. For mold, consult an IAQ-certified mold remediation specialist.
Will painting hide the damage?
Paint alone won’t conceal bare patches, cracks, or texture mismatches—and may cause further flaking if applied over unstable material. Always repair and retexture first. Flat paint helps blend, but mismatched texture remains visible under angled light.
How long does the texture spray take to dry?
Most aerosol popcorn sprays dry to the touch in 15–20 minutes, but require 24–48 hours to fully cure before painting. Humidity above 60% or temps below 60°F can double drying time—check the manufacturer’s spec sheet (e.g., Homax or Zinsser).
Do I need to remove all the popcorn to fix one spot?
No—targeted repair is standard practice. But if the surrounding texture is brittle or discolored, feathering the repair outward by 6–12 inches improves visual continuity. Avoid sanding adjacent areas unless encapsulating with primer first.
Is it cheaper to repair or replace the whole ceiling?
For minor damage (<5 sq ft), repair costs $40–$120 in materials and time. Full ceiling replacement (drywall + texture + paint) runs $2.50–$4.50/sq ft professionally—or $1,200–$3,600 for a 12'×15' room. However, full removal adds $3–$7/sq ft if asbestos abatement is required.
Can I add LED recessed lights to a popcorn ceiling?
Yes—but only after confirming no asbestos and reinforcing framing. Cutouts must be precisely sized and sealed to prevent air leakage. Hire an electrician familiar with retrofit IC-rated housings; never drill or cut blindly into an untested ceiling.
Popcorn ceilings demand respect—not just for their vintage charm, but for the hidden hazards they sometimes hold. A careful, tested repair preserves both safety and value. If your patch looks uneven at first, wait 48 hours and re-spray a lighter coat: texture settles and blends better with patience. And remember—when in doubt about dust, fibers, or moisture, calling a pro isn’t failure, it’s foresight.