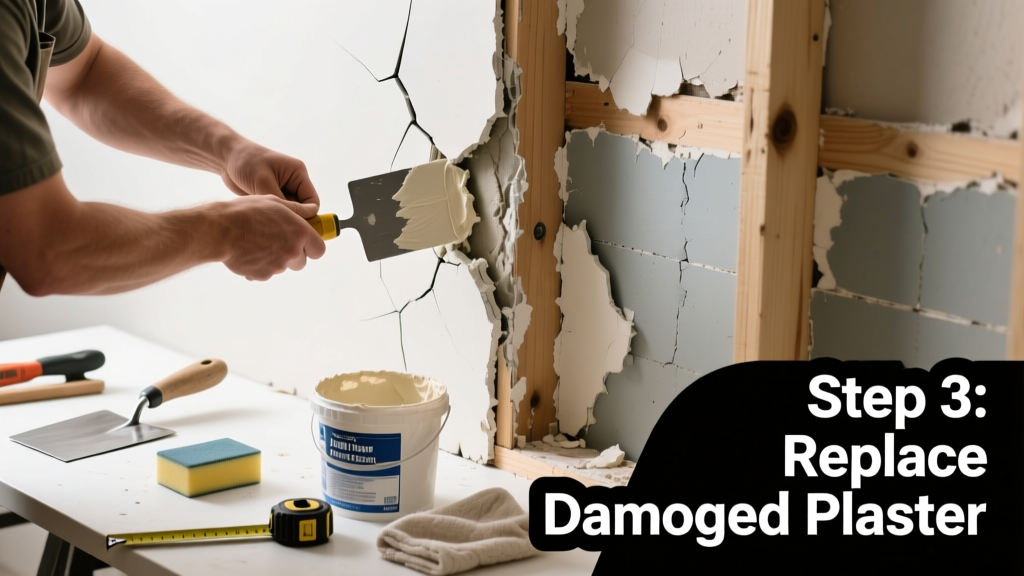
If you’re staring at a hairline crack that’s widening, spidering, or flaking at the edges, it’s rarely just surface damage—the underlying plaster layer has likely failed and needs targeted replacement. Ignoring it invites moisture intrusion, mold growth, and further detachment from lath. This isn’t about slapping on joint compound; it’s about surgically replacing the compromised section.
Quick Diagnosis
Plaster cracking isn’t always cosmetic. Before grabbing tools, confirm whether the issue stems from:
- Loose or detached plaster pulling away from wood or metal lath (tap test reveals hollow sound)
- Cracks aligned with stud or joist spacing—often signaling structural movement or settling
- Moisture stains or soft, crumbly plaster near the crack (common in bathrooms or exterior walls)
- Cracks wider than 1/8 inch with visible gaps or bulging edges
- Multiple cracks converging at corners or windows—possible sign of foundation shift
Tools & Materials Needed
| Item | Purpose | Estimated Cost |
|---|---|---|
| Sharp utility knife with fresh blades | Cuts clean perimeter around damaged plaster without disturbing adjacent areas | $5–$12 |
| Plaster hawk and trowel (4" stainless steel) | Applies and smooths base and finish coats evenly over lath | $18–$32 |
| HardieBacker 1/4" cement board (cut to size) | Modern replacement substrate—stable, moisture-resistant, and bonds well with plaster | $12–$16 per sheet |
| Plaster bonding agent (e.g., Plaster-Weld) | Ensures new plaster adheres to old lath or cement board; prevents delamination | $9–$14 |
| Veneer plaster (e.g., Diamond UltraLight) | Thin, high-strength finish coat that sands smoothly and resists future cracking | $24–$30 per 50-lb bag |
Step-by-Step Fix
Replace only what’s failed—no need to skim entire walls unless >15% is compromised. Follow these methods based on severity:
- Small isolated failure (≤2 sq ft): Cut out damaged plaster with utility knife, leaving 1/2" gap around edges. Clean lath thoroughly, apply bonding agent, then float two thin coats of veneer plaster (first coat 1/8", second 1/16") using straightedge and trowel.
- Moderate detachment (2–6 sq ft) with loose lath: Remove all plaster and inspect lath. Replace rotted wood lath or secure sagging metal lath with plaster washers and screws. Install 1/4" HardieBacker over lath using corrosion-resistant screws every 6". Tape seams with fiberglass mesh, then apply three coats: bonding agent → scratch coat → finish coat.
- Moisture-damaged zone (e.g., bathroom ceiling): First, fix the moisture source—leaky pipe, poor venting, or missing vapor barrier. Once dry (verify with moisture meter reading <12% MC), install cement board as above, but use mold-resistant veneer plaster like USG StructoLite RM.
When to Call a Pro
DIY replacement crosses into hazardous or code-violating territory in these cases:
- Cracks extending across load-bearing walls or ceilings where structural integrity is questionable
- Presence of asbestos-containing plaster (common in homes built before 1980)—disturbing it requires abatement certification
- Electrical wiring or plumbing embedded directly behind the cracked area without clear access points
- More than 20% of wall or ceiling surface shows active cracking or bulging
"Over 60% of plaster failures reported to the National Association of Home Builders’ 2022 Repair Survey involved undiagnosed moisture sources or improper substrate prep—both preventable with early intervention." — NAHB Residential Construction Report, 2022
Prevention Tips
Stop future cracking before it starts:
- Install whole-house humidification in winter (keep RH between 35–45%) to reduce plaster shrinkage stress
- Add expansion joints every 12 feet in long plaster runs—especially in sunrooms or additions with different thermal expansion rates
- Use plaster-compatible primer (e.g., Gardz) before painting—never standard PVA, which seals too tightly and traps moisture
- Inspect attic and crawlspace annually for roof leaks or plumbing condensation feeding upward into walls
Can I patch plaster with drywall compound instead of veneer plaster?
No. Standard drywall joint compound lacks compressive strength and shrinks more than plaster—leading to micro-cracking within months. Veneer plaster sets chemically, not by evaporation, and bonds mechanically to lath or cement board. According to ASTM C780 testing, veneer plaster has 2.3× higher flexural strength than topping compound.
How long does veneer plaster take to cure before painting?
Allow full 7-day cure under normal conditions (70°F, 50% RH). You can lightly sand after 24 hours, but wait until day 7 to prime—earlier priming traps residual moisture and causes blistering. Use a breathable acrylic primer like Benjamin Moore Fresh Start.
Do I need to remove all plaster down to the lath?
Only if the lath itself is compromised. Sound, intact wood or metal lath provides excellent mechanical key for new plaster. Test each section with a screwdriver: if lath bends, snaps, or feels spongy, replace it. Otherwise, clean and bond directly to existing lath using Plaster-Weld.
Is mesh tape required over cement board seams?
Yes—always. Cement board expansion differs slightly from plaster. Without alkali-resistant fiberglass mesh embedded in the first plaster coat, seams will telegraph through the finish within 6–12 months. Skip it, and you’ll be sanding and reapplying within a year.
Can I paint over new plaster the same day it’s finished?
Absolutely not. Rushing paint leads to peeling, poor adhesion, and trapped alkalinity. Wait minimum 7 days, then test with a moisture meter—surface must read ≤12% before priming. For faster drying, run a dehumidifier in the room during cure time.
What’s the best way to match texture on repaired plaster?
Replicate texture using the original method: stipple with a damp sponge for orange peel, drag a stiff brush for knockdown, or spray with hopper gun for popcorn (though avoid popcorn—it’s outdated and hard to maintain). Don’t try to blend texture across large areas; feather edges only, then repaint the entire wall for uniform sheen and depth.
Replacing a cracked plaster section isn’t glamorous—but it’s one of the most durable repairs you’ll ever do. Done right, that patch will outlast the rest of the wall. Keep your moisture in check, prep thoroughly, and don’t rush the cure. And if you’re unsure whether the crack is just cosmetic or a symptom of something deeper, start with our crack pattern diagnosis guide before reaching for the trowel. For historic homes with horsehair plaster, consider consulting a specialist familiar with traditional lime-based systems.