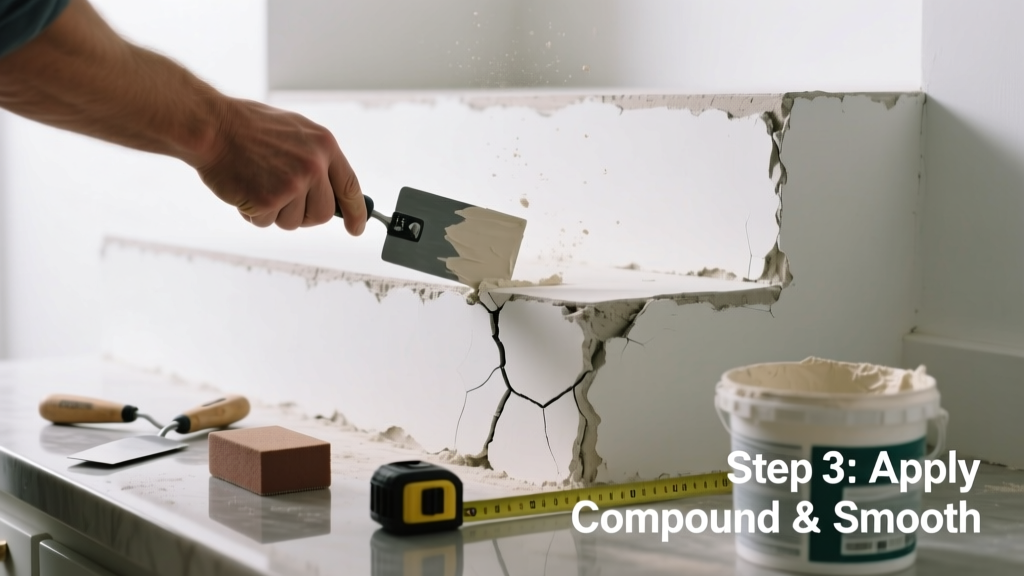
Kitchen plaster cracks aren’t just ugly—they’re early warnings of moisture intrusion, structural stress, or aging substrate. Unlike living room cracks, kitchen ones often worsen fast due to steam, temperature swings, and cabinet weight on adjacent walls. Ignoring them invites mold, paint failure, and costly drywall replacement later.
Quick Diagnosis
Before grabbing tools, identify the root cause. Most kitchen plaster cracks fall into one of these categories:
- Horizontal cracks near cabinets or countertops—often from mounting hardware pulling on lath or settling framing
- Vertical hairline cracks along corners or seams—typically from seasonal wood shrinkage in studs or joists
- Spiderweb patterns radiating from a single point—sign of impact damage or localized water saturation behind the plaster
- Widening cracks with crumbling edges—indicates deteriorating horsehair or gypsum binder, common in homes built before 1950
Tools & Materials Needed
| Item | Purpose | Estimated Cost |
|---|---|---|
| Flexible joint compound (setting-type) | Bonds well to old plaster and resists cracking in high-humidity zones | $8–$14 |
| Plaster washers & screws | Secures loose lath without damaging surface; critical for cracks near upper cabinets | $12–$18 |
| 3M Scotch-Brite Heavy Duty Pad | Cleans grease and grime without gouging plaster—essential prep in kitchens | $4–$7 |
| Hygrometer with dew point reading | Confirms if ambient humidity exceeds 60% RH—the threshold where plaster degradation accelerates | $22–$35 |
Step-by-Step Fix
Use this sequence for cracks under 1/8" wide and not associated with active water leaks:
- Clean and assess: Wipe crack with vinegar-dampened cloth to remove grease, then inspect for softness or hollow sound behind it using a screwdriver handle tap test.
- V-cut and prime: Use a utility knife to widen the crack into a shallow "V" groove (1/16" deep), vacuum debris, then apply Zinsser Bulls Eye 1-2-3 primer to seal and improve adhesion.
- Reinforce with mesh: Embed fiberglass mesh tape (not paper) over the V-groove—its alkali resistance prevents breakdown from kitchen cleaning chemicals.
- Apply two thin coats: First coat: setting-type joint compound (90-minute); second coat: lightweight all-purpose compound sanded smooth after 24 hours.
When to Call a Pro
Stop DIY if you see any of these red flags:
- Cracks wider than 1/4" that reopen within 72 hours of repair
- Discoloration (yellow/brown staining) or musty odor behind cracked areas—possible hidden leak behind sink or dishwasher
- Multiple cracks converging at ceiling corners or above windows—may indicate roof load shifting or foundation movement
- Plaster sounding hollow across more than 2 sq. ft. when tapped—lath detachment requires re-anchoring or full replacement
According to the Insurance Institute for Business & Home Safety's 2023 report, 68% of kitchen water damage claims involved undetected plaster delamination behind cabinetry—making early professional assessment critical.
Prevention Tips
Kitchen plaster lasts longest when moisture and vibration are controlled. Install these now:
- A ducted range hood venting outdoors (not recirculating)—reduces daily humidity spikes by up to 40%, per ASHRAE Standard 62.2-2022
- Expansion gaps (1/8") between upper cabinets and ceiling—prevents direct pressure transfer during thermal expansion
- Exterior-grade caulk (silicone-acrylic hybrid) at all wall-ceiling and countertop-wall transitions—seals micro-gaps where steam infiltrates
Can I use spackle instead of joint compound?
No—spackle dries too hard and brittle for plaster substrates. It lacks flexibility and will pop out within months in a kitchen’s thermal cycling environment. Stick with setting-type joint compound (e.g., USG Sheetrock Brand Easy Sand 45 or 90) for lasting adhesion.
Do I need to repaint the whole wall after repair?
Not necessarily—but match sheen and age. Kitchen walls collect grease films that dull paint. Clean the entire wall with TSP substitute first, then spot-prime the patched area with Benjamin Moore Fresh Start. Feather the new paint 12 inches beyond the repair to avoid visible boundaries.
Why does this keep happening near my microwave cabinet?
Microwave cabinets often mount directly to studs without backing plates, concentrating vibration and heat. The repeated thermal expansion/contraction fatigues plaster at anchor points. Add 1/2" plywood backing behind the cabinet and use vibration-dampening washers on mounting screws.
Is plaster dust from sanding dangerous?
Yes—especially in pre-1978 homes where plaster may contain asbestos fibers. Always wear an N95 respirator and use a HEPA vacuum during sanding. Test suspect material with an EPA-certified lab (e.g., NVLAP Lab Code 200603CP) before disturbing large areas.
Can I patch plaster over tile backsplash?
Only if the tile is fully bonded and non-porous. Grout lines and ceramic surfaces don’t accept joint compound well. Instead, use a flexible acrylic caulk like DAP Alex Plus to fill cracks at tile-plaster transitions—it accommodates movement and cleans easily with vinegar.
How long before I can hang shelves on the repaired wall?
Wait at least 7 days for full cure of setting-type compound, especially in humid kitchens. Load-bearing anchors (like toggle bolts) require solid substrate—not just patch material. Drill pilot holes into stud locations, not just the repair zone.
Plaster in kitchens doesn’t fail randomly—it tells a story about moisture paths, structural loads, and installation shortcuts. Treat each crack as diagnostic data, not just cosmetic damage. A properly repaired section won’t just look clean; it’ll resist the next round of steam, vibration, and seasonal shift. For deeper issues like recurring cracks near plumbing walls, consider adding a kitchen leak detection system or upgrading to moisture-resistant drywall behind future backsplashes.