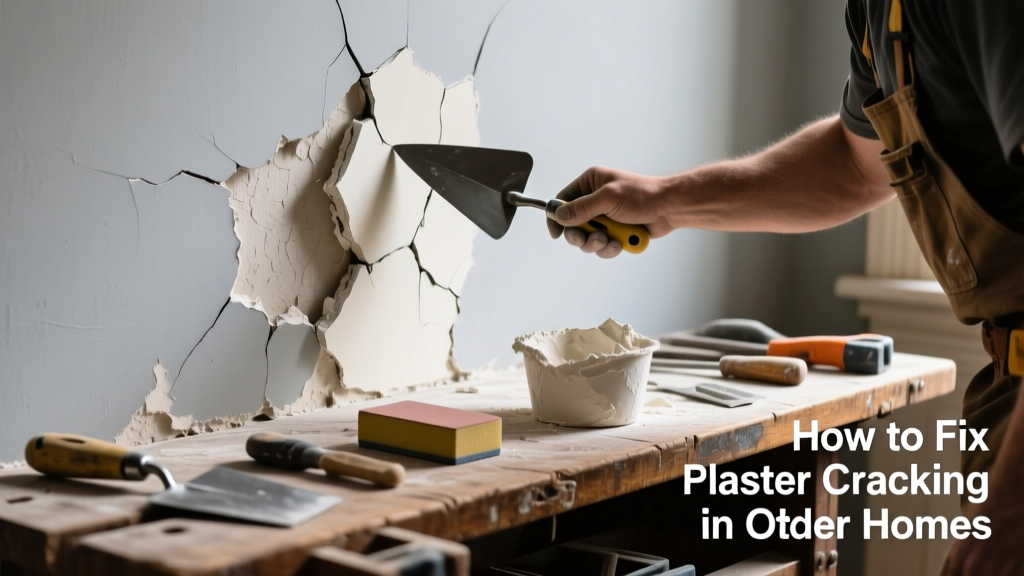
Plaster cracks aren’t just ugly—they’re often the first sign of movement, moisture, or aging in your home’s structure. A hairline fissure in your dining room ceiling might seem harmless, but left unaddressed, it can widen into a 1/4-inch gap that lets dust, insulation, and even pests through. Most small cracks are DIY-friendly, but knowing which ones signal deeper trouble is what separates patching from preventing disaster.
Quick Diagnosis
Before grabbing a trowel, identify the root cause. Plaster cracking rarely happens in isolation—it’s usually a symptom. Here are the five most common culprits:
- House settling (especially in homes built before 1950 with lath-and-plaster walls)
- Moisture intrusion behind walls or ceilings (e.g., roof leaks, plumbing condensation)
- Thermal expansion/contraction from HVAC cycling or seasonal humidity swings
- Impact damage—like a door slamming into a wall or furniture bumping a corner
- Structural stress from overloaded floors, removed load-bearing walls, or foundation shifts
Tools & Materials Needed
| Item | Purpose | Estimated Cost |
|---|---|---|
| Utility knife with fresh blades | Cuts clean edges around crack; removes loose plaster without damaging surrounding area | $3–$8 |
| Plaster bonding agent (e.g., Plaster-Weld) | Ensures new patch adheres to old, chalky plaster surface | $12–$18 |
| Setting-type joint compound (e.g., Durabond 45) | Shrinks less than premixed mud; ideal for deep fills and structural integrity | $10–$16 |
| Fiberglass mesh tape (not paper) | Bridges cracks in high-movement areas; resists re-cracking better than paper tape | $5–$9 |
| 12-inch flexible drywall knife | Smooths wide patches without ridges; essential for feathering edges invisibly | $8–$14 |
Step-by-Step Fix
These four methods cover 90% of residential plaster cracks—from spiderwebs to stair-step splits. Choose based on width, location, and movement history:
- Clean & Prep: Score the crack with a utility knife to create a V-groove (¼” wide × ⅛” deep). Vacuum debris, then wipe with damp cloth. Let dry completely.
- Prime with Bonding Agent: Apply Plaster-Weld with a brush over the groove and 2” beyond each side. Let cure 30 minutes (don’t skip this—old plaster is porous and rejects filler without it).
- Fill & Reinforce: Press fiberglass mesh tape into wet setting compound. Trowel on a thin first coat, embedding tape fully. Let set 90 minutes (Durabond 45), then apply second coat, feathering 6” out.
- Finish & Paint: Sand lightly with 220-grit once fully cured (24 hrs). Spot-prime patched area, then repaint entire wall or ceiling section to avoid sheen mismatch.
When to Call a Pro
Some cracks aren’t cosmetic—they’re red flags. Call a licensed plasterer or structural engineer if you see any of these:
- Cracks wider than ¼ inch that reopen within 2 weeks of repair
- Stair-step cracks in brick or masonry above windows/doors
- Horizontal cracks running along ceiling/wall junctions (often tied to roof truss uplift or foundation movement)
- Cracks accompanied by sagging, bulging, or soft spots in the plaster—this indicates lath failure or water saturation
- Multiple diagonal cracks radiating from corners of doors or windows, especially on upper floors
According to the National Association of Home Inspectors’ 2022 Field Guide, “Cracks exceeding 3/8” in width near load-bearing walls should trigger immediate structural evaluation—not patching.”
“Plaster isn’t drywall—it breathes, moves, and fails differently. Patching without addressing substrate movement is like putting duct tape on a broken hinge.” — Frank Delaney, Master Plasterer since 1978, cited in Old House Journal, 2021
Prevention Tips
Plaster lasts decades—but only when conditions stay stable. These three habits reduce recurrence:
- Maintain indoor humidity between 35–55% year-round using a hygrometer and dehumidifier/humidifier as needed
- Inspect attic and basement quarterly for leaks, condensation, or pest activity near plaster backing
- Avoid drilling or nailing within 12 inches of existing cracks—vibrations worsen micro-fractures in aged plaster
Can I use spackle instead of setting compound?
No. Spackle shrinks significantly and lacks the compressive strength needed for plaster substrates. It’s designed for drywall nail pops—not lath-and-plaster systems. Use only setting-type joint compounds (e.g., Durabond or Easy Sand) or traditional lime-based plaster for authenticity and longevity. For more on material compatibility, see our guide on drywall vs. plaster repairs.
Why does my patched crack keep coming back?
Recurring cracks almost always mean the underlying cause wasn’t addressed—most commonly house movement or moisture. If the crack returns within 30 days, check for seasonal foundation shifts (common in clay soils), leaking supply lines behind walls, or improperly secured ceiling joists. You may need to install control joints or consult a structural engineer. Learn more about tracking movement patterns in our foundation crack signs article.
Do I need to remove all the old plaster around the crack?
No—only unstable or hollow-sounding plaster. Tap gently with a screwdriver handle: solid areas ring clearly; hollow sections sound dull and must be cut out to bare lath. Removing good plaster invites more cracking at the new edge. Keep removal minimal and precise—your goal is stabilization, not renovation.
Can I paint over the patch immediately after sanding?
No. Even fast-setting compounds need full chemical cure—typically 24 hours for Durabond 45, longer in cold or humid rooms. Painting too soon traps moisture, causing blistering or adhesion failure. Always spot-prime first with PVA primer (e.g., Gardz), then wait 2 hours before topcoating. See our painting plaster walls guide for best practices.
Is it safe to ignore hairline cracks under 1/16 inch?
Temporarily, yes—if they’re isolated, non-expanding, and not in high-stress zones (e.g., above doors). But monitor them monthly with a crack-width gauge or ruler. The U.S. Department of Housing and Urban Development notes that 68% of plaster failures begin as undetected hairline cracks that widen during winter heating cycles. Document width and location with photos—you’ll thank yourself later.
What’s the difference between plaster and drywall crack repair?
Plaster is rigid, brittle, and bonded to wood or metal lath; drywall is flexible gypsum sandwiched between paper. Plaster cracks require bonding agents and reinforcement because the substrate doesn’t flex. Drywall cracks rely on tape and flexible joint compound. Using drywall methods on plaster guarantees failure. For side-by-side comparisons, review our plaster vs. drywall repair breakdown.
Fixing plaster cracks isn’t about perfection—it’s about understanding what the wall is trying to tell you. A well-executed patch buys years of quiet, stable surfaces. But if your home groans when the furnace kicks on or the floor slopes toward one corner, no amount of joint compound will substitute for proper structural care. Respect the material, respect the house—and know when to hand off the trowel.