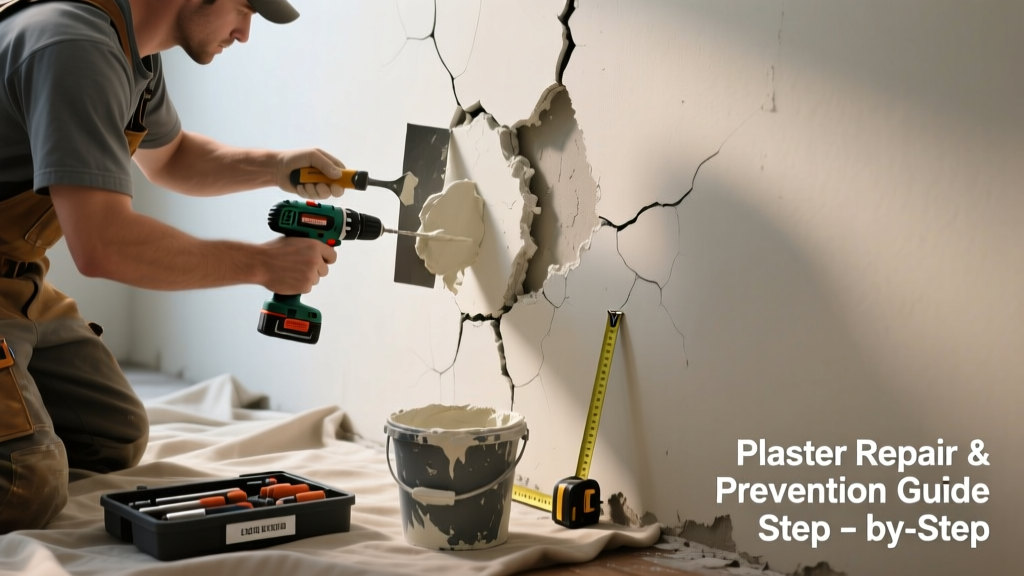
Plaster bulging isn’t just unsightly—it’s often the first visible warning of moisture intrusion, substrate failure, or structural movement. If you’ve noticed soft spots, cracking radiating from a raised area, or a hollow sound when tapping, don’t ignore it. Left unaddressed, even a small bulge can lead to full-section collapse or mold growth behind the wall.
Quick Diagnosis
Before grabbing tools, identify the root cause. Most plaster bulges fall into one of these categories:
- Moisture behind plaster (leaky pipe, roof leak, or high humidity)
- Loss of adhesion between plaster and lath (age, vibration, or improper original installation)
- Swelling wood lath due to dampness
- Structural shifting (foundation settlement or joist deflection)
- Previous patching with incompatible materials (e.g., drywall compound over historic plaster)
Tools & Materials Needed
| Item | Purpose | Estimated Cost |
|---|---|---|
| Stud finder with deep-scan mode | Locates wood/metal lath and framing behind plaster without destructive probing | $35–$65 |
| Carbide-tipped utility knife | Cuts clean edges around bulge; resists dulling on old lime plaster | $8–$14 |
| Plaster wash (lime putty + gauging plaster) | Traditional repair mix that matches vapor permeability and expansion rate of historic plaster | $22–$38 per 25-lb bag |
| 3-in. stainless steel trowel | Provides control for thin, feathered repairs without dragging or gouging | $18–$29 |
| Moisture meter (pin-type) | Measures %MC in plaster and lath—critical before repair to confirm drying | $75–$120 |
Step-by-Step Fix
Choose the method based on bulge size, moisture reading, and lath condition:
- Small, dry bulge (<6” diameter, <5% MC): Drill 3–4 pilot holes at base of bulge, inject PVA bonding agent (like Plaster-Weld), then gently press plaster back into contact with lath using a padded board and clamps overnight.
- Moderate bulge (6–18”, 5–12% MC): Cut out the bulge with a utility knife along natural crack lines; remove loose plaster and wet lath; let cavity air-dry 48–72 hours; apply two coats of plaster wash (1/8” base, 1/16” finish).
- Bulge with active water stain or >12% MC: Shut off water source immediately. Remove all compromised plaster and lath down to framing. Install moisture-resistant blueboard or metal lath, then apply three-coat plaster system per ASTM C840 standards.
When to Call a Pro
DIY stops where safety and code compliance begin. Call a licensed plaster conservator or structural contractor if:
- The bulge covers more than 4 sq. ft. and spans two studs
- You detect musty odors, visible mold, or water dripping behind walls
- Adjacent floors slope, doors stick, or cracks widen daily (signs of active settlement)
- Your home was built before 1950 and contains horsehair or clay-based plaster—you’ll need lime-compatible materials and techniques
"Over 62% of plaster failures we see in pre-1940 homes stem from concealed moisture—not age. Always verify moisture content before patching." — Historic Plaster Conservation Handbook, National Park Service, 2021
Prevention Tips
Long-term stability starts with managing environment and monitoring:
- Install exhaust fans in bathrooms and kitchens rated for ≥50 CFM and vented outdoors (not into attics)
- Maintain indoor relative humidity between 30–50% year-round using a hygrometer and dehumidifier/humidifier as needed
- Inspect roof valleys, window flashing, and exterior grade slopes annually for water diversion issues
- Never cover original plaster with vinyl wallpaper or impermeable paints—use only breathable limewash or mineral paint like mineral paint
Can I use drywall joint compound to patch plaster bulges?
No. Joint compound shrinks, lacks vapor permeability, and bonds poorly to aged plaster. It traps moisture, accelerates lath rot, and delaminates within months. Use lime-based plaster or gypsum plaster formulated for repair—never premixed ‘all-purpose’ spackle.
How long does plaster need to cure before painting?
Lime plaster requires 28 days minimum for carbonation; gauged plaster (lime + gypsum) needs 7–10 days. Test readiness with a moisture meter: surface must read ≤5% MC, and a piece of clear plastic taped overnight must show no condensation underneath. For best results, use a breathable paint like mineral silicate paint.
Is bulging plaster dangerous to breathe near?
Only if mold is present or plaster dust contains asbestos (common in homes built before 1980). Assume asbestos until lab-tested. Never sand or break bulging plaster without HEPA filtration and N95+ respirator. Send samples to an EPA-accredited lab like NVLAP Lab #200504232.
Why does plaster bulge more in winter?
Cold surfaces cause condensation inside wall cavities—especially where insulation is missing or thermal bridging occurs at studs. This moisture rehydrates old lath, causing swelling and loss of bond. The U.S. EPA estimates that 14% of household water usage is from leaks, many of which go undetected until bulging appears.
Can I paint over a repaired bulge right away?
No. Premature painting seals in residual moisture and prevents proper carbonation of lime-based repairs. Wait until moisture readings stabilize across the entire patch and adjacent plaster for 48 hours. A simple test: press a 4×4” piece of aluminum foil tightly over the patch for 24 hours—if condensation forms, wait longer.
What’s the difference between bulging and blistering plaster?
Bulging is outward displacement caused by pressure behind the plaster (moisture, gas, or lath swelling). Blistering is localized separation *within* the plaster coat itself—often from over-troweling, rapid drying, or contaminated mixing water. Blistering feels firm but hollow; bulging feels soft or springy and may flex under light pressure.
A properly repaired bulge should last 20+ years—if the moisture source is eliminated and compatible materials are used. Monitor repaired areas quarterly with a moisture meter, especially during seasonal transitions. If new bulges appear nearby, revisit your home’s drainage, ventilation, and plumbing integrity—because plaster doesn’t lie about what’s happening behind the walls.