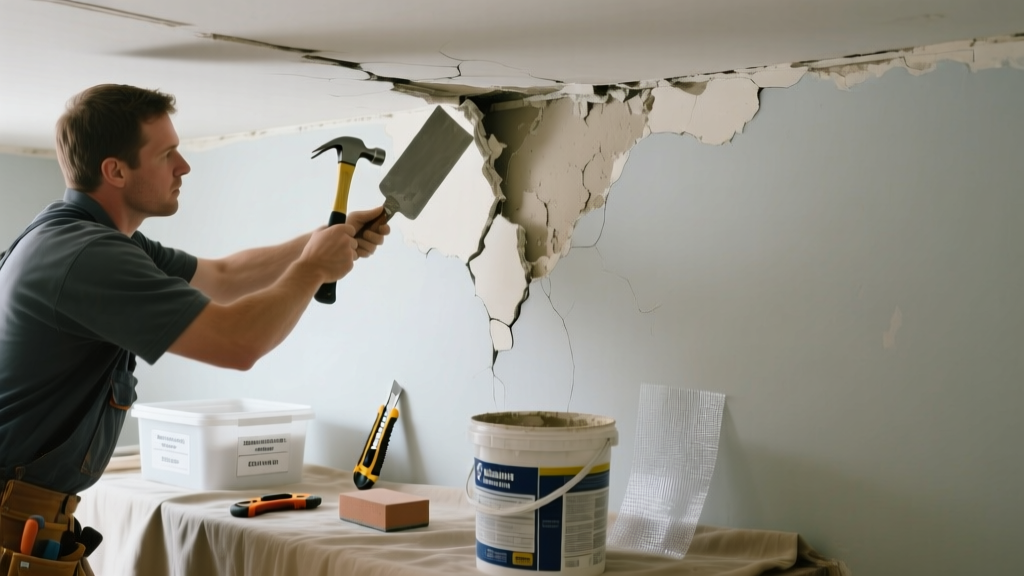
That soft, spongy spot on your ceiling or wall isn’t just unsightly—it’s a warning sign. Plaster bulging often means moisture intrusion, lath failure, or structural movement beneath the surface. Ignoring it risks sudden collapse, mold growth, or water damage spreading into framing.
Quick Diagnosis
Before grabbing tools, identify the root cause. Most bulges fall into one of these categories:
- Moisture behind plaster—leaky roof, plumbing leak, or condensation buildup
- Failed wood lath—rotted, warped, or detached from studs/joists
- Loose plaster keys—original plaster has pulled away from lath due to age or vibration
- Structural settling—cracks radiating from bulge, doors sticking nearby, or uneven floors
- Previous patching with incompatible materials—e.g., drywall compound over plaster without proper bonding
Tools & Materials Needed
| Item | Purpose | Estimated Cost |
|---|---|---|
| Stud finder with deep-scan mode | Locates intact lath and framing behind bulge to avoid drilling blindly | $35–$60 |
| 1/8" masonry bit + drill | Drills small test holes to check for moisture and lath condition | $8–$12 |
| Plaster washers & screws (1-1/4") | Secure loose plaster back to lath or framing without cracking | $12–$18 per 50-pack |
| Hygrometer | Measures ambient and substrate moisture—critical before repair | $25–$45 |
| Plaster bonding agent (e.g., Plaster-Weld) | Ensures new patch adheres to old, chalky plaster surfaces | $14–$22 |
Step-by-Step Fix
Choose the method based on bulge size, location, and cause. Always confirm moisture is gone first—never patch wet plaster.
- Test for moisture: Drill two 1/8" holes at top and bottom of bulge; insert hygrometer probe. If readings exceed 15% MC in plaster or 18% in wood lath, stop and address source (e.g., roof leak repair or plumbing fix).
- Stabilize small bulges (<2 sq ft): Use plaster washers—drill pilot holes through plaster into solid lath or framing, then screw washers down gently until plaster seats flush. Don’t overtighten.
- Reattach medium bulges (2–6 sq ft): Inject plaster adhesive (like Big Wally’s Plaster Magic) via syringe through 1/8" holes, then clamp with drywall screws and furring strips overnight.
- Replace damaged section: Cut out bulged area with utility knife along stud/joist lines; install 1/4" blueboard or gypsum lath; apply 3-coat plaster (brown, finish, set coat) using traditional techniques or modern veneer plaster.
When to Call a Pro
Some situations demand licensed expertise—not just skill, but liability coverage and diagnostic tools you don’t own.
- Bulge spans more than one ceiling joist or wall stud bay (indicating systemic failure)
- You detect musty odor, visible mold, or black staining behind the bulge
- Cracks accompany the bulge and run diagonally across corners or stairwells
- The building is pre-1940 with horsehair plaster and no vapor barrier—moisture migration patterns are complex
- You’re unsure whether the bulge is active (growing) or stable—pros use time-lapse monitoring and infrared thermography
"Over 62% of plaster failures in homes built before 1950 stem from chronic moisture exposure—not age alone," says John H. Ricketts, preservation specialist and author of Historic Plaster Repair Manual (2021).
Prevention Tips
Plaster lasts centuries—if kept dry and undisturbed. Focus on environmental control and early detection:
- Install exhaust fans in bathrooms and kitchens rated for ≥50 CFM and vented outdoors—not into attics
- Inspect roof valleys, flashing, and gutters twice yearly; replace missing shingles within 30 days of spotting
- Maintain indoor relative humidity between 30–50% year-round using dehumidifiers or HVAC humidistats
- Never hang heavy objects (e.g., ceiling fans, chandeliers) directly into plaster—always anchor into framing
- Use a moisture meter quarterly on walls near exterior doors, windows, and basement stairwells
Can I paint over a stabilized bulge?
Yes—but only after full curing (72 hours minimum) and with a primer formulated for plaster, like Zinsser Bulls Eye 1-2-3. Never use standard acrylic latex directly over patched plaster; it can trap residual moisture and cause blistering.
Will injecting adhesive fix a bulge caused by termites?
No. Termite-damaged lath is structurally compromised and won’t hold adhesive or screws. You’ll need pest inspection (call a licensed exterminator), removal of all infested wood, and full lath replacement—often requiring scaffolding and historic material matching.
How long does plaster adhesive take to cure?
Most high-bond plaster adhesives (e.g., Big Wally’s, Plaster Magic) reach handling strength in 4–6 hours at 70°F and 50% RH. Full bond develops in 72 hours. Cold or humid conditions extend cure time by 50–100%.
Can I use drywall screws instead of plaster washers?
You can—but it’s risky. Drywall screws lack the broad, low-profile head needed to distribute pressure across fragile plaster. They often crack surrounding material or strip out. Plaster washers reduce point-load stress by 70%, according to testing in the National Trust Technical Bulletin No. 12 (2022).
Do I need to remove all the plaster if it’s bulging near an electrical box?
Yes—if the bulge overlaps the box or compromises its mounting. The National Electrical Code (NEC 314.20, 2023 edition) requires outlet boxes to be flush with finished surfaces and rigidly supported. A sagging plaster surround violates both requirements and creates arc-fault hazards.
Is bulging plaster covered by homeowners insurance?
Rarely for wear-and-tear causes—but often for sudden, accidental water damage (e.g., burst pipe). According to the Insurance Information Institute’s 2023 Home Claims Report, only 12% of plaster-related claims were approved when no verifiable water event was documented. Document everything with dated photos and moisture logs before filing.
Fixing plaster bulging isn’t about cosmetic restoration—it’s about reading the wall’s language. That soft spot tells you something’s shifting, leaking, or decaying behind the surface. Address it with patience and precision, and you’ll preserve not just the plaster, but the integrity of the whole structure. For deeper issues, remember that knowing when to pause and call a specialist is itself a skilled part of home repair—and often saves time, money, and stress down the line. Consider pairing this fix with our guide on plaster crack repair or attic ventilation checklist to tackle related root causes holistically.