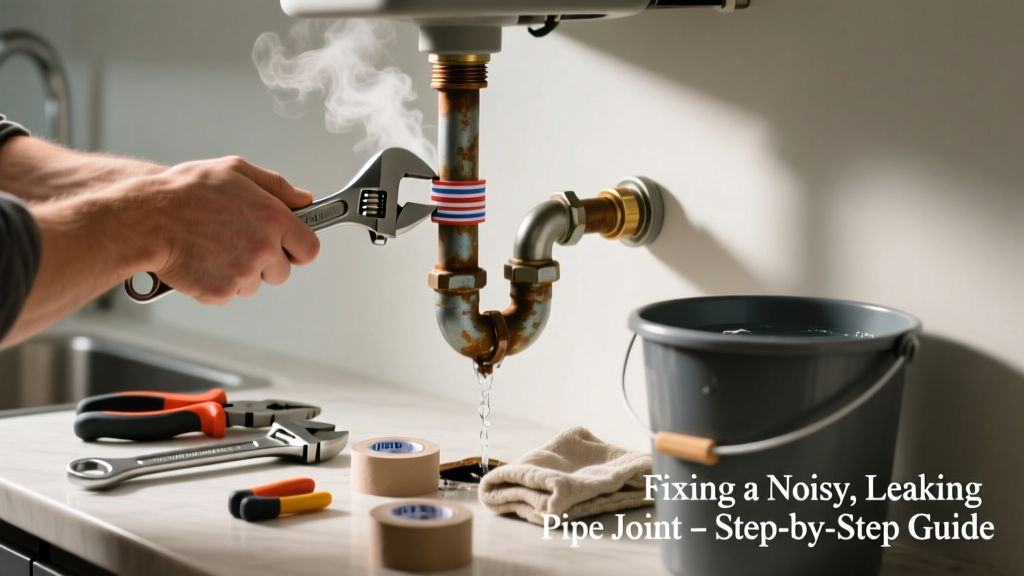
That sudden hiss, drip, or metallic groan from behind your bathroom wall isn’t just annoying—it’s a red flag. A leaking pipe joint making unusual noise often signals pressure imbalance, corrosion, or failing seals, and ignoring it can lead to mold, structural damage, or a burst pipe. Catch it early, and you’ll likely fix it in under an hour with basic tools.
Quick Diagnosis
Before grabbing tools, identify the root cause. Unusual noise paired with leakage usually points to one (or more) of these:
- Loose compression nut on a copper or PEX joint
- Corroded threads on galvanized steel or brass fittings
- Air trapped in the line causing water hammer or gurgling
- Failed rubber washer or O-ring inside a shutoff valve or faucet body
- Thermal expansion stress in rigid piping (especially near water heaters)
Tools & Materials Needed
| Item | Purpose | Estimated Cost |
|---|---|---|
| Adjustable wrench (10-inch) | Tightens or loosens nuts without stripping threads | $12–$25 |
| Thread seal tape (PTFE) | Seals threaded joints; prevents leaks and reduces vibration noise | $3–$8 |
| Replacement O-rings (¼"–½") | Fits most shutoff valves and faucet cartridges; stops drip-and-hiss combos | $2–$6 |
| Small wire brush | Cleans corrosion off threads so seal tape adheres properly | $4–$9 |
| Bucket and towels | Catches drips and protects flooring during work | $0–$15 |
Step-by-Step Fix
Try these methods in order—start simple and escalate only if needed:
- Shut off water supply at the nearest valve (or main shutoff if no local valve exists), then open a downstream faucet to relieve pressure.
- Tighten the joint gently: Use your adjustable wrench to turn the compression nut or union nut 1/8 to 1/4 turn clockwise—over-tightening cracks brass and worsens leaks.
- Replace the sealing component: If tightening doesn’t stop it, disassemble the joint, inspect the O-ring or fiber washer, and swap it out with an exact-size replacement.
- Re-thread and reseal: For threaded joints, clean threads with the wire brush, wrap fresh PTFE tape clockwise (5–6 wraps), then reassemble and hand-tighten before final 1/4-turn with the wrench.
- Bleed air from the system: Turn water back on slowly, then open all faucets top-to-bottom until water flows steadily—this eliminates gurgling caused by trapped air.
When to Call a Pro
Don’t risk it if any of these apply:
- The leak is at a soldered copper joint or involves cast iron pipe (corrosion may be widespread)
- You hear loud banging only when appliances cycle on/off—this points to unanchored pipes or failed water hammer arrestors
- Water is leaking near electrical outlets, panels, or gas lines
- The joint is buried in concrete, behind tile, or inside a load-bearing wall
- You’ve attempted two fixes and the noise/leak persists or worsens
According to the Insurance Institute for Business & Home Safety's 2023 report, 68% of water damage claims linked to plumbing failures involved delayed professional intervention after initial DIY attempts.
Prevention Tips
Extend the life of your joints and silence future noise with these habits:
- Inspect visible joints every 6 months for dampness, mineral crust, or discoloration
- Install water hammer arrestors on washing machine and dishwasher supply lines
- Set your water heater temperature no higher than 120°F to reduce thermal stress on pipes
- Use dielectric unions when connecting copper to galvanized steel to prevent galvanic corrosion
- Drain and flush your water heater annually—sediment buildup increases pressure spikes
Can I use plumber’s putty instead of thread seal tape?
No—plumber’s putty is designed for non-pressurized fixtures like sink drains, not threaded pipe joints. Using it on pressurized supply lines risks blowouts and inconsistent seals. Stick with PTFE tape or pipe dope rated for potable water systems.
Why does my joint hiss but not visibly leak?
Hissing indicates high-pressure air or steam escaping through a micro-fracture or compromised seal—often where a rubber washer has hardened or shifted. Even tiny gaps allow vapor escape under pressure, which can precede full failure. Replace the washer immediately.
Will tightening the joint always stop the noise?
Not always. Over-tightening stresses metal and deforms soft seals, sometimes worsening vibration or creating new micro-leaks. If noise persists after gentle tightening, the issue is likely internal wear—not torque deficiency. Check how to replace a faucet cartridge or water hammer fix for deeper causes.
Is the noise worse in winter? Why?
Yes—cold temperatures make metal pipes contract and rubber components stiffen, increasing joint stress and amplifying vibration. Frozen ground can also shift underground supply lines, stressing above-ground connections. Insulate exposed pipes in garages and crawlspaces to reduce seasonal noise spikes.
Can a leaking joint cause mold behind walls?
Absolutely. The U.S. EPA estimates that even a slow 1-drip-per-second leak wastes over 3,000 gallons per year—and hidden moisture behind drywall creates ideal conditions for mold growth within 48 hours. If you smell mustiness near the noise source, cut a small inspection hole or call a moisture specialist.
Do I need to replace the whole pipe section if the joint fails twice?
Not necessarily—but repeated failure at the same joint suggests underlying issues: misalignment, excessive vibration, or incompatible materials (e.g., aluminum and copper touching). Before replacing pipe, verify anchor spacing, check for nearby loose hangers, and confirm all connected materials meet ASTM standards. See our guide on pipe material compatibility for safe pairings.
A noisy, leaking joint is rarely a sign of imminent disaster—but it’s a clear signal that something’s out of balance in your plumbing system. Address it promptly with the right technique, and you’ll restore quiet operation while preventing thousands in potential water damage. Most repairs take less time than waiting for a plumber’s next available slot—and give you real confidence the next time you hear that telltale hiss.