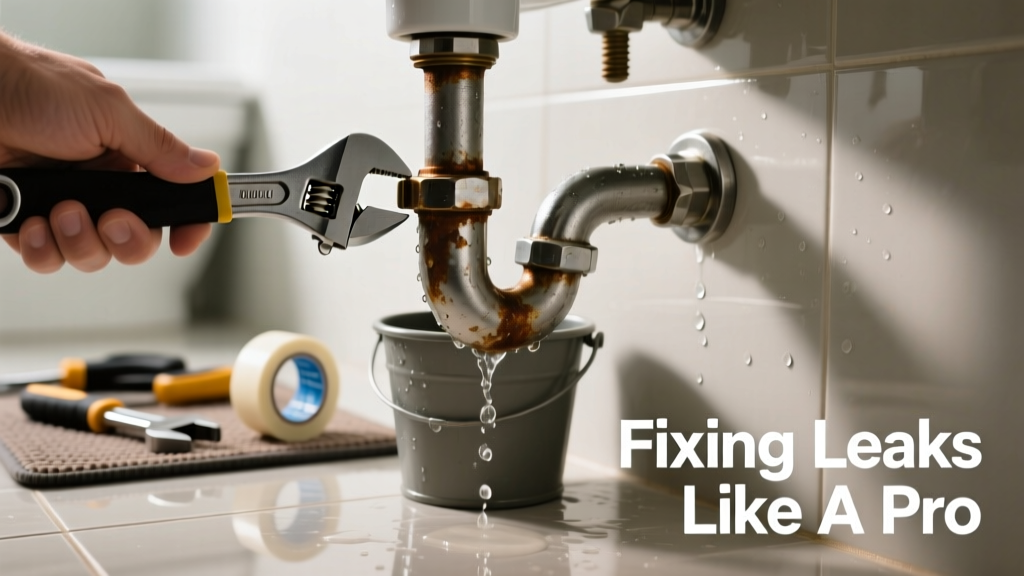
That slow drip under your bathroom sink isn’t just annoying—it’s wasting up to 3,000 gallons of water per year and risking drywall rot or mold behind tile. Most bathroom pipe joint leaks are fixable in under an hour with basic tools, but timing matters: catch it before the joint fails completely.
Quick Diagnosis
Before grabbing tools, identify the source and cause. Not all drips mean the same thing—some point to simple tightening, others signal deeper corrosion or misalignment.
- Loose compression nut — Common on supply lines to faucets or toilets; you’ll see wetness right at the nut, often with visible thread exposure.
- Worn or cracked rubber washer or O-ring — Typical in older angle stops or faucet tailpieces; leak persists even after tightening.
- Corroded brass or galvanized threads — White crusty buildup (zinc oxide) or green patina means metal fatigue; tightening worsens the leak.
- Misaligned PEX crimp ring or push-fit connection — Seen near newer shower valves; leak occurs only when water is running due to pressure-induced micro-gap.
Tools & Materials Needed
| Item | Purpose | Estimated Cost |
|---|---|---|
| Adjustable wrench (10-inch) | Tightens nuts without rounding edges; essential for chrome-plated fittings | $12–$25 |
| Replacement O-rings (size #10 and #12) | Standard sizes for most bathroom shutoffs and faucet connections | $2–$5 |
| Thread seal tape (PTFE) | Seals tapered pipe threads on brass or steel; use white tape for water lines | $3–$7 |
| Small mirror on telescoping handle | Views hidden joints behind vanity or inside wall cavities | $8–$14 |
| Microfiber cloths | Dries joints thoroughly before reassembly—moisture hides small leaks | $5–$10 |
Step-by-Step Fix
Choose the method based on your diagnosis. Always shut off the local shutoff valve first—and test it works by turning on the faucet until flow stops.
- Tighten the compression nut: Use two wrenches—one to hold the fitting steady, one to turn the nut clockwise 1/6 turn max. Over-tightening cracks ferrules. Test with paper towel wrapped around the joint—no damp spots after 10 minutes.
- Replace the O-ring or washer: Shut off water, open faucet to relieve pressure, unscrew the handle or valve stem, remove old rubber, clean the groove with a cotton swab dipped in vinegar, then press in new O-ring lubricated with silicone grease.
- Re-wrap threaded joints: For leaking male threads (e.g., on angle stop inlet), wrap Teflon tape clockwise 4–5 full turns, covering threads fully but not overlapping onto the first thread. Hand-tighten, then snug with wrench—no more than 1/4 turn past hand-tight.
- Swap out corroded shutoff valve: If threads are pitted or green, replace the entire valve. Cut supply line with tubing cutter (not hacksaw), deburr, and install a 1/4-turn ceramic-disk valve with integrated PEX adapter.
When to Call a Pro
Some leaks look simple but hide serious risks. Don’t gamble with these scenarios:
- Leak originates behind tile or inside wall cavity and you can’t access it without cutting drywall or removing fixtures.
- Water pressure drops significantly elsewhere in the house when the bathroom faucet runs—suggests a larger branch line issue.
- You spot blackened drywall, musty odor, or warped subfloor near the leak—possible mold or structural saturation.
- The pipe is cast iron, lead, or polybutylene (gray plastic, common in homes built 1978–1995); these require specialized replacement protocols.
According to the Insurance Institute for Business & Home Safety's 2023 report, 68% of bathroom water damage claims involved undetected joint leaks that went unrepaired for over three weeks.
Prevention Tips
Prevent recurrence with habits that reduce stress and corrosion on joints:
- Turn shutoff valves fully open or fully closed—not halfway—to avoid seat erosion.
- Flush sediment from angle stops every 12 months: turn off main water, open valve fully, then reopen main briefly to blast debris.
- Install vibration-dampening pads under pedestal sinks to minimize joint fatigue from foot traffic.
- Label all shutoff valves with permanent marker: “Toilet,” “Vanity,” “Shower” — saves critical time during emergencies.
Can I use plumber’s putty to stop a leaking joint?
No. Plumber’s putty is designed for sealing drain flanges—not pressurized water lines. It softens with heat and washes away under flow, potentially clogging downstream aerators or cartridges. Use only approved sealants like PTFE tape or pipe dope rated for potable water.
How tight should I make the compression nut?
Hand-tight plus 1/6 to 1/4 turn with a wrench is ideal. If you hear metal squealing or see the ferrule deform, you’ve over-torqued it. A properly seated ferrule compresses evenly—look for uniform ring marks on the pipe surface.
Will duct tape or epoxy fix this temporarily?
Not safely. Duct tape disintegrates under moisture and heat. Epoxies like J-B Weld may hold briefly but fail unpredictably under thermal cycling and pressure spikes. They also prevent proper future repairs by trapping moisture and hiding corrosion. Use a shut-off valve clamp instead for true emergency control.
Why does the leak only happen when I run hot water?
Thermal expansion stresses aged joints—especially where dissimilar metals meet (e.g., copper pipe to steel valve). The heat softens degraded rubber seals and widens microscopic gaps. Replace both the O-ring and the valve body if this pattern repeats.
Is this covered by my home warranty?
Most home warranties exclude wear-and-tear items like O-rings, washers, and shutoff valves—but cover sudden failures of major components like water heaters or sewer lines. Check your policy’s “plumbing systems” section for “fixture supply lines” exclusions. You’ll likely need a warranty claim checklist before calling.
How do I know if it’s a supply line or drain joint leak?
Supply line leaks drip constantly—even when faucets are off—because pressure remains in the line. Drain joint leaks only occur during or immediately after water use, and often smell faintly of sewage or soap scum. Wipe the joint dry, wait 5 minutes, then check for new moisture.
A small leak today can become a swollen ceiling tomorrow. Fix it right the first time—using the correct sealant, torque, and replacement parts—and you’ll add years to your bathroom’s plumbing life. Keep a spare O-ring kit and mini-wrench in your vanity cabinet; it’s cheaper than a mold remediation invoice.