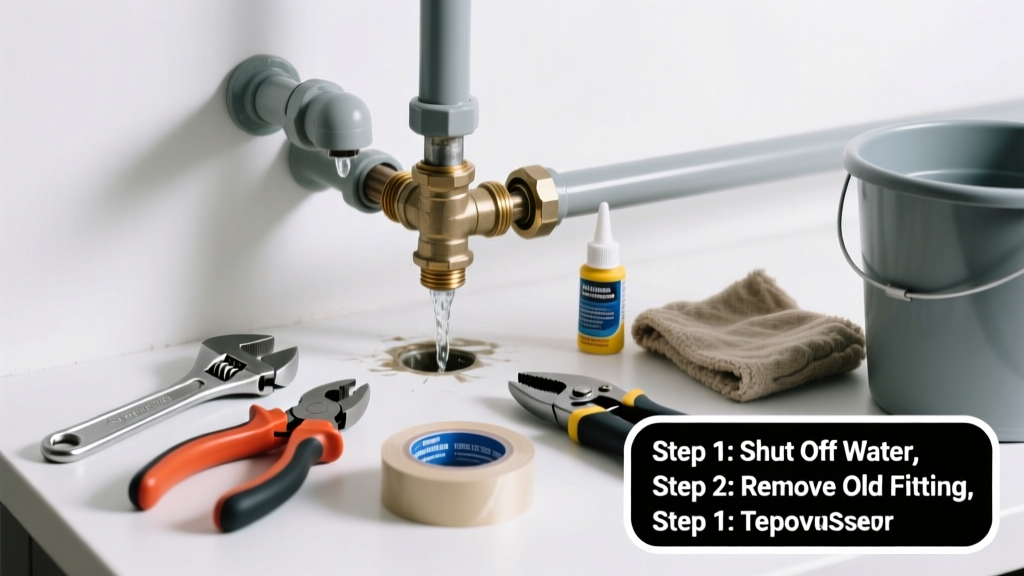
A dripping pipe joint isn’t just annoying—it’s a silent water waster and potential source of mold, rot, or structural damage. Most leaks at joints stem from simple wear, improper installation, or temperature stress—not catastrophic failure. With the right tools and a calm approach, you can often stop the drip in under an hour.
Quick Diagnosis
Before grabbing tools, identify the root cause. Misdiagnosis leads to temporary fixes that fail within days. Here are the most common culprits:
- Loose compression nut on copper or PEX fittings
- Degraded rubber washer or O-ring inside a threaded joint
- Corrosion or pitting at a soldered copper joint (especially near dissimilar metal contact)
- Cracked PVC solvent-weld joint due to ground shift or overtightening
- Failed Teflon tape seal on galvanized or black iron pipe threads
Tools & Materials Needed
| Item | Purpose | Estimated Cost |
|---|---|---|
| Adjustable wrench or basin wrench | Tightens or loosens nuts without stripping threads | $12–$28 |
| Emery cloth or fine-grit sandpaper (120–220 grit) | Cleans corrosion and oxidation off pipe ends before resealing | $3–$7 |
| Thread seal tape (PTFE) or pipe dope | Creates watertight seal on threaded joints; use dope for hot water or gas lines | $2–$6 |
| Replacement O-rings or fiber washers | Direct replacements for worn internal seals—match size precisely | $1–$4 per pack |
| Epoxy putty (for emergency patching only) | Temporary fix for small cracks or pinholes while arranging permanent repair | $5–$10 |
Step-by-Step Fix
Choose the method based on your pipe material and leak type. Always shut off the water supply and drain the line first.
- For threaded joints (galvanized, brass, black iron): Shut off water, dry the joint, unscrew the fitting, clean threads with wire brush and emery cloth, apply fresh pipe dope (not tape), and tighten evenly—no more than 1.5 turns past hand-tight.
- For compression fittings (copper or PEX): Loosen the compression nut, slide it back, inspect the ferrule for cracks or deformation, replace if damaged, reassemble with pipe fully seated, then tighten nut 1/4–1/2 turn past snug—overtightening ruins the seal.
- For PVC/CPVC solvent-weld joints: Cut out the faulty section with a hacksaw, dry all surfaces thoroughly, apply primer and cement per manufacturer instructions, and hold steady for 30 seconds while the bond sets.
- For minor weeping at soldered copper joints: Sand the area lightly, heat gently with a propane torch, apply lead-free solder with flux—only if no water remains in the line. If moisture persists, cut and replace.
When to Call a Pro
Some leaks look simple but hide serious risks. Don’t risk flooding, code violations, or injury:
- Leak is behind a wall, under concrete, or in inaccessible ceiling space
- Joint involves gas lines (even trace odor means evacuate and call immediately)
- You see green corrosion on copper pipes or white powder (efflorescence) on concrete near buried lines
- The leak recurs twice after proper DIY repair—indicating systemic issues like water hammer or excessive pressure
- Your home has polybutylene piping (installed 1978–1995); these joints degrade unpredictably and require full replacement
"Over 30% of emergency plumbing calls involve repeat leaks at the same joint—usually because the underlying cause (like high water pressure or vibration) wasn’t addressed." — Plumbing-Inspection.org, 2022 Field Survey
Prevention Tips
Extend joint life with proactive habits:
- Install a pressure regulator if household water pressure exceeds 60 psi (test with a gauge like the Water Pressure Tester)
- Wrap thread joints with 3–4 wraps of PTFE tape, applied clockwise only—never rely on tape alone for hot water or steam lines
- Anchor pipes every 4–6 feet to reduce vibration stress, especially near washing machines or HVAC systems
- Drain and flush your water heater annually to reduce sediment buildup that accelerates corrosion at tank outlet joints
Can I use duct tape or electrical tape to stop a leak?
No—these tapes offer zero pressure resistance and degrade quickly when wet. They’re unsafe for potable water lines and violate local plumbing codes. Even waterproof duct tape fails within hours under constant flow. Use epoxy putty only as a 24-hour stopgap while scheduling a real fix.
Why does my joint leak only when the hot water is on?
Thermal expansion stresses older joints—especially where copper meets CPVC or PEX. The heat softens degraded seals or widens micro-gaps in corroded threads. Check for discolored pipe near the joint; that’s a sign of long-term overheating and imminent failure.
How tight should I make a compression nut?
Tighten until the leak stops—then stop. Over-torquing deforms the ferrule, crushing it against the pipe and creating a new leak path. A good rule: snug plus one-quarter turn with a wrench. If it still leaks, the ferrule or pipe surface is likely damaged—replace both.
Is pipe dope better than Teflon tape?
It depends on application. Tape works well for standard cold-water NPT threads. Pipe dope is superior for hot water, steam, or gas lines—and essential for tapered pipe threads where tape alone won’t fill deep grooves. Never mix them; residue can interfere with bonding.
What’s the fastest temporary fix for a leak while waiting for parts?
Clean and dry the joint, then apply a two-part epoxy putty like JB Weld WaterWeld. Knead thoroughly, press firmly over the leak, and hold for 2 minutes. It sets in 15 minutes and withstands up to 1,000 psi—but this is strictly a 48-hour field fix, not a permanent solution.
Do I need a permit to replace a pipe joint?
Most jurisdictions don’t require permits for simple joint repairs using identical materials and methods—but if you’re switching pipe types (e.g., copper to PEX), adding new fixtures, or rerouting lines, check with your local building department. Unpermitted work can void insurance coverage after water damage.
A properly repaired joint should last 10–20 years—longer if you address root causes like water pressure and vibration. Keep a small repair kit in your utility closet: spare washers, Teflon tape, and a compact basin wrench. And remember: knowing when not to turn the wrench is just as important as knowing how. For deeper issues, reach out to a licensed plumber near you—it’s cheaper than drywall repair and mold remediation down the road.