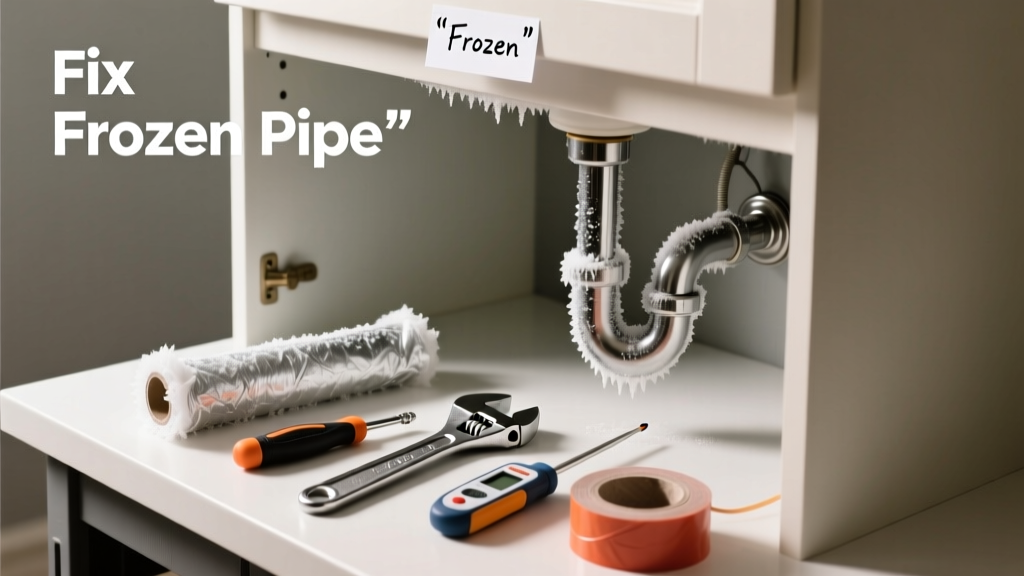
Waking up to no water at the kitchen sink—or worse, a slow drip that turns into a puddle—is often your first sign of a frozen pipe. Kitchen pipes freeze most commonly where they run along exterior walls, under cabinets near cold drafts, or where insulation is missing or compressed. Acting fast prevents bursting, which can cause $5,000+ in water damage (Insurance Institute for Business & Home Safety, 2023).
Quick Diagnosis
Before you reach for tools, confirm it’s truly frozen—and not a clog or shutoff issue:
- No water flow at the kitchen faucet, but other fixtures work normally
- Frost or condensation visible on exposed copper or PEX pipe under the sink
- Distinctive ‘pinging’ or cracking sounds from pipes during extreme cold
- Cold spot on pipe surface—test with bare hand (don’t burn yourself later)
- Adjacent pipes (e.g., dishwasher feed) also unresponsive
Tools & Materials Needed
| Item | Purpose | Estimated Cost |
|---|---|---|
| IR thermometer or instant-read food thermometer | Verifies pipe surface temp below 32°F without touching | $12–$25 |
| Heat tape (UL-listed, self-regulating) | Safely wraps around pipe to deliver even, controlled warmth | $20–$35 |
| Small fan + space heater (vented) | Raises ambient cabinet temperature without open flame | $40–$90 |
| Insulation sleeves (foam or fiberglass) | Prevents re-freezing once thawed; fits 1/2"–3/4" supply lines | $8–$15 |
| Shop towel or absorbent rags | Catches drips during thawing; monitors for leaks | $5–$12 |
Step-by-Step Fix
Start with the safest, lowest-heat method first. Never use propane torches, blowtorches, or high-wattage hair dryers—they risk melting PEX or scorching cabinetry.
- Open the faucet: Turn on both hot and cold handles fully. This relieves pressure and lets steam/air escape as ice melts.
- Apply gentle heat: Use a hair dryer on low setting, moving constantly over the pipe for 15–20 minutes. Focus on the coldest 6–12 inches—usually near the wall or floor joist entry point.
- Try heat tape: Wrap UL-listed self-regulating heat tape snugly (no overlaps), plug in, and monitor every 15 minutes. Most thaw within 30–90 minutes.
- Boost cabinet air temp: Place a portable space heater (at least 3 ft away) and aim a fan toward the cabinet interior. Keep cabinet doors open and monitor continuously.
- Check for leaks: Once water flows freely, inspect all joints, solder seams, and valve connections—even if they looked fine before freezing.
When to Call a Pro
Stop and call a licensed plumber immediately if:
- You hear hissing or see water spraying—not just dripping—indicating a rupture
- The pipe is buried in a wall cavity or inaccessible behind tile or cabinetry
- You suspect galvanized steel pipe (common in homes built before 1970); these crack unpredictably when frozen
- Thawing attempts yield no water flow after 90 minutes of consistent, safe heat
- You notice bulging, discoloration, or soft spots on copper or PEX—signs of internal stress
Prevention Tips
Preventing repeat freezes saves more than repair costs—it avoids mold risk from hidden leaks. Prioritize these proven fixes:
- Seal gaps around pipe penetrations with non-expanding foam (not regular spray foam—it expands too much)
- Install foam pipe insulation sleeves on all exposed supply lines under the sink and along exterior walls
- Keep cabinet doors open during sub-20°F nights—especially in north- or east-facing kitchens
- Let cold water drip at the kitchen faucet overnight when temps drop below 15°F (uses ~1 gallon/hour but prevents $10k+ burst damage)
- Add a smart thermostat with freeze alerts and remote cabinet temp monitoring via Bluetooth sensors
Can I pour boiling water on the pipe?
No. Pouring boiling water risks thermal shock—especially on older copper or brittle PEX—causing immediate cracks. It also creates steam buildup inside sealed sections, raising pressure dangerously. Stick to external, gradual heating only.
What if the pipe bursts while thawing?
Shut off the main water supply immediately (usually near the water meter or basement utility panel). Open all faucets to drain residual pressure. Then call a plumber—do not attempt epoxy or tape repairs on pressurized supply lines. According to the U.S. EPA, 14% of household water usage stems from undetected leaks, many originating from freeze-related micro-fractures.
Will turning up the house heat help?
Yes—but only if the frozen section is inside conditioned space. If the pipe runs through an unheated crawlspace, garage, or exterior wall cavity, cranking the thermostat won’t reach it. That’s why targeted heat and insulation are essential.
How long does it take for a kitchen pipe to freeze?
In uninsulated 1/2-inch copper pipe, freezing starts at 20°F ambient and takes 3–6 hours to fully block flow—depending on airflow, pipe length, and water movement. A 2022 study by the National Association of Home Builders found 68% of kitchen pipe freezes occurred in homes with no cabinet insulation and single-pane windows on exterior walls.
Can I use a heat gun?
Not recommended. Heat guns exceed 500°F and easily melt PEX, warp CPVC, or ignite dust buildup in cabinets. Even on low settings, they concentrate heat unevenly—creating weak spots. Use only UL-listed, pipe-rated heat sources.
Do I need to replace the pipe after it thaws?
Not always—but inspect closely. Look for pinhole leaks, white oxidation on copper, or cloudy discoloration on PEX. Any sign of thinning or blistering means replacement is safer than risking a failure days later. As master plumber Carlos Mendez told Modern Plumbing Magazine (2021): “A pipe that froze once has lost 20–30% of its tensile strength—even if it looks fine.”
Once water flows steadily and no leaks appear, keep the faucet open for another 10 minutes to flush any sediment loosened during thawing. Then insulate aggressively—because next winter’s cold snap won’t wait. For related fixes, see our guides on insulating pipes under the sink and kitchen faucet leaking at base.