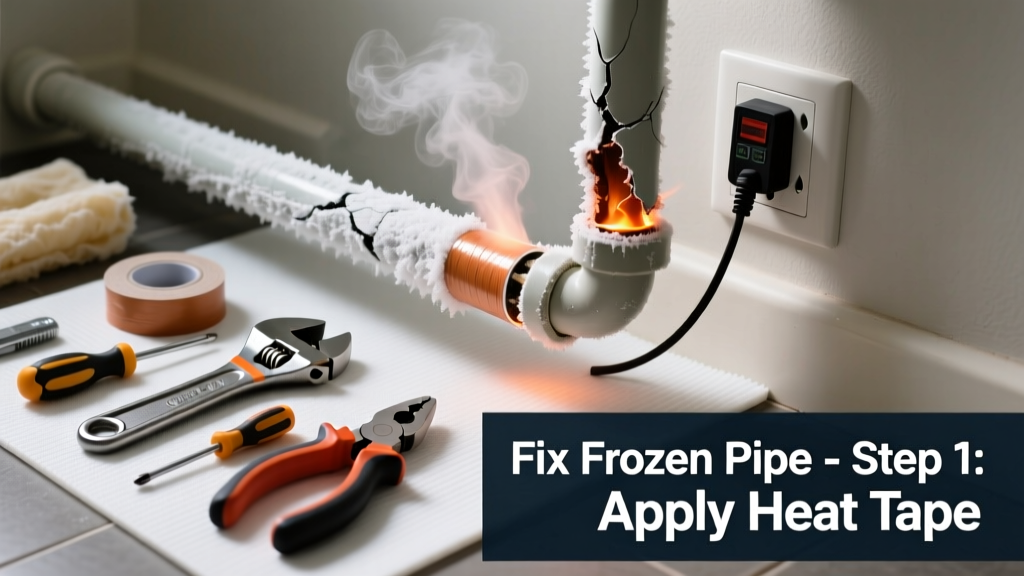
Waking up to no water in your bathroom sink or shower — or worse, a faint drip followed by a wet spot on the floor — often means a pipe has frozen and possibly cracked. This isn’t just an inconvenience; it’s a ticking time bomb for water damage and mold if ignored. The good news? Most bathroom pipe freezes can be safely thawed in under an hour if caught early.
Quick Diagnosis
Before you grab tools, confirm it’s actually a frozen pipe — not a shutoff valve issue or clog. Look for these telltale signs:
- No water flow at one fixture (e.g., sink) while others work normally
- Frost or condensation visible on exposed copper or PEX pipe under the sink or in the vanity
- A faint metallic 'ping' sound when tapping the pipe lightly with a screwdriver
- Cold air drafts near baseboards or wall cavities where supply lines run
- Water pressure drops only when hot water is turned on (indicates freeze in hot line, often near water heater or poorly insulated attic feed)
Tools & Materials Needed
| Item | Purpose | Estimated Cost |
|---|---|---|
| Heat lamp or infrared heat gun | Provides focused, controllable warmth without open flame or moisture | $45–$120 |
| IR thermometer (non-contact) | Verifies pipe surface temp before/after thawing; critical for safety | $20–$35 |
| Insulating foam pipe sleeves (R-2.5 or higher) | Prevents future freezing; fits 1/2" and 3/4" supply lines | $8–$15 per 6-ft pack |
| Shop towel or cotton rags | Wraps around pipe to retain heat and absorb minor drips during thaw | $3–$7 |
| Bucket and shallow pan | Catches drips from small cracks or joint leaks that appear during thawing | $5–$12 |
Step-by-Step Fix
Start with the most accessible section — usually under the sink or behind the toilet. Never use open flame, blowtorches, or high-wattage space heaters near pipes.
- Shut off the main water supply — even if water isn’t flowing yet. A frozen pipe under pressure can burst when thawed. Locate your home’s main shutoff (often in basement, garage, or near water meter) and turn clockwise until tight.
- Open the faucet(s) fed by the frozen line — both hot and cold. This relieves pressure and gives steam/air a path to escape as ice melts. Leave them open throughout the process.
- Apply gentle heat starting at the faucet end — not the coldest point. Ice often blocks the line closest to exterior walls or uninsulated framing. Use a hair dryer on low, heat lamp held 12–18 inches away, or wrap pipe with heated towels (re-soaked every 5 minutes in hot — not boiling — water). Move heat source slowly toward the suspected freeze zone.
- Monitor with an IR thermometer — aim at multiple points along the pipe. Once surface temperature reaches 32°F (0°C), hold heat there for 2–3 minutes. When water begins trickling, continue heating for another 5 minutes to ensure full melt-through.
- Check for leaks before restoring pressure — inspect all joints, elbows, and solder seams. If you see slow seepage, shut off the nearest valve (e.g., angle stop under sink) and replace the fitting. Do not crank the main back on yet.
When to Call a Pro
DIY thawing stops being safe or effective in these scenarios:
- The pipe is inside a wall cavity and you can’t access it without cutting drywall
- You hear cracking or popping sounds while applying heat — indicates micro-fractures forming
- Water pressure returns but the pipe weeps continuously at a joint, suggesting solder failure or pinhole leak
- The frozen section is galvanized steel (common in homes built before 1970) — corrosion makes it brittle and prone to collapse under thermal stress
- You’ve applied heat for over 45 minutes with no water flow — suggests a complete blockage or hidden split
According to the Insurance Institute for Business & Home Safety's 2023 report, 37% of frozen-pipe insurance claims involve secondary damage from delayed response or improper thawing techniques — especially when homeowners attempt to force water through partially thawed lines.
Prevention Tips
Preventing recurrence matters more than fixing it once. Focus on airflow, insulation, and monitoring:
- Seal gaps around pipes where they pass through exterior walls using non-expanding foam sealant (e.g., Great Stuff Gaps & Cracks)
- Install foam pipe insulation on all exposed supply lines — especially those running near windows, exterior walls, or unheated vanities
- Keep bathroom doors open overnight during sub-freezing weather to allow warm air circulation
- Set thermostat no lower than 55°F (13°C) if leaving home for >24 hours in winter
- Add a smart water sensor like Moen Flo or Phyn under sinks to alert you to temperature drops below 40°F (4°C) or unexpected moisture
Can I use a hair dryer on PVC drain pipes?
No — PVC becomes brittle below 40°F and softens above 140°F. A hair dryer can warp or crack cold PVC, especially near glued joints. Stick to copper or PEX supply lines for DIY heat application. Drain lines should never freeze if vented properly and sloped correctly — if yours did, check for blockages first.
What if water starts dripping after thawing?
A slow drip from a joint or fitting means the freeze caused expansion stress that broke the seal. Turn off the local shutoff valve immediately. Tighten compression nuts by hand only — over-tightening cracks ferrules. If dripping continues, replace the angle stop or install a new braided stainless supply line with reinforced EPDM washers.
Is it safe to leave the faucet open overnight?
Yes — and recommended. Leaving the faucet open relieves pressure as ice melts and prevents pipe rupture. Just place a bucket underneath. Don’t worry about wasting water: a trickle uses less than 0.5 gallons per hour, far less than the 10+ gallons per minute a burst pipe releases.
Can I pour saltwater down the drain to prevent freezing?
No. Saltwater lowers the freezing point of standing water, but it won’t protect supply lines — and it corrodes metal traps, chrome finishes, and septic systems. It also leaves residue that attracts moisture and accelerates rust. Use insulation and heat tape instead.
Why does only my cold water line freeze?
Cold lines are more vulnerable because hot water retains residual heat longer and often runs through interior walls. But if your hot line freezes too, suspect poor insulation on the water heater’s cold inlet or shared stud bay with exterior sheathing. Check the U.S. Department of Energy’s 2022 Residential Energy Consumption Survey: 68% of bathroom pipe freezes occur in cold supply lines within 2 feet of exterior walls.
Do heat tape kits work for bathroom pipes?
Yes — but only self-regulating, UL-listed heat tape rated for potable water lines (e.g., Easy Heat HBI-200). Wrap it snugly (no overlaps) and cover with waterproof insulation. Avoid plug-in models without thermostats — they risk overheating and melting PEX. Install only on accessible copper or PEX, never on PVC drains or behind tile.
Once the pipe is fully thawed and leak-free, restore main water pressure slowly and test all fixtures for consistent flow and temperature. If the problem recurs within two weeks, it’s likely not just cold weather — it’s a chronic insulation gap or air infiltration issue. Address it now, or you’ll face the same emergency next January. For long-term resilience, pair your repair with insulating bathroom pipes and consider upgrading to PEX supply lines, which resist freezing damage better than rigid copper. And if you’re dealing with older plumbing, review our guide on replacing galvanized pipes before winter hits again.