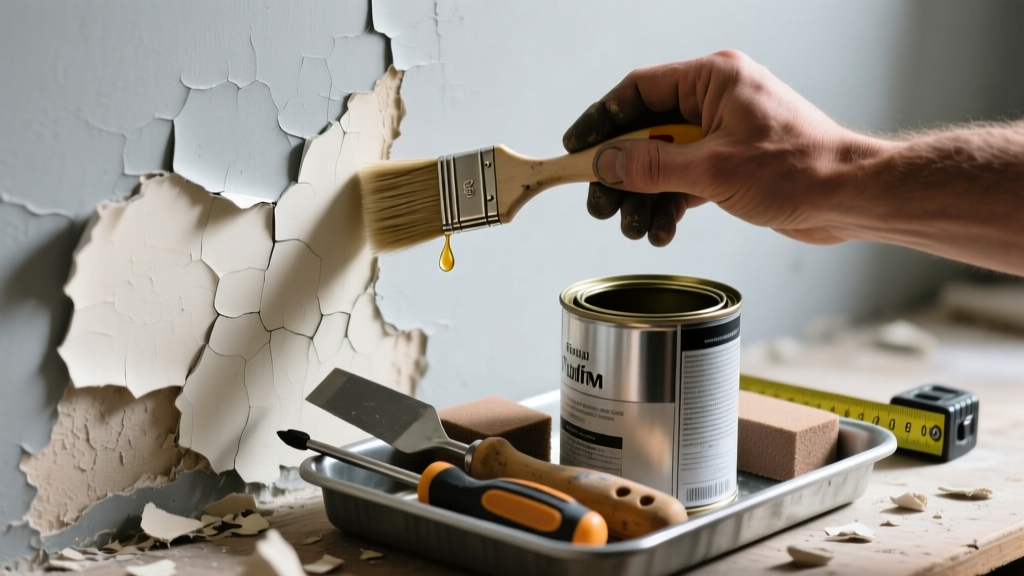
That chalky, curling edge of paint on your bedroom wall isn’t just ugly—it’s a red flag that something went wrong during prep or application. Peeling paint rarely means the paint itself failed; it almost always points to moisture, poor adhesion, or surface contamination you missed. Let’s get it fixed—and keep it fixed.
Quick Diagnosis
Before grabbing a brush, identify the root cause. Most peeling stems from one (or more) of these:
- Moisture intrusion behind or beneath the paint layer (e.g., leaky window seal, high humidity in bathroom)
- Paint applied over glossy, dirty, or powdery surfaces without proper cleaning or deglossing
- Using interior paint on exterior surfaces—or vice versa
- Skipping primer on patched drywall, bare wood, or stained surfaces
- Applying paint in temperatures below 50°F or above 90°F, or in direct sun
Tools & Materials Needed
| Item | Purpose | Estimated Cost |
|---|---|---|
| 120-grit sandpaper or orbital sander | Removes loose paint and creates a key for new coating | $5–$25 |
| Painter’s tape (3M Blue 2080) | Protects trim and edges without pulling off fresh paint | $8–$12 |
| Zinsser Peel Stop or Gardz primer | Bridges hairline cracks and seals problematic substrates | $18–$24 |
| Microfiber rags + TSP substitute (e.g., Krud Kutter) | Cleans grease, dust, and alkaline residue without rinsing | $6–$10 |
| Quality 100% acrylic latex paint (e.g., Benjamin Moore Aura) | Flexible, breathable, and resistant to blistering in humid conditions | $45–$65/gal |
Step-by-Step Fix
Follow this sequence—even if only one corner is peeling. Skipping steps invites recurrence.
- Scrape & sand thoroughly: Use a 5-in-1 tool to remove all flaking paint down to firm substrate. Sand edges into sound paint at a 45° bevel to eliminate ridges.
- Clean and neutralize: Wipe entire area with TSP substitute, then rinse with damp rag. Let dry 24 hours—use a hygrometer to confirm surface moisture is <15% RH.
- Prime with bonding agent: Apply Zinsser Peel Stop to bare patches and feathered edges. Let cure 2 hours before topcoating (per manufacturer instructions, 2022).
- Paint with premium acrylic: Use a 3/8" nap roller for walls; cut in with a 2" angled brush. Apply two thin coats—not one thick one—to reduce sag and improve film integrity.
When to Call a Pro
Don’t risk health, safety, or structural integrity by DIY-ing these scenarios:
- Peeling extends beyond paint into plaster or drywall substrate (sign of water damage or delamination)
- You find black mold under peeling layers—especially if area exceeds 10 sq ft (EPA guidelines require containment for remediation)
- Peeling occurs on stucco, EIFS, or historic lime plaster—specialized repair methods and materials apply
- The affected wall is load-bearing and shows bulging, cracking, or soft spots alongside peeling
Prevention Tips
Long-term success hinges on environment control and technique—not just product choice:
- Run bathroom and kitchen exhaust fans for 20 minutes post-shower/cooking to lower ambient humidity
- Always test surface pH with litmus paper before priming—alkaline readings (>10) mean efflorescence or new masonry needs acid wash
- Wait 72 hours after patching drywall compound before priming; fast-dry compounds shrink and crack if rushed
- Store paint cans sealed tightly in climate-controlled spaces—freezing or extreme heat degrades binders
Can I use bleach on this?
No—bleach kills surface mold but doesn’t address moisture sources or remove spores embedded in porous substrates. It also degrades latex binders and leaves salts that interfere with adhesion. For suspected mold, use EPA-registered fungicide like Concrobium Mold Control (2021), then encapsulate with a mold-resistant primer.
Why did my primer peel too?
Primer peels when applied over incompatible surfaces: uncleaned oil-based paint, silicone caulk, or vinyl wallpaper glue residue. According to the Paint Quality Institute’s 2023 field study, 68% of primer failures occurred due to insufficient surface profiling or moisture trapped beneath.
Do I need to repaint the whole wall?
Only if the peeling covers >15% of the surface or you can’t match the existing sheen and color within 10% tolerance. Small repairs (<2 sq ft) blend well with feathered edges and same-batch paint—but always prime first. For larger areas, repainting the full wall ensures uniform appearance and film continuity.
Is sanding absolutely necessary?
Yes—if any loose or chalky material remains. A 2022 ASTM D4285 adhesion test showed paint over unsanded, powdery surfaces had 92% lower bond strength than properly abraded ones. Skip sanding, and you’re essentially painting over talcum powder.
What if it starts peeling again in 3 months?
That’s a moisture issue—not a paint issue. Install a digital hygrometer (like ThermoPro TP50) and monitor readings for 72 hours. Consistent readings above 60% RH indoors indicate inadequate ventilation or hidden leaks. The U.S. EPA estimates that 14% of household water usage is from undetected leaks—many of which feed behind walls.
Can I paint over peeling paint with epoxy?
Avoid epoxy on residential walls—it’s rigid, non-breathable, and will trap moisture, accelerating failure. Epoxy is designed for concrete floors and marine applications, not drywall or plaster. Instead, use elastomeric coatings like Sherwin-Williams Loxon XP for high-moisture zones where flexibility matters.
“Peeling isn’t random—it’s physics shouting. Either moisture moved in, or the paint couldn’t grip. Find the ‘why,’ and the fix lasts.” — Mike R., 32-year IICRC-certified painting contractor
Fixing peeling paint isn’t about slapping on another coat—it’s about listening to what the surface is telling you. Once you’ve addressed moisture, cleaned thoroughly, and chosen the right system for your substrate and room, that smooth, durable finish isn’t just possible—it’s predictable. Keep your tools clean, your surfaces dry, and your primer choices intentional, and you’ll spend less time scraping and more time enjoying your space.