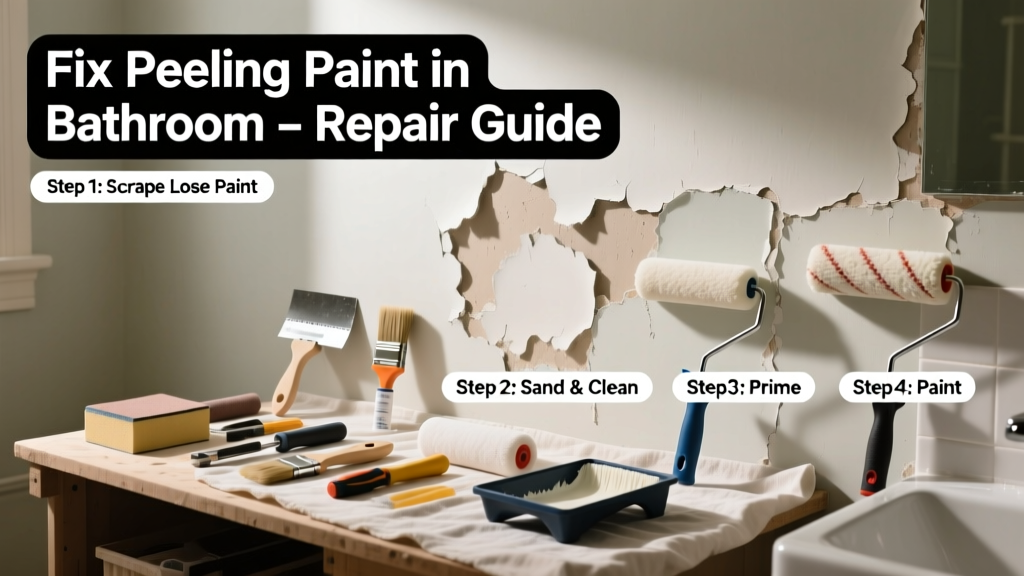
Bathroom paint peeling isn’t just ugly—it’s a red flag for moisture intrusion or surface failure. Unlike walls in dry rooms, bathroom surfaces face steam, condensation, and temperature swings multiple times a day. Ignoring it invites mold, wood rot, and costly repairs down the line.
Quick Diagnosis
Before grabbing a brush, identify the root cause. Most peeling stems from one (or more) of these:
- High humidity without adequate ventilation (e.g., no exhaust fan or fan used <5 minutes post-shower)
- Paint applied over glossy or poorly cleaned surfaces
- Use of flat or eggshell interior paint instead of 100% acrylic semi-gloss or satin
- Previous primer failure—especially if bare drywall or patched areas weren’t sealed
- Water leaks behind tile, around fixtures, or from plumbing lines
Tools & Materials Needed
| Item | Purpose | Estimated Cost |
|---|---|---|
| 320-grit sandpaper or pole sander | Smooths edges and feathered areas without gouging drywall | $8–$15 |
| Zinsser Bulls Eye 1-2-3 Primer | Blocks moisture vapor and adheres to glossy or chalky surfaces | $16–$22 |
| Benjamin Moore Aura Bath & Spa or Sherwin-Williams Duration Home | 100% acrylic, mildew-resistant, zero-VOC bathroom-specific paint | $45–$65/gal |
| Microfiber roller cover (3/8" nap) | Applies smooth, even coats without lint or streaks on vertical surfaces | $6–$10 |
| Painter’s tape (FrogTape Multi-Surface) | Seals edges against caulk lines and trim without bleeding | $7–$12 |
Step-by-Step Fix
Follow this sequence—even if only a small area is peeling. Skipping prep guarantees re-peeling within months.
- Remove loose paint completely: Use a 5-in-1 tool or plastic scraper to lift flaking edges. Sand remaining edges with 320-grit until smooth and feathered—not shiny, not rough.
- Clean and dry thoroughly: Wipe with TSP substitute (e.g., Krud Kutter Original) diluted per label. Rinse with damp microfiber cloth. Let dry 24+ hours—use a dehumidifier if humidity exceeds 50%.
- Prime all exposed substrate: Apply Zinsser Bulls Eye 1-2-3 with a 2" angled brush along edges and a roller elsewhere. Let dry 1 hour minimum; recoat if drywall looks patchy.
- Paint with bathroom-grade finish: Use two thin coats of Aura Bath & Spa or Duration Home, rolling top-to-bottom with light pressure. Wait 4 hours between coats. Avoid shower use for 72 hours after final coat.
When to Call a Pro
DIY stops where structural or health risks begin. Call a licensed contractor if you notice:
- Soft, spongy drywall or crumbling gypsum behind peeling paint
- Black or green discoloration that doesn’t wipe off—likely mold growing behind substrate
- Peeling concentrated near tub/shower corners or behind vanity—possible hidden leak confirmed by water stains on ceiling below
- Cracks wider than 1/8" in drywall joints or around fixtures, indicating framing movement or settlement
According to the Insurance Institute for Business & Home Safety's 2023 report, undetected moisture behind bathroom walls contributes to nearly 37% of premature drywall replacements in homes under 15 years old.
Prevention Tips
Long-term success hinges on controlling moisture at the source—not just repainting better.
- Run your bathroom exhaust fan for at least 20 minutes after every shower (not just during). Upgrade to a timer switch if yours shuts off immediately.
- Keep humidity below 50% using a hygrometer; pair with a dehumidifier if needed—especially in older homes without ducted ventilation.
- Re-caulk tub/shower seams annually with 100% silicone (e.g., GE Advanced Silicone II) before cracks appear.
- Wipe down mirrors and tile walls after showers to reduce residual moisture buildup on painted surfaces.
- Never skip primer—even over previously painted walls. Bathroom primers block alkalinity and vapor drive.
Can I use bleach on this?
No. Bleach does not remove mold roots embedded in drywall paper or paint film, and it degrades latex binders—making future paint adhesion worse. For surface mildew, use a 1:10 vinegar/water solution instead. If mold is visible beneath paint, stop and consult an IICRC-certified remediation specialist.
Do I need to repaint the whole wall?
Not always—but highly recommended if peeling covers >15% of the wall or occurs near corners, fixtures, or seams. Patching small spots often creates visible sheen differences and leaves adjacent areas vulnerable due to inconsistent moisture resistance. A full wall refresh ensures uniform protection and appearance.
Why did my paint peel after only 6 months?
Most likely culprits: improper surface prep (grease, soap scum, or gloss left uncleaned), non-bathroom paint used (e.g., standard interior flat), or inadequate drying time between coats in high-humidity conditions. The U.S. EPA estimates that 14% of household water usage is from leaks—many starting as invisible seepage behind fixtures that eventually compromise paint adhesion.
Can I paint over peeling paint?
Only after complete removal. Painting over flaking layers traps moisture between coats and guarantees rapid, widespread failure. It also violates ASTM D7234 adhesion testing standards used by professional painters—meaning any warranty on new paint is void.
What’s the best paint sheen for bathroom walls?
Semi-gloss is ideal: it resists scrubbing, sheds moisture, and reflects light well. Satin works in low-traffic powder rooms but lacks the durability of semi-gloss near showers. Avoid eggshell or flat—they absorb steam and stain easily. See our guide on best paint for bathroom walls for side-by-side performance data.
How long should I wait before using the shower?
Wait at least 72 hours after the final coat dries to the touch. Acrylic paints fully cure (reach maximum moisture resistance) in 7–14 days. Using the shower too soon introduces steam that softens uncured film, leading to blistering or edge lifting. For faster turnaround, consider fast-drying bathroom paint options with modified resin systems.
Fixing peeling paint in your bathroom isn’t about covering up—it’s about restoring a moisture-resilient barrier that lasts. Get the prep right, choose materials engineered for wet environments, and address the humidity source—not just the symptom. That’s how you go from chipped corners to a clean, durable finish that holds up through years of steamy mornings and humid nights.