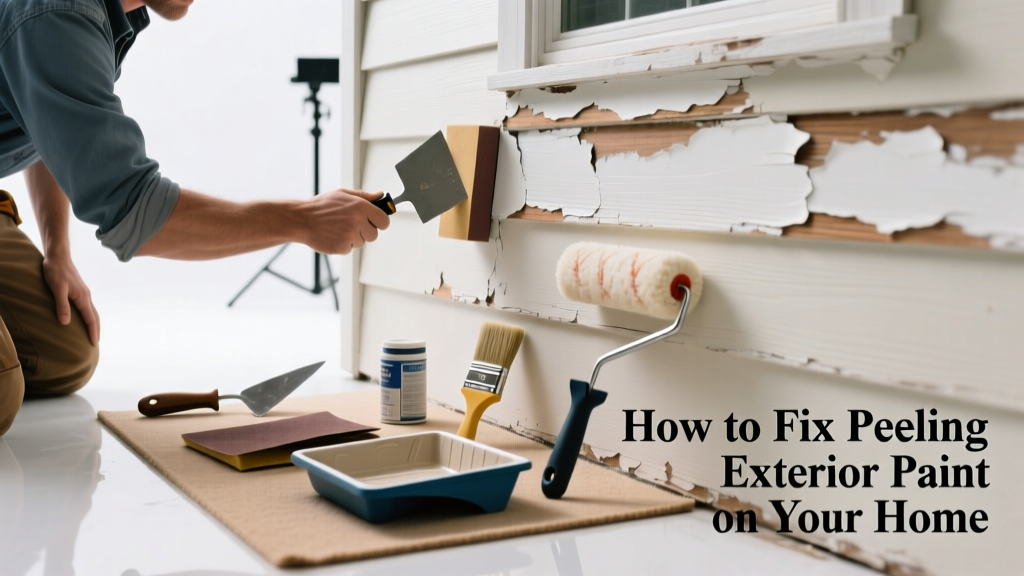
Peeling exterior paint isn’t just ugly—it’s your home’s first warning sign that moisture is getting behind the surface or the original prep was rushed. Left untreated, it leads to wood rot, mold, and structural decay in as little as 18 months. The good news? Most cases are fixable in a weekend—if you diagnose correctly and prep thoroughly.
Quick Diagnosis
Before grabbing a scraper, identify the cause. Peeling rarely happens for just one reason—but these five are responsible for over 90% of cases, according to the National Association of Home Builders’ Exterior Finish Field Guide (2022):
- Moisture trapped under paint (from leaks, poor ventilation, or lack of flashing)
- Painting over dirty, chalky, or glossy surfaces without proper cleaning or deglossing
- Using interior-grade paint outdoors
- Applying paint in direct sun or temperatures below 45°F or above 90°F
- Skipping primer on bare wood or patched areas
Tools & Materials Needed
| Item | Purpose | Estimated Cost |
|---|---|---|
| 5-in-1 painter’s tool & stiff-bristle brush | Scraping loose paint and checking for soft substrate | $8–$15 |
| 36-grit and 120-grit sandpaper (or orbital sander) | Removing residual flaking and feathering edges | $5–$25 |
| Zinsser Peel Stop or BIN shellac primer | Sealing problem areas and blocking tannin bleed on cedar/redwood | $22–$34 |
| 100% acrylic exterior paint (e.g., Sherwin-Williams Duration) | Flexible, breathable topcoat rated for your climate zone | $45–$75/gal |
| Pressure washer (2,000 PSI max) or garden hose + scrub brush | Cleaning surface without damaging wood fibers | Rent: $65/day or $120/wk |
Step-by-Step Fix
Don’t rush to repaint—this is 80% prep work. Follow this sequence:
- Scrape & assess: Use a 5-in-1 tool to remove all loose, bubbled, or lifting paint. Tap nearby areas with a screwdriver handle—if it sounds hollow or feels spongy, that wood is compromised and needs replacement, not just repainting.
- Clean thoroughly: Wash with mild detergent and water (never bleach—it degrades wood cellulose). Let dry 48+ hours; use a moisture meter to confirm readings below 15% before priming.
- Sand & seal: Feather edges of remaining paint with 120-grit. Spot-prime bare wood or stains with Zinsser Peel Stop—especially critical on south-facing walls where UV exposure accelerates failure.
- Prime & paint: Apply one coat of high-build acrylic primer (e.g., Benjamin Moore Fresh Start), then two coats of 100% acrylic paint using a 3/8-inch roller nap for smooth surfaces or 1/2-inch for textured siding.
When to Call a Pro
DIY works only if the peeling covers less than 25% of one wall and no underlying rot or structural damage exists. Call a licensed contractor immediately if:
- You find soft, dark, or crumbly wood beneath the paint—this indicates advanced rot requiring framing repairs
- Peeling coincides with interior water stains, musty odors, or warped window/door frames
- The house has lead-based paint (pre-1978) and more than 2 sq ft of deteriorated surface per room
- You’re working on multi-story siding without scaffolding or fall protection
"Over 60% of premature paint failures stem from inadequate surface prep—not product quality." — Paint Quality Institute, Technical Bulletin #114 (2021)
Prevention Tips
Long-term success hinges on moisture control and material selection. Here’s what actually works:
- Install drip caps above all windows and doors to redirect rainwater away from trim
- Keep gutters clean and downspouts extended at least 5 feet from foundations
- Use vapor-permeable paints—avoid elastomeric coatings on wood; they trap moisture
- Repaint every 7–10 years in humid climates, every 12–15 in arid zones (per EPA Building America Report, 2020)
Can I use bleach on this?
No. Sodium hypochlorite breaks down lignin in wood, accelerating deterioration. It also leaves salt residue that attracts moisture and prevents proper primer adhesion. Use oxygen bleach (sodium percarbonate) instead—it’s safer for wood and plants.
Do I need to prime over old paint?
Only if the existing paint is chalky, glossy, or failing. Sound, well-bonded latex paint can be lightly sanded and painted over directly—but always test adhesion first with tape: press 2-inch masking tape firmly onto cured paint, then rip it off. If paint lifts, prime.
What’s the best paint for cedar siding?
Use a clear or lightly pigmented acrylic stain—not solid-color paint. Cedar contains tannins that bleed through most primers. Zinsser Cover Stain or Kilz Premium work better than standard acrylic primers, but even then, a semi-transparent stain lasts longer and allows natural expansion/contraction.
How long should I wait between coats?
Check the manufacturer’s label—but assume 4 hours minimum for acrylics in 70°F/50% humidity. In cooler or more humid conditions, extend to 6–8 hours. Rushing causes wrinkling, poor film formation, and reduced durability.
Can I paint over peeling paint with a thick coat?
No. That’s like putting a bandage on an infected wound. Thick paint bridges gaps but doesn’t stop moisture migration—and eventually cracks, bubbles, and fails catastrophically. Removal and repair are non-negotiable.
Is power washing safe for older wood siding?
Only at ≤1,500 PSI with a 40-degree fan tip, held 12–18 inches from the surface. Older lap siding (pre-1950) often has soft grain or hidden nail holes; excessive pressure forces water behind boards. Test a small, inconspicuous area first—and never spray upward into seams.
Fixing peeling paint isn’t glamorous, but it’s one of the highest-ROI maintenance tasks you’ll do this year. A properly repaired and repainted section can last 12+ years—far longer than the average homeowner expects. For deeper issues like rot or flashing failures, check our guide on exterior wood rot repair or gutter flashing installation to tackle the real culprits behind the peeling.