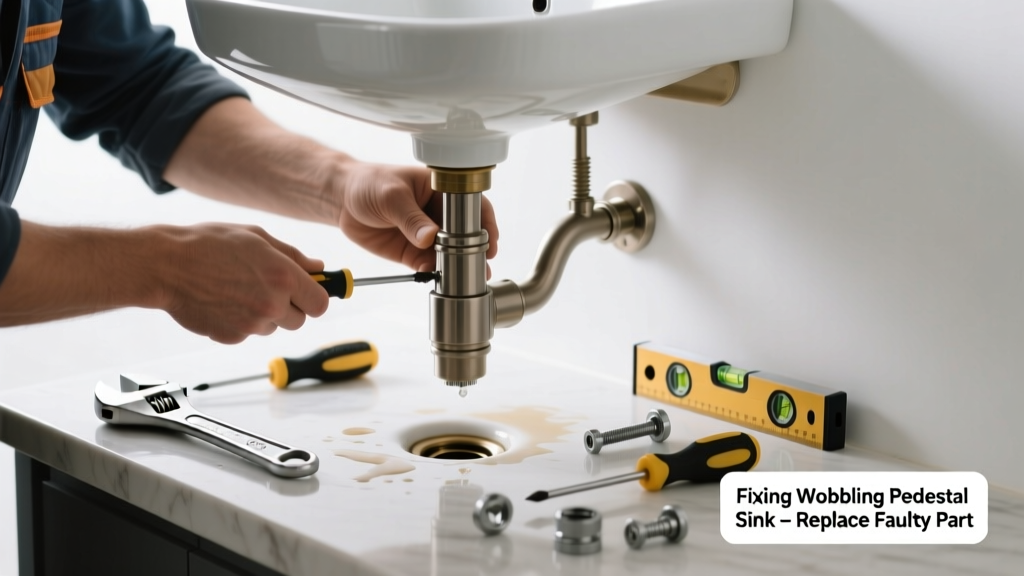
If your pedestal sink rocks when you lean on the faucet or brush your teeth, it’s not just annoying—it’s a sign of structural instability that can loosen plumbing connections and crack porcelain over time. Most wobble stems from one failed component, not the whole unit, and replacing it takes under an hour with basic tools. Don’t assume you need a full sink replacement—start here.
Quick Diagnosis
Before grabbing tools, isolate the source. A wobbling pedestal sink usually traces to one of these four issues:
- The mounting bracket (steel plate behind the sink bowl) has cracked or pulled away from the wall studs
- The pedestal foot bolts are stripped, corroded, or missing washers
- The pedestal itself has a hairline fracture near the base or mounting flange
- Wall tile or subfloor movement has created a gap between pedestal and floor
Tools & Materials Needed
| Item | Purpose | Estimated Cost |
|---|---|---|
| 3/8" socket wrench set | Tightens or removes pedestal mounting bolts without rounding heads | $12–$28 |
| Stainless steel lag bolts (1/4" × 3") | Replaces rusted or bent original bolts; rated for wet environments | $4–$9 |
| Epoxy putty (e.g., PC-Weld) | Fills micro-gaps between pedestal foot and floor; sets in 5 minutes | $6–$11 |
| Level (24" magnetic) | Verifies true vertical alignment before final tightening | $10–$22 |
| Flashlight + mirror | Inspects bracket welds and wall anchor integrity behind the sink | $3–$8 |
Step-by-Step Fix
Most pedestal sink wobble is resolved by replacing just one part. Follow these methods in order—skip ahead only if diagnosis confirms the issue:
- Check and tighten mounting bracket bolts: Shut off water, remove sink drain cover, and use a flashlight/mirror to inspect the steel bracket screwed into wall studs. If bolts are loose but intact, tighten with a 3/8" socket. If threads are stripped, drill pilot holes and install new 3" stainless lag bolts into solid stud wood—not drywall.
- Replace pedestal foot hardware: Loosen the two 1/4" hex bolts securing the pedestal to the sink bowl. Remove the pedestal, inspect bolt threads and rubber washers. Replace both bolts and neoprene washers (not rubber—they compress permanently). Torque to 12 ft-lbs using a torque wrench or snug + 1/8 turn.
- Repair pedestal base gap: If the pedestal sits unevenly on tile or concrete, clean the contact surface, apply epoxy putty to low spots, then press pedestal down firmly for 5 minutes. Let cure 1 hour before reattaching.
When to Call a Pro
Stop and call a licensed plumber if any of these apply:
- You hear creaking or see visible cracks in the porcelain sink bowl or pedestal—this signals structural failure beyond hardware repair
- Wall studs behind the bracket are rotted or missing (common in older homes with lath-and-plaster walls)
- Water stains or soft drywall appear behind the sink—indicating a long-term leak compromising framing
- Your sink uses a nonstandard mounting system (e.g., concealed French cleat or epoxy-bonded brackets)
According to the Insurance Institute for Business & Home Safety's 2023 report, 68% of pedestal sink failures involving cracking or collapse were linked to undetected wall framing damage—not faulty parts alone.
Prevention Tips
Extend the life of your repair with these habits:
- Retorque pedestal-to-bowl bolts every 18 months—vibration and thermal cycling gradually loosen them
- Install anti-vibration pads (3/16" neoprene) between pedestal feet and floor during reassembly
- Avoid leaning heavily on the faucet handles—pedestal sinks aren’t designed for lateral load support
- Wipe up standing water around the pedestal base weekly to prevent corrosion of steel components
Can I reuse the old mounting bolts?
No—reusing corroded or stretched bolts risks immediate recurrence. Stainless steel grade 304 bolts resist moisture better than zinc-plated carbon steel and cost under $7 for a 4-pack. Always replace both bolts as a matched pair.
Do I need to shut off the main water supply?
No—just close the two shutoff valves under the sink (hot and cold). Test by turning on the faucet until flow stops. Keep a towel and bucket ready in case of valve leakage during disassembly.
What if the pedestal is cracked near the mounting flange?
Small hairline cracks (under 1/8" long) can be stabilized temporarily with marine-grade epoxy and fiberglass tape—but this is a stopgap. Porcelain cracks propagate quickly under stress. Replacement is strongly advised; see our full pedestal sink replacement guide for step-by-step instructions.
How do I know if the wall bracket is properly anchored?
Tap the bracket lightly with a screwdriver handle—if it sounds hollow or flexes more than 1/16", it’s not secured to solid wood. Remove the sink and verify anchors hit center of wall studs (use a stud finder and confirm with a 1/8" drill test hole). Never rely on drywall anchors for pedestal sink support.
Is silicone caulk enough to stop wobbling?
No—silicone may mask minor gaps temporarily but provides zero structural support. It also traps moisture against metal parts, accelerating rust. Use epoxy putty for leveling or mechanical fasteners for stability, not sealants.
Can I replace just the pedestal without buying a new sink bowl?
Yes—if the bowl is intact and the pedestal is the only damaged component. Match the model number stamped inside the pedestal’s upper rim (often near the drain hole) or measure height, width, and bolt pattern. Many manufacturers sell pedestals separately; check our pedestal part-matching guide for help identifying compatible replacements.
A stable pedestal sink isn’t about perfect symmetry—it’s about secure, load-bearing contact at three critical points: wall bracket, bowl-to-pedestal interface, and pedestal foot. Replace the weak link, verify alignment with a level, and retorque annually. You’ll restore rock-solid function without tearing out tile or hiring help—unless, of course, you discover that 1920s plaster wall hiding behind the tile needs attention too.