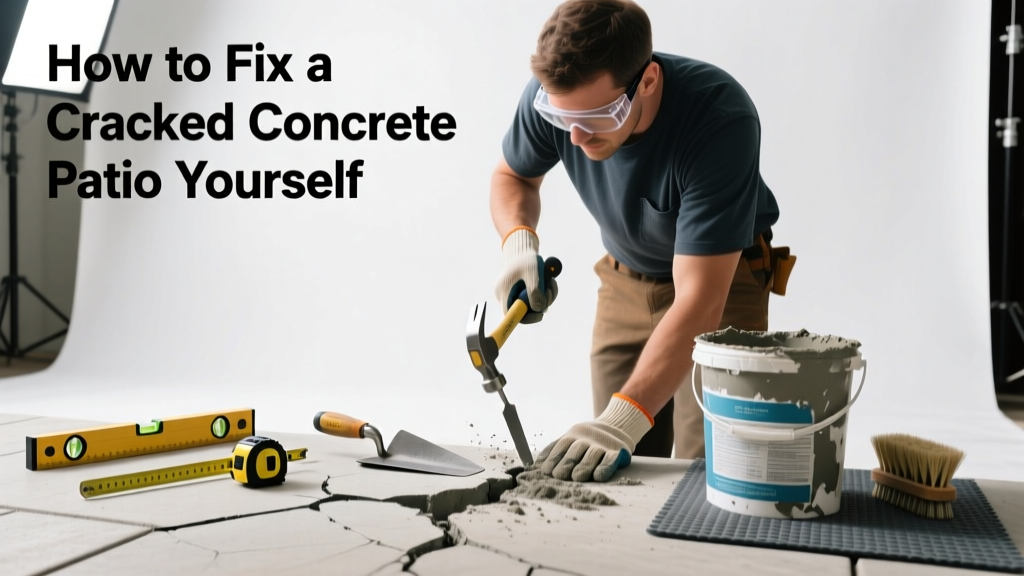
That hairline crack near your grill? It’s not just cosmetic—it’s the first sign of structural stress or water infiltration. Left unaddressed, a small patio crack can widen into a trip hazard or invite frost heave in colder climates.
Quick Diagnosis
Before grabbing tools, identify the cause—this determines whether you’re patching or rebuilding:
- Settlement: Uneven ground beneath slabs, often with adjacent cracks or tilting
- Frost heave: Common in northern zones (USDA Zones 1–5), especially where soil wasn’t properly compacted or drained
- Tree root pressure: Cracks radiating from nearby mature trees, usually lifting one side
- Improper curing or mix: Fine, spiderweb-like surface cracks appearing within 30 days of pour
- Heavy load impact: Localized spalling or chipping under patio furniture legs or grill stands
Tools & Materials Needed
| Item | Purpose | Estimated Cost |
|---|---|---|
| Wire brush & stiff-bristle broom | Cleans debris and dust from crack; critical for adhesive bond | $8–$15 |
| Concrete crack filler (polyurethane or epoxy-based) | Fills narrow cracks (<¼") without shrinking; resists moisture | $12–$24 per tube |
| Self-leveling concrete patch (for wider cracks >¼") | Rebuilds missing material; bonds well to cured concrete | $25–$40 per 50-lb bag |
| Margin trowel & pointing trowel | For precise application and smoothing; avoids air pockets | $10–$18 |
| Concrete bonding adhesive (e.g., QUIKRETE Concrete Bonding Adhesive) | Ensures new patch adheres to old slab; prevents delamination | $9–$14 |
Step-by-Step Fix
Choose the method based on crack width and depth:
- Hairline cracks (<1/8"): Clean with wire brush, dampen lightly, inject polyurethane crack filler using a caulk gun, then smooth with a putty knife. Let cure 24 hours before light foot traffic.
- Moderate cracks (1/8"–¼"): Chisel out loose edges to create a V-groove, prime with bonding adhesive, then trowel in self-leveling patch. Cover with plastic sheeting for 72 hours to prevent rapid drying.
- Structural cracks (>¼") with vertical displacement: Cut out the damaged section (minimum 6" beyond crack ends) using a diamond blade angle grinder, install rebar dowels into adjacent slab, pour fresh 4,000-psi concrete, and finish to match slope and texture.
When to Call a Pro
DIY stops where safety or code compliance begins:
- Crack is over ½" wide AND shows >⅛" vertical offset—sign of ongoing settlement
- Multiple parallel cracks spanning more than 30% of the patio’s length
- Cracks accompanied by pooling water or visible soil erosion underneath
- You live in an area with expansive clay soils (e.g., Texas, Georgia) and suspect foundation interaction
- Your patio is attached to the home’s foundation or supports a covered structure
"Over 62% of concrete patio failures begin with untreated cracks under 3/16"—a finding confirmed in the American Concrete Institute’s 2022 Field Performance Survey."
Prevention Tips
Extend your patio’s service life past the typical 15–20 years:
- Install 4" of compacted gravel + 2" of sand beneath new slabs (per ACI 302.1R-22 guidelines)
- Seal exposed surfaces every 2–3 years with silane/siloxane-based sealer—not acrylics—to repel water without trapping vapor
- Redirect downspouts at least 5 feet away from patio edges to prevent saturation
- Avoid de-icing salts containing ammonium nitrate or calcium chloride; use sand or calcium magnesium acetate instead
Can I use regular caulk instead of concrete crack filler?
No—standard latex or silicone caulk lacks compressive strength and UV resistance. It’ll peel, shrink, or wash out within months. Polyurethane or epoxy fillers are formulated to expand/contract with concrete and resist freeze-thaw cycles.
How long does a patched crack last?
A properly prepped and filled hairline crack lasts 5–8 years. Wider patches with proper edge prep and bonding agent typically hold 7–12 years—if drainage and sealing are maintained. Unsealed patches fail 3× faster in freeze-prone areas (per Minnesota DOT’s 2021 Pavement Study).
Will sealing hide the repair?
Not completely—but it helps. Use a penetrating sealer (not film-forming) to avoid color mismatch. For best visual results, apply sealer to the entire slab after patching, not just the repair zone. See our guide on choosing the right concrete patio sealer.
Do I need to remove weeds before filling?
Yes—and go deeper than the surface. Pull all roots, then spray the crack with white vinegar (5% acidity) to kill remaining seeds and fungi. Let dry 48 hours before priming. Weeds regrowing through filler indicate poor prep or moisture buildup beneath.
Can I paint over the patched area?
Only after full cure (7 days minimum for most patches) and only with masonry-specific paint or stain—not interior wall paint. Better yet: use integral color-matched patch material or tint your self-leveling mix with oxide pigment. For matching tips, see our concrete color matching guide.
Is pressure washing safe before repair?
Yes—if done at ≤1,500 PSI and held 12+ inches from the surface. Higher pressure or close range erodes aggregate and weakens the bond zone. Always follow with a 48-hour dry period before applying any filler or primer.
A repaired patio isn’t just about looks—it’s about keeping your outdoor space safe, functional, and ready for summer barbecues year after year. Most small cracks take under two hours to fix, cost less than $40, and buy you years before full replacement. If you’ve tackled other hardscape issues, check out our guides on driveway crack repair and walkway settling solutions.