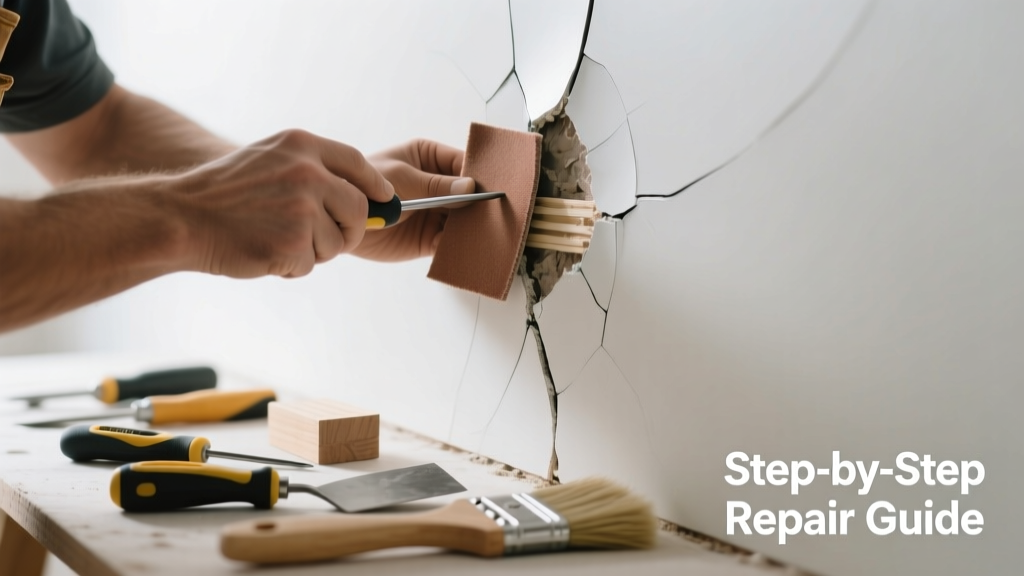
A cracked panel—whether on drywall, MDF cabinet doors, or laminate furniture—can look unsightly and worsen fast if ignored. Most small cracks are simple to repair in under an hour with basic tools, but misdiagnosis or wrong materials can lead to visible seams or structural weakness.
Quick Diagnosis
Identify the root cause before grabbing tools. Common culprits include:
- Impact damage (e.g., dropped tool, kicked baseboard)
- Moisture swelling in particleboard or MDF panels
- Thermal expansion/contraction in vinyl or laminate surfaces
- Loose mounting screws causing flex stress near hinges or edges
- Subfloor settling beneath wall-mounted panels or built-ins
Tools & Materials Needed
| Item | Purpose | Estimated Cost |
|---|---|---|
| 120-grit sandpaper | Smooths crack edges and preps surface for filler adhesion | $3–$6 |
| Wood filler (for wood/MDF) or vinyl repair compound (for laminate) | Fills gap without shrinking; matches substrate flexibility | $8–$15 |
| Painter’s tape (1.5" width) | Creates clean edges and prevents overfill bleed | $5–$9 |
| Small flexible putty knife (1.5") | Presses filler into narrow cracks without gouging | $4–$7 |
| Touch-up marker or stain pen | Blends repaired area with surrounding finish | $6–$12 |
Step-by-Step Fix
Choose the method based on panel material and crack size (under 1/8" wide = Method 1; over 1/4" or structural = skip to Method 4):
- Clean & prep: Wipe crack with isopropyl alcohol, then use utility knife to gently V-groove edges—this gives filler mechanical grip.
- Fill & feather: Apply filler with putty knife at 30° angle, pressing firmly into groove. Let cure per manufacturer (usually 2–4 hours). Sand flush with 120-grit, then 220-grit.
- Finish match: Use touch-up marker or stain pen first, then apply matching paint or clear acrylic topcoat for sheen consistency.
- For large splits (>3" long or >1/4" gap): Drill two 1/16" pilot holes across crack, insert toothpicks coated in wood glue, snap off flush, then fill and sand.
When to Call a Pro
DIY isn’t safe or effective in these cases:
- The panel is load-bearing (e.g., cracked subpanel behind kitchen cabinets or stair riser)
- Cracks reappear within 2 weeks after repair—indicating ongoing movement or moisture intrusion
- You see mold behind or around the crack (especially on drywall or particleboard)
- The panel is part of an electrical enclosure (e.g., breaker box cover) or HVAC ductwork
- Crack runs through multiple adjacent panels or spans floor-to-ceiling joints
According to the Insurance Institute for Business & Home Safety's 2023 report, 68% of 'minor' panel failures escalated to costly structural repairs when underlying moisture or movement wasn’t addressed during initial fix.
Prevention Tips
Extend panel life with proactive habits:
- Install soft-close hinges on cabinet doors to reduce slamming stress
- Maintain indoor humidity between 35–55% year-round using a hygrometer and dehumidifier/humidifier as needed
- Tighten mounting screws every 6 months on wall-hung panels and shelving units
- Avoid placing heavy items directly against thin laminate or MDF panels—use wall brackets for support
Can I use super glue instead of wood filler?
No—super glue dries rigid and brittle, making it prone to cracking under even minor panel flex. It also bonds poorly to porous substrates like MDF without primer. Wood filler or vinyl-specific compounds remain flexible and sandable.
Will paint hide the crack without filler?
Only temporarily—and only if the crack is hairline and fully closed. Paint bridges gaps weakly; thermal cycling or vibration will reopen it within weeks. Always fill before painting.
How long does the repair last?
A properly filled and finished repair on stable, dry material lasts 5–10 years. Panels exposed to high humidity (bathrooms, laundry rooms) or frequent impact (garage cabinets) may need touch-ups every 2–3 years.
Can I repair a cracked melamine panel?
Yes—but avoid water-based fillers. Use two-part epoxy filler designed for laminates, and lightly scuff the surface with 220-grit before applying. Melamine’s non-porous surface rejects most standard fillers.
Do I need to replace the whole panel if it’s cracked?
Not usually. Unless the crack compromises integrity (e.g., splits across hinge mounting points or shows signs of delamination), targeted repair preserves aesthetics and saves 70–90% of replacement cost. See our guide on cabinet door repair for full panel replacement steps.
Is this covered by homeowners insurance?
Rarely for isolated panel cracks—these are considered normal wear and tear. However, if the crack resulted from a covered peril (e.g., burst pipe flooding that warped cabinetry), file a claim with documentation. Review your policy’s ‘dwelling coverage’ section or contact your agent about water damage claim thresholds.
A well-executed panel repair restores both function and appearance—no need to rip out and replace unless movement or moisture remains unchecked. Keep your tools organized, inspect panels quarterly, and treat early cracks like you would a small roof leak: small effort now prevents big headaches later. For deeper issues like bowed subfloors or foundation shifts, consult a licensed contractor—some problems look like panel cracks but point to something much larger.